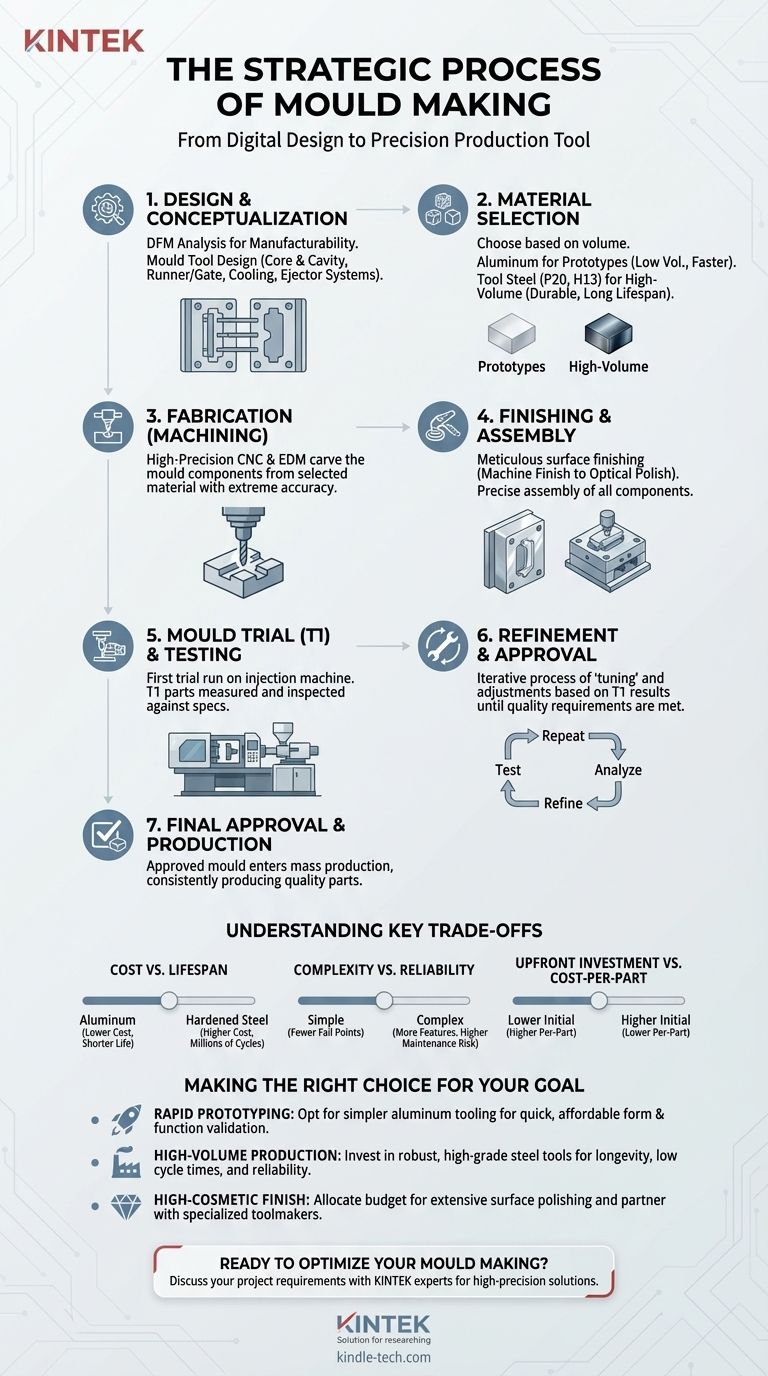
At its core, mould making is a highly disciplined engineering process that translates a digital design into a physical tool capable of mass-producing parts. The primary stages involve designing the part and the mould itself, selecting the right materials, fabricating the components through precision machining, and meticulously finishing, assembling, and testing the final tool before it enters production.
The critical takeaway is that mould making is not a linear manufacturing task but a strategic, front-loaded process. The decisions made in the initial design and material selection phases have an outsized impact on the final part's quality, the production speed, and the total cost of the project.
The Foundation: Design and Conceptualization
The success of any mould is determined long before any metal is cut. This initial phase focuses on perfecting the digital blueprint for both the final part and the tool that will create it.
Step 1: Product Design and Feasibility
This is the starting point. A 3D CAD model of the final product is created.
Crucially, this design is analyzed for manufacturability (DFM). Engineers check for proper draft angles (to allow the part to be ejected), uniform wall thickness, and potential undercuts that would complicate the mould.
Step 2: Mould Tool Design
Once the part design is finalized, the actual mould tool is designed around it.
This is a complex engineering task that involves creating the core and cavity (the two halves of the mould), the runner and gate system (which delivers molten material), cooling channels, and the ejector system that pushes the finished part out.
The Core Build: Material and Fabrication
With a complete digital design, the process moves into the physical world. The choices made here dictate the mould's lifespan, performance, and cost.
Step 3: Mould Material Selection
Choosing the correct material for the mould is a critical decision based on the expected production volume and the type of material being moulded.
For low-volume runs or prototypes, aluminum is often used. For high-volume production, durable, heat-treated tool steels like P20 or H13 are the standard, as they can withstand millions of production cycles.
Step 4: Machining (Fabrication)
This is where the mould begins to take physical form.
High-precision CNC (Computer Numerical Control) machines carve the core, cavity, and other components from blocks of steel or aluminum, following the CAD models with extreme accuracy. For highly detailed or complex features, EDM (Electrical Discharge Machining) may be used.
Finalization: Finishing and Validation
A machined mould is not a finished mould. The final steps are focused on achieving the perfect surface finish and verifying that the tool produces parts exactly to specification.
Step 5: Finishing, Polishing, and Assembly
After machining, the mould components are meticulously finished. The surface texture of the mould directly translates to the final part, so this can range from a standard machine finish to a mirror-like optical polish.
Following this, all the individual components—the core, cavity, ejector pins, sliders, and cooling lines—are carefully assembled and fitted together to form the complete mould tool.
Step 6: Mould Trial and Testing (T1)
The assembled mould is installed in an injection moulding machine for its first trial run, known as T1.
The first sample parts produced are carefully measured and inspected against the original design specifications. This test is crucial for identifying any issues with the part or the mould's performance.
Step 7: Refinement and Approval
It is rare for a T1 part to be perfect. Based on the trial results, the mould is often disassembled for minor adjustments—a process known as "tuning" or "spotting."
This cycle of testing and refinement is repeated until the mould consistently produces parts that meet all quality requirements, at which point it is approved for mass production.
Understanding the Trade-offs
Making an effective mould requires balancing competing priorities. Understanding these trade-offs is essential for making informed decisions.
Cost vs. Lifespan
An aluminum mould is significantly cheaper and faster to produce but may only last for a few thousand cycles. A hardened steel mould is a major investment but can produce millions of parts reliably. The right choice depends entirely on your production goals.
Complexity vs. Reliability
Moulds with complex mechanisms like sliders and lifters can produce incredibly intricate parts in a single step. However, each moving part adds a potential point of failure, increasing maintenance costs and the risk of downtime.
Upfront Investment vs. Cost-Per-Part
Investing more in a high-quality, well-designed mould pays dividends over the long run. Features like optimized cooling channels can shorten cycle times, and a robust build reduces scrap rates, both of which lower the final cost of each part produced.
Making the Right Choice for Your Goal
The "best" approach to mould making is entirely dependent on your project's specific needs.
- If your primary focus is rapid prototyping: Opt for a simpler mould design using aluminum tooling to validate your part's form and function quickly and affordably.
- If your primary focus is high-volume production: Invest in a robust tool made from high-grade hardened steel with an optimized design to ensure longevity, low cycle times, and minimal downtime.
- If your primary focus is a high-cosmetic finish: Allocate significant budget and time to the mould's surface polishing stage and partner with a toolmaker who specializes in these demanding applications.
Ultimately, understanding these stages transforms mould making from a simple manufacturing checklist into a strategic process that directly dictates the success of your final product.
Summary Table:
| Stage | Key Activities | Outcome |
|---|---|---|
| 1. Design & Conceptualization | Product Design (DFM), Mould Tool Design | Digital blueprint for part and mould |
| 2. Material Selection | Choose between Aluminum (prototypes) or Tool Steel (production) | Mould suited for volume and material |
| 3. Fabrication | CNC Machining, EDM | Precision-machined core and cavity |
| 4. Finishing & Assembly | Polishing, fitting components | Complete, assembled mould tool |
| 5. Testing & Refinement (T1) | Trial run, part inspection, adjustments | Approved mould ready for production |
Ready to turn your design into a high-quality, production-ready mould?
The strategic decisions made during the mould making process are critical to your project's success, cost, and timeline. At KINTEK, we specialize in providing the high-precision lab equipment and consumables essential for every stage of mould development and testing.
Whether you are prototyping with aluminum or preparing for high-volume steel tool production, our solutions support the precision, reliability, and quality you demand.
Let's discuss your project requirements. Contact our experts today to ensure your mould is built for optimal performance and efficiency.
Visual Guide
Related Products
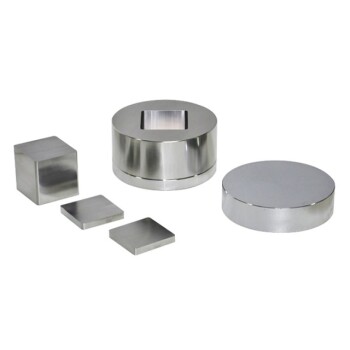
- XRF Boric Acid Lab Powder Pellet Pressing Mold for Laboratory Use
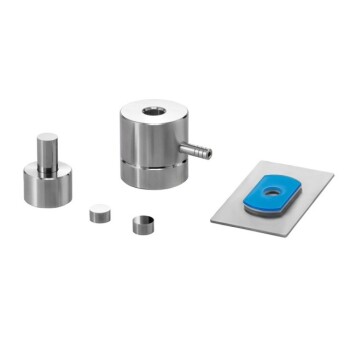
- Anti-Cracking Press Mold for Lab Use
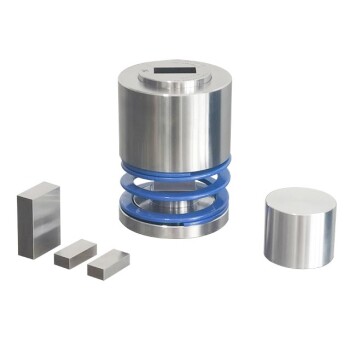
- XRF & KBR steel ring lab Powder Pellet Pressing Mold for FTIR
- Round Bidirectional Press Mold for Lab
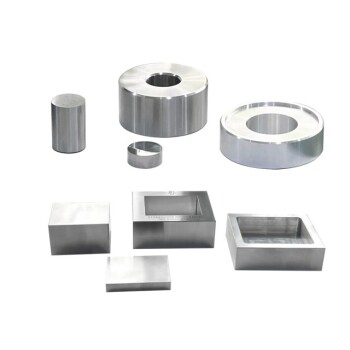
- Square Lab Press Mold for Laboratory Applications
People Also Ask
- What is the purpose of using a mold for pellet pressing when preparing catalyst test samples? Ensure Data Consistency
- What is the XRF method of sampling? Achieve Accurate Elemental Analysis with Proper Sample Prep
- How are samples prepared for XRF analysis? Achieve Accurate and Reliable Results
- How does the selection of a pressure mold affect the performance of all-solid-state batteries? Expert Pelletizing Guide
- How to make XRF pellets? A Step-by-Step Guide for Accurate Sample Preparation