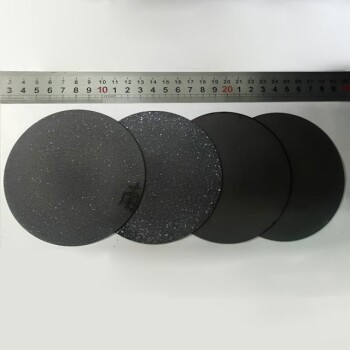
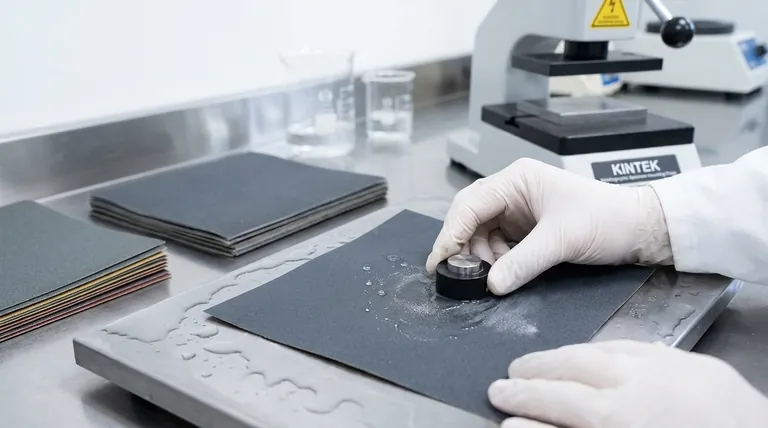
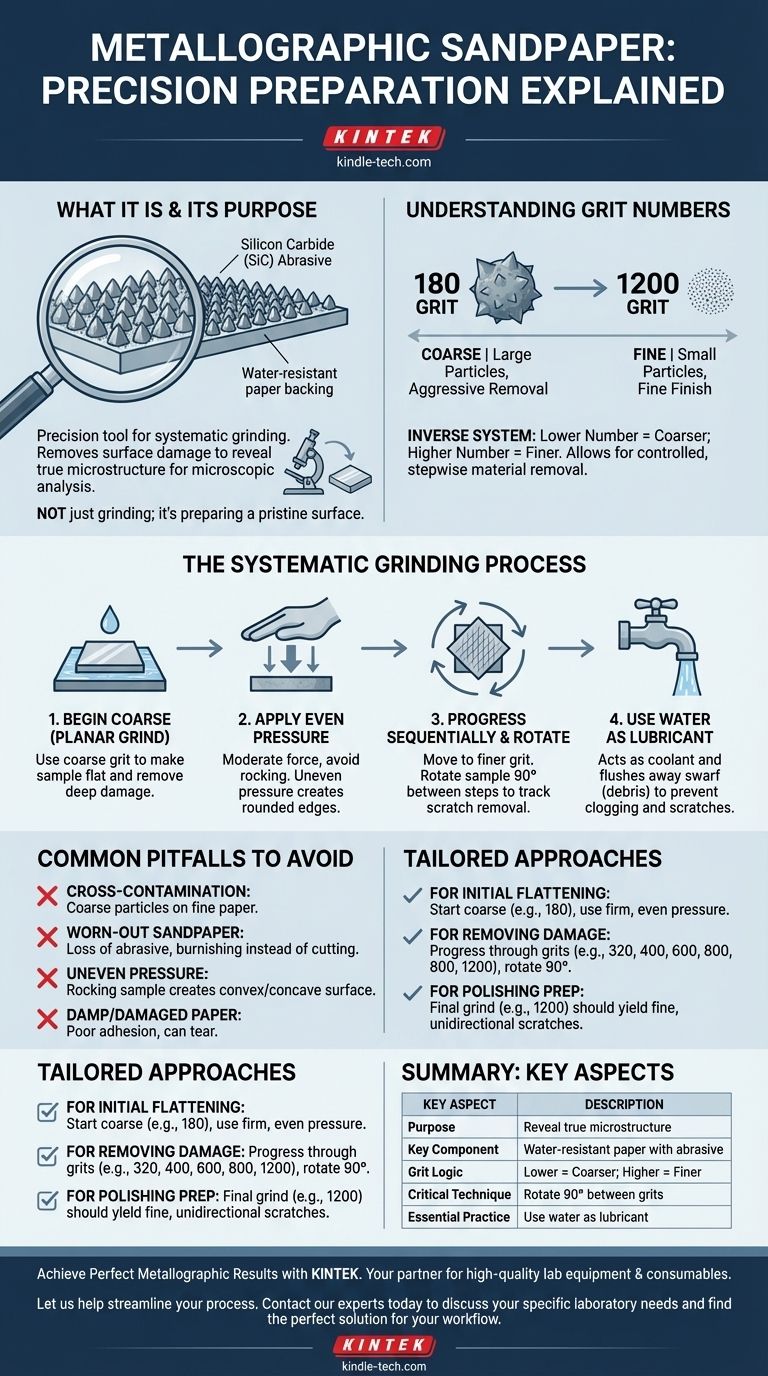
At its core, metallographic sandpaper is a precision tool designed for the systematic grinding of material samples in preparation for microscopic analysis. It consists of a water-resistant paper backing coated with a specific size of abrasive grain, most commonly silicon carbide (SiC), used in sequential stages to remove surface damage and achieve a flat, smooth finish.
The true purpose of using metallographic sandpaper is not simply to grind a sample, but to methodically remove layers of deformation from cutting or sectioning, preparing a pristine surface that reveals the material's true internal microstructure.
The Role of Grinding in Material Analysis
Metallographic preparation is a multi-step process, and grinding is the critical foundation upon which all subsequent steps (polishing and etching) are built. A poorly executed grinding stage cannot be corrected later.
What Defines Metallographic Sandpaper?
The tool itself is composed of two key elements: a water-resistant paper base and a tightly graded abrasive material. Silicon carbide is the standard choice due to its hardness and sharp cutting edges, which efficiently remove material.
Understanding Grit Numbers
The sandpaper's coarseness is defined by its grit number. This system is inverse: a lower grit number (e.g., 180, 240) indicates a larger, more aggressive abrasive particle, while a higher grit number (e.g., 800, 1200) indicates a much finer particle.
This range allows for a controlled, stepwise process of material removal, starting coarse and finishing fine.
The Systematic Grinding Process
Success in metallographic grinding relies on a consistent and repeatable technique. The goal is to remove the damage from the previous step with the next, finer abrasive.
Begin with a Coarse Grit
The first step, often called planar grinding, uses a coarse grit to make the sample perfectly flat and remove the deep damage from sectioning or cutting.
Apply Even, Moderate Pressure
Force should be applied evenly across the entire sample. Pressing too hard will introduce deep, new scratches and subsurface deformation, which will be difficult to remove in later stages.
Progress Through Grits Sequentially
After the initial planar grind, you move to the next finer grit. A critical technique is to rotate the sample 90 degrees between each grit change. This makes the scratches from the previous, coarser step easy to see. You continue grinding until all previous scratches are gone, leaving only a new, finer pattern.
Use Water as a Lubricant
Grinding is almost always performed wet. A steady flow of water over the sandpaper acts as a lubricant and a coolant, and most importantly, it flushes away swarf (the removed material and abrasive debris) to prevent it from clogging the paper and scratching the sample.
Common Pitfalls to Avoid
Mistakes made during grinding are the most common source of poor metallographic results. Understanding these pitfalls is essential for achieving an accurate analysis.
Cross-Contamination of Grits
Never allow coarser grit particles to contaminate a finer grit paper. A single 240-grit particle on a 1200-grit paper will create deep, rogue scratches that ruin the finish. Use separate areas and ensure thorough cleaning of the sample and your hands between steps.
Using Worn-Out Sandpaper
Sandpaper must be replaced when it loses its cutting ability. A worn paper, identified by a significant loss of abrasive material, will burnish or smear the material rather than cut it, introducing deformation instead of removing it.
The Consequences of Uneven Pressure
Applying pressure unevenly, such as by rocking the sample, will round the edges and create a convex or concave surface. This makes achieving focus across the entire sample under a microscope impossible.
Using Damp or Damaged Paper
If the paper is damp before being placed on the grinding platen, it may not adhere properly and can tear. Always ensure the paper is flat and dry before starting.
Making the Right Choice for Your Goal
Your approach should be tailored to the specific stage of preparation you are in.
- If your primary focus is initial flattening: Start with a coarse grit (e.g., 180 or 240) and use firm, even pressure until the entire surface is uniform.
- If your primary focus is removing damage: Progress methodically through each grit (e.g., 320, 400, 600, 800, 1200), using the 90-degree rotation technique to ensure all previous scratches are eliminated.
- If your primary focus is preparing for polishing: Your final grinding step (e.g., 1200 grit) should result in a surface with only very fine, unidirectional scratches, setting the stage for a flawless final polish.
Mastering this foundational grinding process is the single most important step toward revealing the true, clear story hidden within your material.
Summary Table:
| Key Aspect | Description |
|---|---|
| Purpose | Systematically remove surface damage to reveal a material's true microstructure. |
| Key Component | Water-resistant paper coated with abrasive grains (e.g., Silicon Carbide). |
| Grit Number Logic | Lower number = coarser grit; Higher number = finer grit. |
| Critical Technique | Rotate sample 90° between each grit change to track scratch removal. |
| Essential Practice | Always use water as a lubricant and coolant to flush away debris. |
Achieve Perfect Metallographic Results Every Time
Mastering sample preparation is critical for accurate material analysis. The right tools and consumables make all the difference. KINTEK specializes in high-quality lab equipment and consumables, including precision metallographic sandpapers and grinding supplies, to ensure your laboratory operates at peak efficiency and delivers reliable data.
Let us help you streamline your process. Contact our experts today to discuss your specific laboratory needs and find the perfect solution for your workflow.
Visual Guide
Related Products
- Professional Cutting Tools for Carbon Paper Cloth Diaphragm Copper Aluminum Foil and More
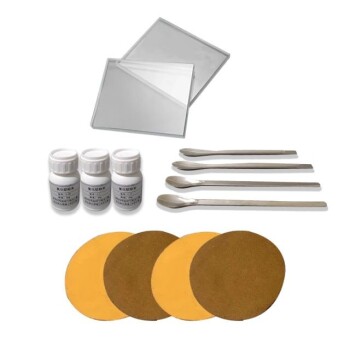
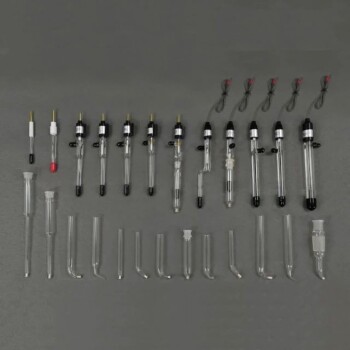
- Electrode Polishing Material for Electrochemical Experiments
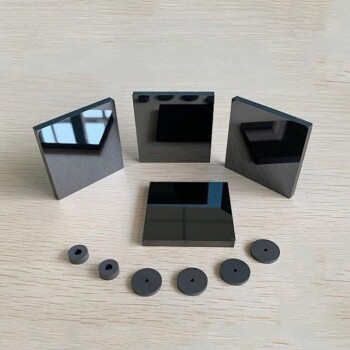
- Silicon Carbide (SIC) Ceramic Sheet Wear-Resistant Engineering Advanced Fine Ceramics
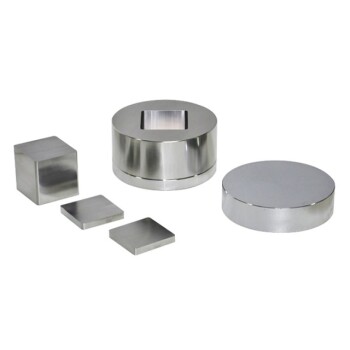
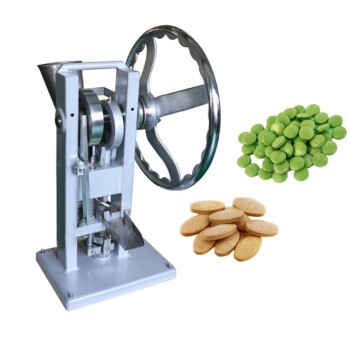
- Square Lab Press Mold for Laboratory Applications
- Laboratory CVD Boron Doped Diamond Materials
People Also Ask
- How should carbon paper be handled during cutting? Prevent Fractures with a Delicate, Precise Approach
- What are the typical uses for carbon paper? Powering Fuel Cells and Advanced Research
- How is carbon paper treated for use in fuel cells? The Critical PTFE Coating for Peak Performance
- How is carbon paper constructed? The Engineered Porous Scaffold for High-Performance Applications
- What is carbon cloth made of? Discover the Versatile High-Performance Fabric