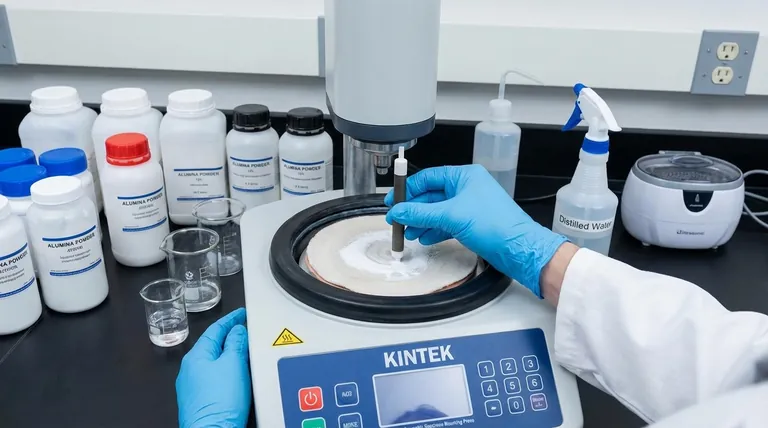
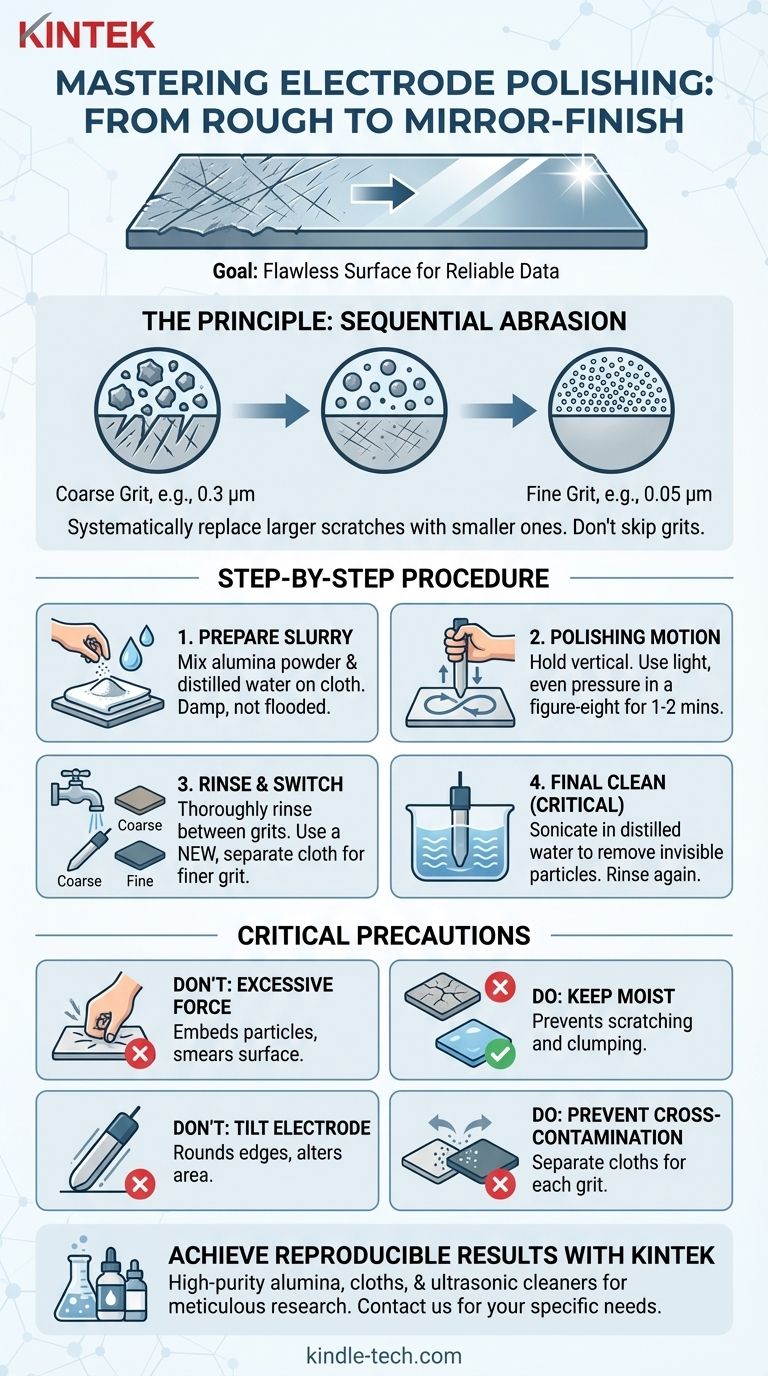
Achieving a flawless, mirror-like finish on an electrode is a precise, multi-stage process, not a matter of simple scrubbing. The general procedure involves preparing an abrasive slurry of alumina powder and distilled water on a polishing cloth, holding the electrode vertically, and polishing with light, even pressure. Key precautions include avoiding excessive force and ensuring the polishing cloth remains consistently moist.
The goal of polishing is not to apply force, but to systematically replace larger surface scratches with progressively smaller ones. A successful outcome depends more on methodical progression through decreasing grit sizes and meticulous cleaning than on the pressure you apply.
The Goal: From Scratched Surface to Perfect Mirror
Polishing an electrode is fundamental to achieving accurate and reproducible results, especially in fields like electrochemistry. A rough or contaminated surface leads to inconsistent data that cannot be trusted.
Why Polishing is Critical for Data Integrity
A poorly prepared electrode has an ill-defined surface area and non-uniform reactivity. This can distort experimental measurements, such as cyclic voltammograms, by causing uneven current distribution.
Proper polishing creates a smooth, clean, and highly reproducible surface, which is the foundation for reliable scientific data.
The Principle of Sequential Abrasion
Think of polishing like sanding wood. You don't start with the finest sandpaper; you begin with a coarser grit to remove major imperfections and then switch to progressively finer grits to create a smooth finish.
The same principle applies here. You will use different grades of alumina powder, moving from a larger particle size (e.g., 1.0 or 0.3 µm) to a much finer one (e.g., 0.05 µm) to achieve a mirror-like surface.
The Step-by-Step Polishing Procedure
Follow these steps methodically. Do not skip the cleaning stages between grits, as this is a common source of failure.
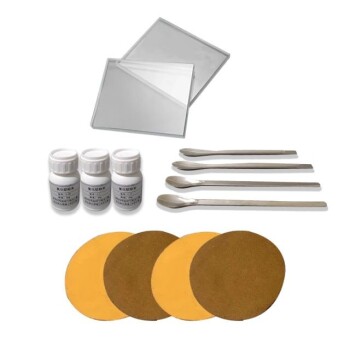
Step 1: Prepare the Coarse Alumina Slurry
Sprinkle a small amount of your starting alumina powder (e.g., 0.3 µm) onto a dedicated polishing cloth or pad.
Add a few drops of distilled water and mix with your finger to form a thin, consistent paste or slurry. The cloth should be damp, not flooded.
Step 2: The Polishing Motion
Hold the electrode so its polishing face is perfectly vertical to the cloth. This ensures you polish the surface evenly and don't round the edges.
Press down with firm but light pressure. The weight of your hand is often sufficient. Move the electrode in a figure-eight pattern across the slurry for 1-2 minutes. This pattern prevents creating directional grooves in the surface.
Step 3: Clean and Progress to Finer Grits
After the first stage, thoroughly rinse the electrode with distilled water to remove all coarse alumina particles.
Switch to a new, clean polishing cloth designated for your fine-grit powder (e.g., 0.05 µm). Repeat Step 1 and Step 2 using this finer abrasive. The surface should begin to take on a highly reflective, mirror-like appearance.
Step 4: Final Cleaning (The Most Critical Step)
After the final polish, residual alumina particles—invisible to the naked eye—will cling to the electrode surface. These must be removed.
Rinse the electrode thoroughly with distilled water. Then, place the electrode tip in a beaker of fresh distilled or deionized water and sonicate it in an ultrasonic bath for several minutes. This dislodges any embedded abrasive particles. Rinse one final time before use.
Common Pitfalls and Key Precautions
Avoiding common mistakes is just as important as following the steps correctly. Understanding the "why" behind these precautions builds better technique.
The Problem with Excessive Force
Applying too much pressure is counterproductive. It can embed the alumina particles into the soft electrode material, contaminating it permanently. It can also cause plastic deformation of the surface, known as "smearing," which hides underlying defects rather than removing them.
The Risk of a Dry Polishing Cloth
If the cloth begins to dry out, the slurry becomes a thick paste. The lubricating effect of the water is lost, increasing friction and heat. This can cause the alumina particles to clump together, creating deep scratches instead of polishing the surface. Always add more distilled water if you feel resistance increasing.
Why Vertical Alignment Matters
Holding the electrode at an angle will preferentially wear down the edges, creating a domed or rounded surface. This alters the active area of your electrode and leads to inaccurate current density calculations. A vertical hold ensures a uniformly flat surface.
The Danger of Cross-Contamination
Never use the same polishing cloth for different grit sizes. A single particle of coarse 0.3 µm alumina on your 0.05 µm finishing pad will ruin your mirror finish by creating new, deep scratches. Keep your pads separate and clearly labeled.
Making the Right Choice for Your Experiment
Your polishing strategy should match the demands of your application.
- If your primary focus is routine electrochemical analysis: A two-stage polish (e.g., 0.3 µm followed by 0.05 µm) and a thorough post-sonication cleaning are typically sufficient for reliable data.
- If you are preparing for surface-sensitive techniques (like AFM, STM, or self-assembled monolayers): A meticulous, multi-stage polish (perhaps starting at 1.0 µm) and extensive cleaning are non-negotiable to achieve a near-atomically flat and pristine surface.
- If you see persistent scratches after finishing: Do not continue with the fine polish. Revert to the coarser grit to fully remove the deep scratch, then proceed through the finer stages again.
This disciplined approach transforms polishing from a chore into a cornerstone of reliable and reproducible scientific discovery.
Summary Table:
| Stage | Key Action | Critical Precaution |
|---|---|---|
| Preparation | Create alumina slurry on cloth | Use distilled water; cloth should be damp, not flooded |
| Polishing | Use figure-eight motion with light pressure | Hold electrode vertically to avoid rounding edges |
| Cleaning | Rinse and sonicate between grits | Prevent cross-contamination; use separate cloths for each grit |
| Final Steps | Sonicate in distilled water after final polish | Remove all invisible abrasive particles for a pristine surface |
Achieve Reproducible Results with Expert-Grade Lab Equipment
Polishing is a foundational step for reliable electrochemical data. The right tools are just as critical as the right technique. KINTEK specializes in high-purity lab equipment and consumables—including precision alumina powders, dedicated polishing cloths, and ultrasonic cleaners—designed to support meticulous researchers like you.
Let us help you build a foundation of trust in your data.
Contact our lab equipment experts today to discuss your specific polishing and surface preparation needs. We'll help you select the ideal products to ensure your electrodes are perfectly prepared for accurate, reproducible science.
Visual Guide
Related Products
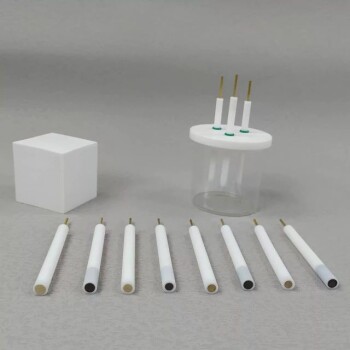
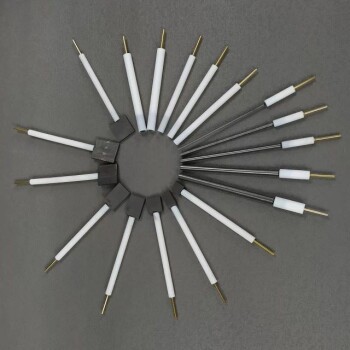
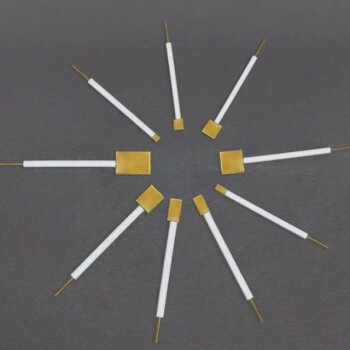
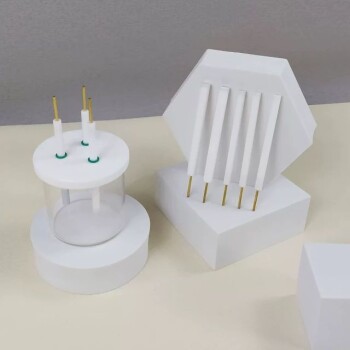
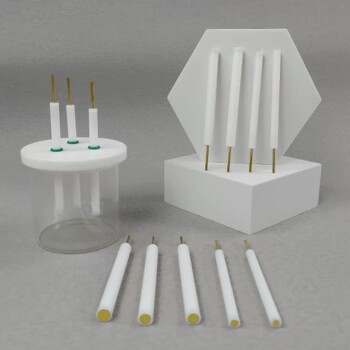
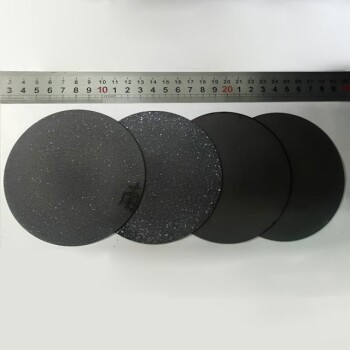
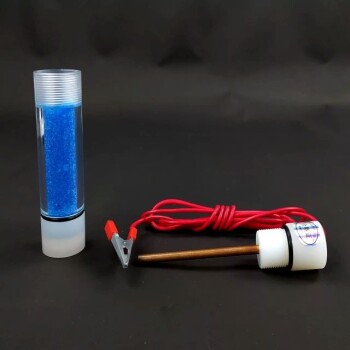
- Electrode Polishing Material for Electrochemical Experiments
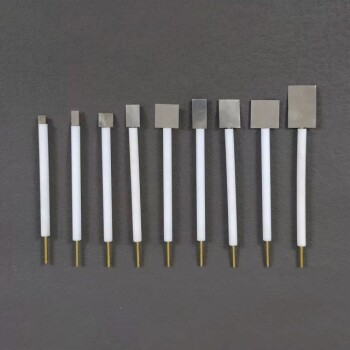
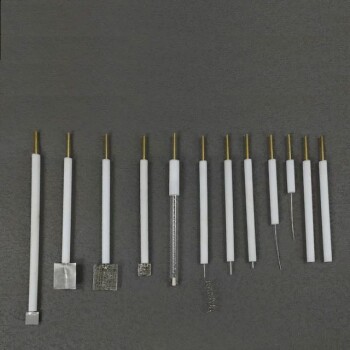
- Metal Disc Electrode Electrochemical Electrode
- Graphite Disc Rod and Sheet Electrode Electrochemical Graphite Electrode
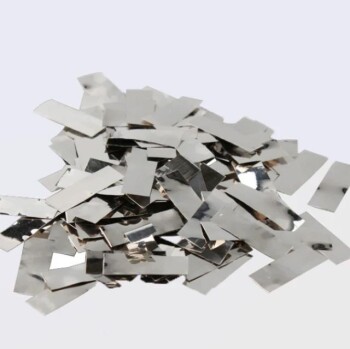
- Platinum Sheet Electrode for Laboratory and Industrial Applications
- Gold Electrochemical Sheet Electrode Gold Electrode
People Also Ask
- How do you prepare the polishing setup for an electrode? Achieve a Flawless Mirror Finish for Reliable Electrochemistry
- What are the examples of electrode materials? From Platinum to Graphite for Your Application
- How is a polished electrode tested for quality? Validate Performance with Cyclic Voltammetry
- What criteria are used during the visual inspection of electrodes? Essential Quality Assessment for Your Lab
- What is the correct technique for polishing an electrode? Master the Steps for Reliable Electrochemical Data