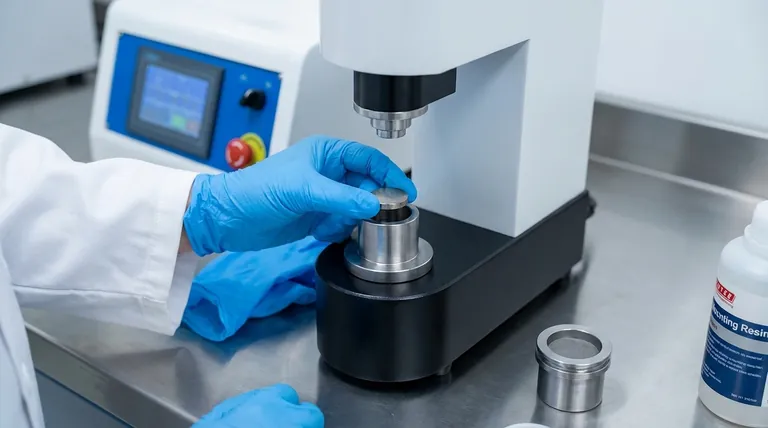
To properly install a sample, you must place it carefully in the designated position on the holder and adjust the clamping force. The clamp should be firm enough to prevent any movement but not so tight that it damages the sample. For specific applications like electrochemistry, this installation is also critical for establishing a good electrical connection.
The goal of sample mounting is not just to hold the sample, but to ensure the integrity of your experiment. A correct installation creates a stable, well-defined system, which is the foundation for gathering reliable and repeatable data.
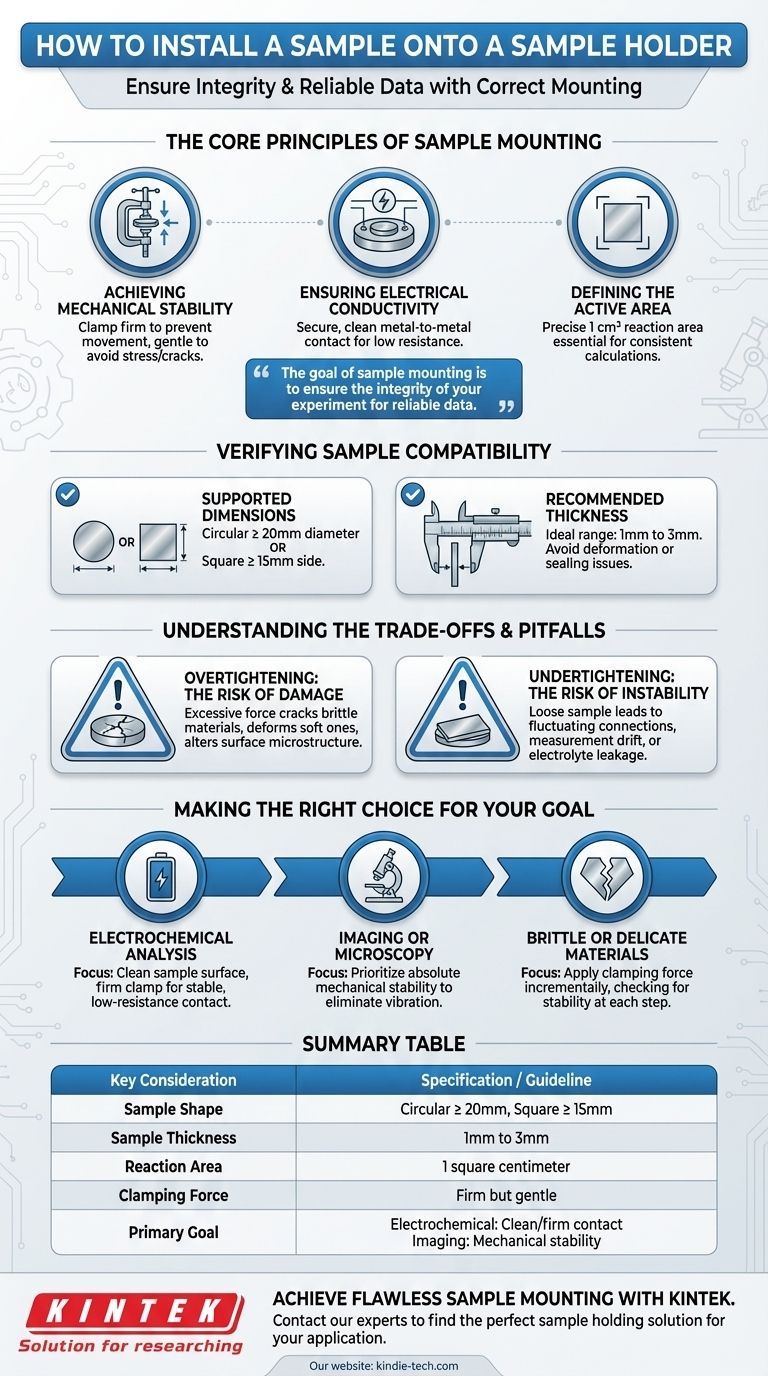
The Core Principles of Sample Mounting
Properly mounting a sample goes beyond the physical steps; it's about controlling variables that can invalidate your results. Understanding these principles is key to avoiding common sources of experimental error.
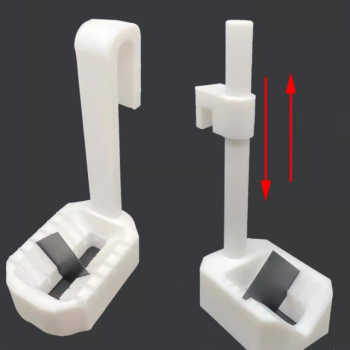
Achieving Mechanical Stability
The most basic function of the holder is to keep the sample stationary. Any loosening, shifting, or vibration during measurement can introduce artifacts into your data.
The clamping force must be perfectly balanced. It needs to be firm enough to prevent any movement but gentle enough to avoid causing stress, cracks, or deformation in the sample material.
Ensuring Electrical Conductivity
In an electrochemical experiment, the sample holder often acts as an electrode clamp. A poor connection between the holder and the sample introduces high electrical resistance.
This resistance will skew voltage and current readings, making your data inaccurate and unreliable. A secure, clean metal-to-metal contact is non-negotiable for valid electrochemical results.
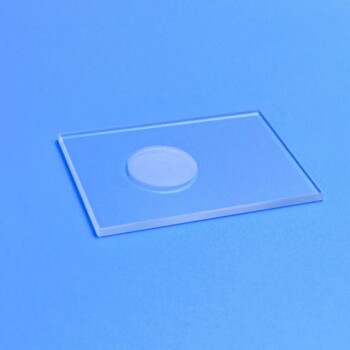
Defining the Active Area
The holder defines the specific surface area of the sample exposed to the experiment, such as a chemical reaction or an electrolyte. The provided specifications note a reaction area of one square centimeter.
If the sample is mounted incorrectly, this area can change, or leakage can occur around the edges. This makes it impossible to accurately compare results between different samples, as calculations like current density depend on a precise and consistent area.
Verifying Sample Compatibility
Before installation, always confirm your sample meets the holder's required specifications. Using an incompatible sample is a primary cause of mounting failure.
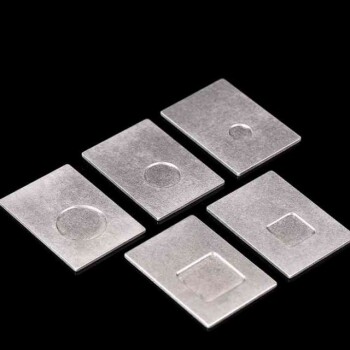
Supported Dimensions
The holder is designed for circular samples with a diameter of 20mm or greater, or square samples with a side length of 15mm or greater.
Samples smaller than this will not be secured properly by the clamping mechanism, leading to instability.
Recommended Thickness
The ideal sample thickness is between 1mm and 3mm.
A sample that is too thin may deform or break under clamping pressure, while a sample that is too thick may not allow the holder to close or seal correctly.
Understanding the Trade-offs and Pitfalls
The line between a secure sample and a damaged one is thin. Awareness of the common failure modes is critical for success.
Overtightening: The Risk of Damage
Applying excessive force is a common mistake. This can crack brittle materials, permanently deform soft ones, or alter the surface microstructure you intend to study.
A damaged sample means the experiment is invalid before it even begins, as you are no longer measuring the material's intrinsic properties.
Undertightening: The Risk of Instability
A loose sample is just as detrimental. It can lead to a fluctuating electrical connection, drift in measurements, or leakage of electrolyte under the seal.
Any of these issues will introduce significant noise and error into your data, rendering it unusable. Always check for wiggle or movement after clamping.
Making the Right Choice for Your Goal
Your experimental objective should guide your focus during the mounting process.
- If your primary focus is electrochemical analysis: Verify a clean sample surface and a firm clamp to guarantee a stable, low-resistance electrical connection.
- If your primary focus is surface imaging or microscopy: Prioritize absolute mechanical stability above all to eliminate vibration and ensure a clear, focused image.
- If you are working with brittle or delicate materials: Apply clamping force incrementally, checking for stability at each step to avoid fracturing the sample.
Proper sample mounting is the first and most critical step in ensuring the integrity of your scientific data.
Summary Table:
| Key Consideration | Specification / Guideline |
|---|---|
| Sample Shape | Circular (≥ 20mm diameter) or Square (≥ 15mm side) |
| Sample Thickness | Ideal range: 1mm to 3mm |
| Reaction Area | 1 square centimeter |
| Clamping Force | Firm enough to prevent movement, gentle enough to avoid damage |
| Primary Goal | Electrochemical Analysis: Ensure clean, firm electrical contact. Imaging/Microscopy: Prioritize absolute mechanical stability. |
Achieve Flawless Sample Mounting with KINTEK
Proper sample installation is the foundation of reliable data. Whether your priority is electrochemical accuracy, high-resolution imaging, or handling delicate materials, the right equipment is crucial.
KINTEK specializes in high-precision lab equipment and consumables, including sample holders designed for mechanical stability and superior electrical conductivity. Our products help you eliminate experimental error from the very first step.
Let us help you ensure the integrity of your science.
Contact our experts today to find the perfect sample holding solution for your specific application and material requirements.
Visual Guide
Related Products
- XRD Sample Holder X-ray Diffractometer Powder Slide
- Customizable XRD Sample Holders for Diverse Research Applications
- Sample Support Body for Electrochemical Tests
- Custom PTFE Wafer Holders for Lab and Semiconductor Processing
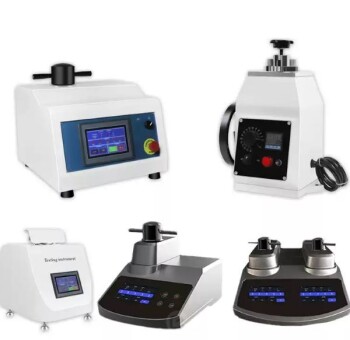
- Metallographic Specimen Mounting Machine for Laboratory Materials and Analysis
People Also Ask
- What is the typical function of the sample holder in an electrochemical experiment? It's the Active Working Electrode
- What are the temperature and pressure limitations for using the sample holder? Essential Guide for Lab Safety
- What materials are the sample holders made of? Engineered with PTFE and PEEK for Purity
- What are the specific cleaning procedures for maintaining a sample holder? Ensure Data Integrity with a Proven Protocol
- How should a sample holder be cleaned and inspected before use? Ensure Reliable Lab Results