The most effective material for calibrating a porcelain furnace is not a third-party kit, but a sample of the clearest powder from the specific porcelain system you are using. Experienced ceramists fire this sample and evaluate its translucency and surface texture to fine-tune the furnace's firing cycle. This approach ensures the furnace is optimized for the exact materials being used in your restorations.
True furnace calibration is less about hitting a specific temperature on a display and more about achieving a specific, predictable result in the ceramic itself. It is a visual and tactile process aimed at producing maximum clarity and sharply defined edges in the final porcelain.
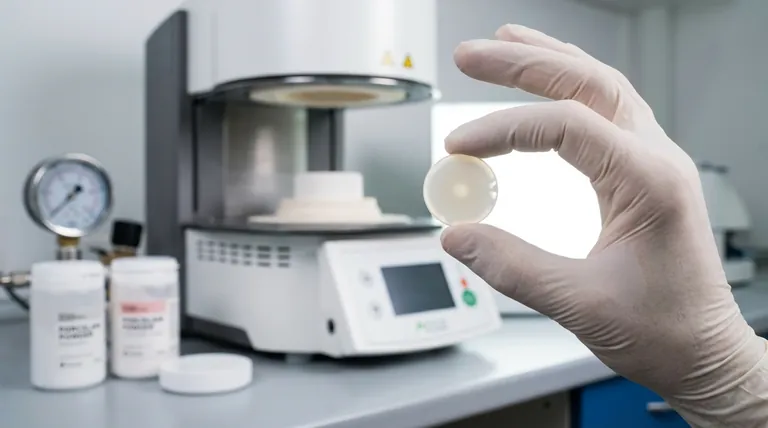
Why Calibration Is About the Ceramic, Not Just the Furnace
A porcelain furnace's job is to apply heat and vacuum precisely. However, over time, the heating element (muffle) ages and the thermocouple that measures temperature can drift. The number on the display may no longer represent the true temperature inside the chamber, leading to inconsistent results.
The Role of the Porcelain Powder
The most reliable way to check a furnace's true firing temperature is to see how it affects the porcelain you use every day.
Using the clearest (most translucent) powder in your specific porcelain system acts as a highly sensitive indicator. This is because translucency is directly impacted by achieving the perfect maturation temperature—too low and it's opaque, too high and it becomes milky or glassy with rounded edges.
Key Visual Indicators for Calibration
When you fire a sample of the translucent powder, you are looking for a very specific outcome.
- Maximum Clarity: The sample should be as clear and translucent as possible, indicating it has reached its ideal firing temperature without being over-fired.
- Sharply Defined Edges: The edges of the fired sample should remain sharp and not appear rounded. Rounded edges are a classic sign that the temperature was too high.
- Surface Texture: The surface should have the correct texture as defined by the manufacturer, not a glossy, melted appearance.
Understanding the Critical Factors
Achieving a perfect restoration involves more than just temperature. A comprehensive calibration process must account for other variables that can change over time.
It's Not Just Heat: The Vacuum Factor
Vacuum pressure is equally critical. A gradual loss of vacuum can introduce bubbles or porosity into the ceramic, even if the temperature is perfectly calibrated.
For older furnaces especially, a slow leak in the vacuum system is a common cause of sudden changes in porcelain quality. Confirming the vacuum level with a simple, inexpensive vacuum gauge can quickly diagnose this issue.
How Often Should You Calibrate?
The required frequency depends on your furnace's age and your workload.
- New, Well-Maintained Furnaces: For a furnace under average production levels, calibrating every six months is generally sufficient.
- Older or Heavily Used Furnaces: As the muffle ages or the frequency of use increases, calibration should be performed more often.
- Sudden Changes: You should always perform a calibration firing whenever you notice a sudden change in the appearance of your porcelain restorations.
Making the Right Choice for Your Lab
Calibrating your furnace is an essential step for quality control. Use this guidance to establish a reliable protocol for your specific needs.
- If your primary focus is routine maintenance: Fire a sample of your system's clearest porcelain powder every six months to verify that you are still achieving maximum translucency and sharp edges.
- If you are troubleshooting inconsistent results: Immediately fire a test sample and, just as importantly, verify your vacuum pressure is holding steady throughout the cycle.
- If you are working with an older furnace: Increase your calibration frequency and consider investing in a hardware store vacuum gauge to monitor for pressure drops, a common failure point in aging equipment.
Ultimately, successful calibration is measured not by the furnace's display, but by the consistent, high-quality results of your final restorations.
Summary Table:
| Key Calibration Factor | Why It Matters | Key Indicator |
|---|---|---|
| Porcelain Powder | Acts as a sensitive indicator of true temperature. | Maximum clarity and sharp edges in the fired sample. |
| Vacuum Pressure | Prevents bubbles and porosity in the ceramic. | Holds steady pressure throughout the cycle. |
| Calibration Frequency | Maintains consistent results as the furnace ages. | New furnaces: every 6 months. Older/heavy-use: more often. |
Achieve consistent, high-quality dental restorations with a properly calibrated furnace.
KINTEK specializes in providing reliable lab equipment and consumables for dental laboratories. If you are experiencing inconsistent porcelain results or need guidance on establishing a robust calibration protocol for your specific furnace, our experts can help.
Contact KINTEK today to discuss your lab's needs and ensure your equipment is performing optimally for every restoration.
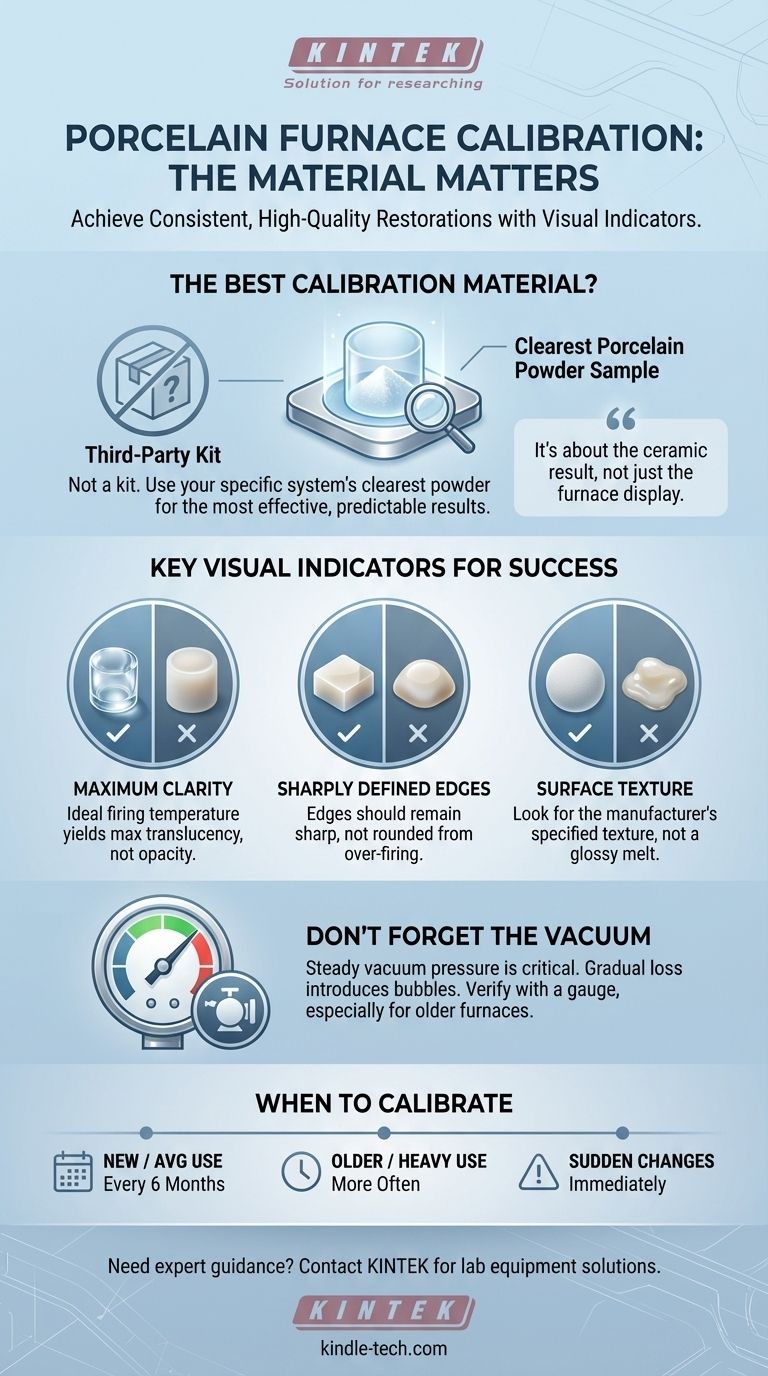
Visual Guide
Related Products
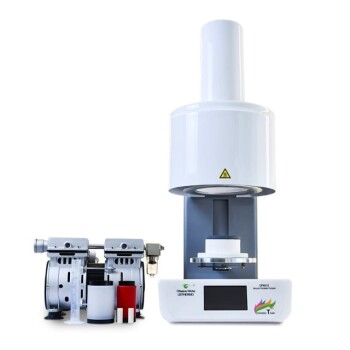
- Dental Porcelain Zirconia Sintering Ceramic Vacuum Press Furnace
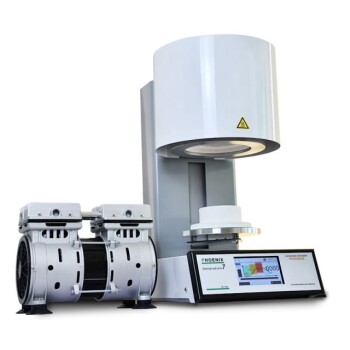
- Vacuum Dental Porcelain Sintering Furnace
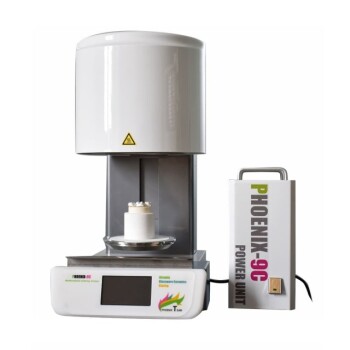
- Dental Porcelain Zirconia Sintering Ceramic Furnace Chairside with Transformer
- Ultra-High Temperature Graphite Vacuum Graphitization Furnace
- Vertical High Temperature Graphite Vacuum Graphitization Furnace
People Also Ask
- What is the sintering temperature of zirconia ceramic? Mastering the 1400°C-1600°C Thermal Profile
- What factors are important to consider when choosing a dental sintering furnace? Match Your Workflow for Optimal Results
- What is the shrinkage of zirconia during sintering? Mastering the 20-25% Dimensional Change
- How hot does a dental sintering furnace get? Unlock the Key to Perfect Restorations
- What is the price of zirconia sintering furnace? Invest in Precision, Not Just a Price Tag
