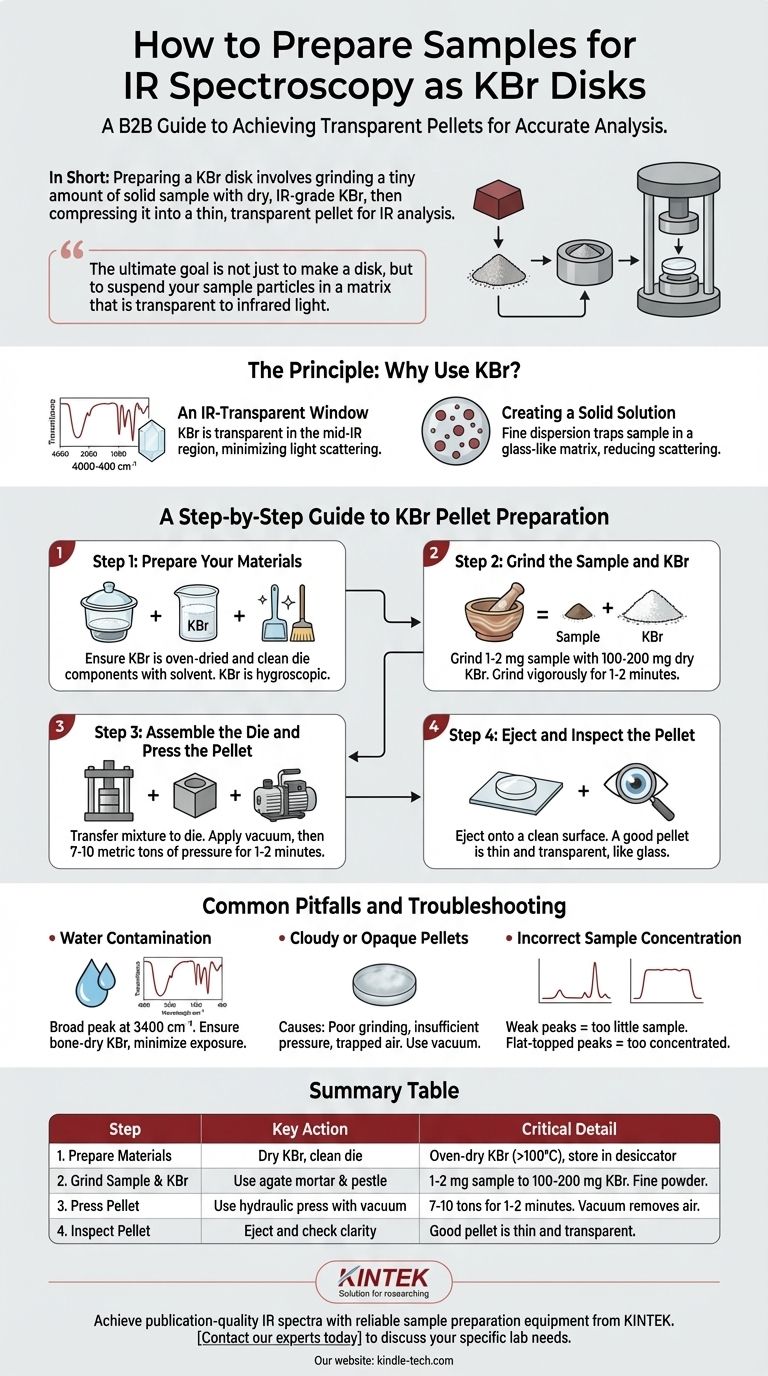
In short, preparing a KBr disk involves grinding a tiny amount of your solid sample with a larger amount of dry, infrared-grade potassium bromide (KBr). This fine powder is then placed into a die and compressed under high pressure using a hydraulic press, which fuses the mixture into a thin, transparent pellet suitable for IR analysis.
The ultimate goal is not just to make a disk, but to suspend your sample particles in a matrix that is transparent to infrared light. This minimizes light scattering and allows the spectrometer to detect the unique vibrational absorptions of your compound, resulting in a clean and interpretable spectrum.

The Principle: Why Use KBr?
An IR-Transparent Window
Solid samples are often difficult to analyze directly in IR spectroscopy. In their powdered form, the small crystals scatter the IR beam, leading to a distorted and noisy baseline.
The KBr pellet technique solves this problem. Potassium bromide (KBr) is a salt that is transparent across the entire mid-infrared region (4000-400 cm⁻¹) where most fundamental molecular vibrations occur.
Creating a Solid Solution
By grinding the sample into KBr, you disperse its particles finely and uniformly. When pressed, the KBr fuses under pressure, trapping the sample molecules in a solid, glass-like matrix. This significantly reduces scattering and allows the IR beam to pass through the sample.
A Step-by-Step Guide to KBr Pellet Preparation
Step 1: Prepare Your Materials
The quality of your spectrum depends entirely on the purity and dryness of your materials. KBr is hygroscopic, meaning it readily absorbs water from the atmosphere.
First, ensure your KBr is spectroscopic grade and has been thoroughly dried, typically in an oven at >100°C for several hours, and stored in a desiccator.
Next, clean all components of the pellet die (anvil, plunger, and barrel) with an appropriate solvent like acetone or chloroform and wipe them completely dry. Any residue will appear in your spectrum.
Step 2: Grind the Sample and KBr
This is the most critical step for achieving a clear pellet. You will need an agate mortar and pestle for effective grinding.
Use a ratio of approximately 1-2 mg of your solid sample to 100-200 mg of dry KBr.
Add the sample and a small amount of KBr to the mortar. Grind vigorously for 1-2 minutes until the sample is completely dispersed and the mixture looks like a fine, homogenous powder. Then, add the remaining KBr and mix gently.
Step 3: Assemble the Die and Press the Pellet
Carefully transfer a portion of the powder mixture into the die barrel, ensuring an even layer at the bottom.
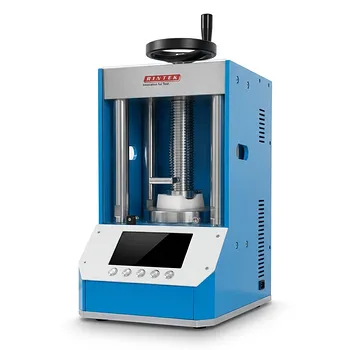
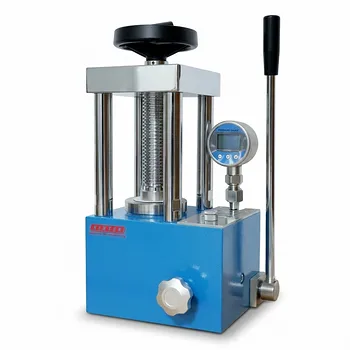
Place the die into a hydraulic press. Many pellet presses have a vacuum connection; applying a vacuum for a few minutes before and during compression helps remove trapped air and residual moisture.
Slowly apply pressure, typically between 7 to 10 metric tons, and hold it for 1-2 minutes. This high pressure causes the KBr to cold-flow and fuse into a coherent disk.
Step 4: Eject and Inspect the Pellet
Carefully release the pressure and remove the die from the press. Eject the pellet onto a clean, soft surface.
A good pellet should be thin and transparent or translucent, similar to a small piece of glass. If it is opaque or cloudy, your spectrum will likely be poor.
Common Pitfalls and Troubleshooting
The Problem of Water Contamination
The most common issue is contamination from water. This will appear as a very broad, strong absorption band around 3400 cm⁻¹ (O-H stretching) and a weaker band around 1640 cm⁻¹ (H-O-H bending).
To avoid this, ensure your KBr is bone-dry, your sample is dry, and you work quickly to minimize exposure to humid air.
Cloudy or Opaque Pellets
A cloudy pellet is typically caused by one of three issues:
- Poor Grinding: The sample particles are still too large and are scattering the IR light.
- Insufficient Pressure: The KBr did not fully fuse. Try pressing again at a higher pressure.
- Trapped Air/Moisture: Use a vacuum during pressing to remove air pockets.
Incorrect Sample Concentration
If your spectrum shows very weak peaks, you used too little sample. If the strongest peaks are "flat-topped" and show zero transmittance, the sample is too concentrated, causing total absorption. Adjust your sample-to-KBr ratio accordingly.
Making the Right Choice for Your Goal
The KBr method is powerful but requires practice. Consider your objective when deciding how much effort to invest.
- If your primary focus is obtaining a publication-quality spectrum: Meticulous preparation is essential. Prioritize thorough grinding and absolute dryness of all materials.
- If your primary focus is a quick, routine identification: A slightly imperfect but translucent pellet is often sufficient to identify the main functional groups.
- If your sample is sensitive to pressure or reacts with KBr: This method is unsuitable. You should consider an alternative like the Nujol mull technique.
Ultimately, mastering this technique is a valuable skill that gives you complete control over the quality of your spectral data.
Summary Table:
| Step | Key Action | Critical Detail |
|---|---|---|
| 1. Prepare Materials | Dry KBr, clean die | KBr is hygroscopic; must be oven-dried (>100°C) and stored in a desiccator. |
| 2. Grind Sample & KBr | Use agate mortar & pestle | Ratio: 1-2 mg sample to 100-200 mg KBr. Grind to a fine, homogenous powder. |
| 3. Press Pellet | Use hydraulic press with vacuum | Apply 7-10 tons of pressure for 1-2 minutes. Vacuum removes air/moisture. |
| 4. Inspect Pellet | Eject and check clarity | A good pellet is thin and transparent. Cloudiness indicates poor grinding or moisture. |
Achieve publication-quality IR spectra with reliable sample preparation equipment from KINTEK.
Whether you are identifying functional groups or requiring high-precision data, the quality of your KBr pellet directly impacts your results. KINTEK specializes in supplying durable hydraulic presses, agate mortars and pestles, and high-purity infrared-grade KBr—all essential for consistent, clear pellets.
Our products are designed for laboratory professionals who value accuracy and efficiency. Let us help you master this fundamental technique and enhance your analytical capabilities.
Contact our experts today to discuss your specific lab needs and discover the right equipment for your spectroscopy workflow.
Visual Guide
Related Products
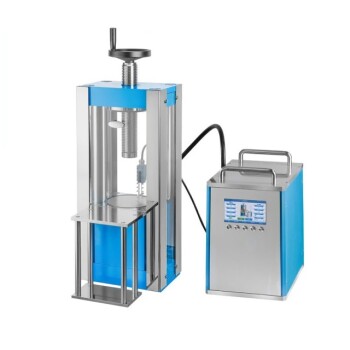
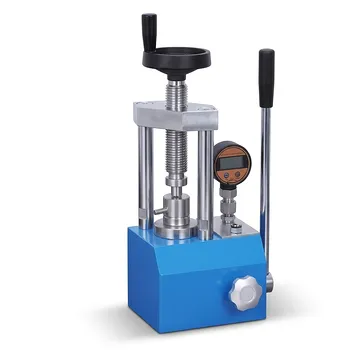
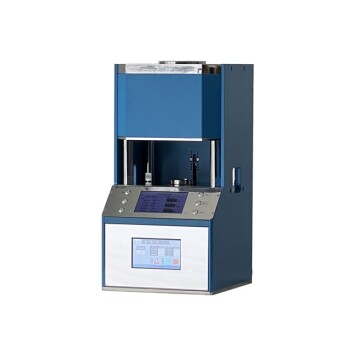
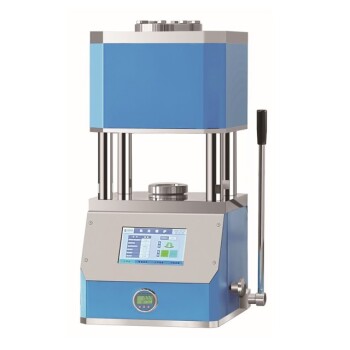
- Laboratory Hydraulic Pellet Press for XRF KBR FTIR Lab Applications
- Automatic Laboratory Hydraulic Press for XRF & KBR Pellet Press
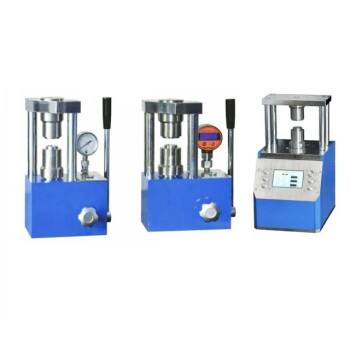
- kbr pellet press 2t
- XRF & KBR steel ring lab Powder Pellet Pressing Mold for FTIR
- XRF & KBR plastic ring lab Powder Pellet Pressing Mold for FTIR
People Also Ask
- What is the necessity of using a laboratory hydraulic pellet press in the preparation of biomass fuel pellets? Guide
- How does a laboratory hydraulic pellet press contribute to SiCw/2024 aluminum composite preforms? Optimize Densification
- What key role does a laboratory pellet press play in FTIR analysis? Master KBr Sample Preparation Excellence
- What is the role of a laboratory hydraulic pellet press and stainless steel molds in the fabrication of RuO2/NbC anodes?
- Why is a laboratory hydraulic press used to compress powders into pellets? Enhance Solid-State Reaction Kinetics