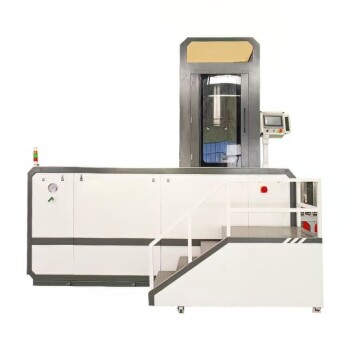
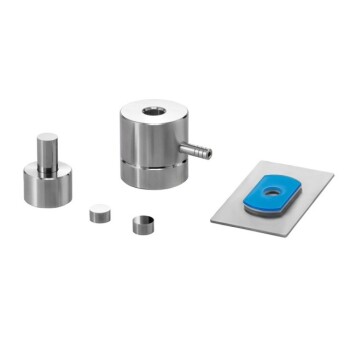
At its core, compression molding is a conceptually simple process. It involves placing a pre-measured amount of raw material, known as the "charge," into the cavity of a heated, open mold. The mold is then closed, and immense pressure is applied, forcing the material to fill the cavity and conform to its shape. Heat and pressure are maintained until the material cures, resulting in a solid, finished part.
The simplicity of the process—squeezing material into a final shape—belies its true purpose. Compression molding is a strategic choice for manufacturing large, high-strength, and dimensionally stable parts, particularly from composite materials, where other methods would be impractical or less effective.
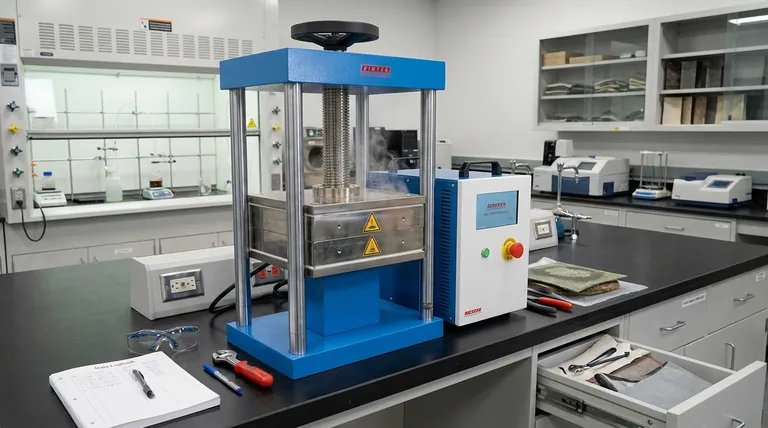
The Mechanics of the Process
To truly understand compression molding, we must look beyond the basic steps and examine the interaction between material, heat, and pressure. Each phase is critical to achieving a high-quality component.
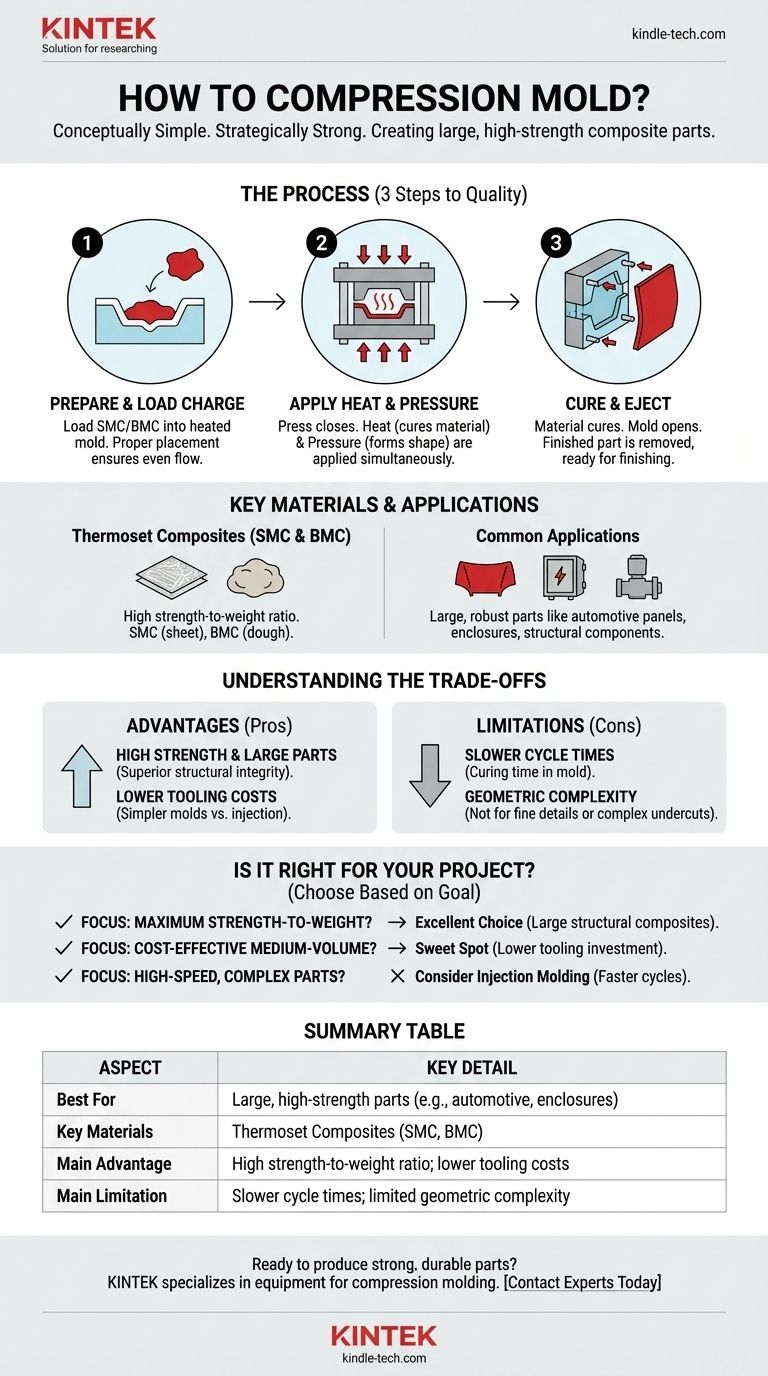
Step 1: Preparing and Loading the Charge
The "charge" is the precise quantity of molding material required for the part. This material is often a thermoset composite like Sheet Molding Compound (SMC) or Bulk Molding Compound (BMC).
The charge is carefully placed into the bottom half of the open mold. Proper placement, typically in the center, is crucial to ensure the material flows evenly throughout the cavity when pressure is applied, preventing voids or weak spots.
Step 2: Applying Heat and Pressure
Once the charge is loaded, a hydraulic press closes the mold. Two critical forces are now at work: heat and pressure.
The mold is heated to a specific temperature, which serves two functions. It lowers the viscosity of the material, allowing it to flow more easily, and it initiates the chemical cross-linking reaction (curing) in thermoset materials.
Simultaneously, the press applies significant compressive force. This pressure ensures the material conforms to every detail of the mold and forces out any trapped air.
Step 3: Curing and Part Ejection
The mold remains closed under heat and pressure for a predetermined amount of time. During this "cure time," the thermoset material undergoes an irreversible chemical change, hardening into a solid, stable state.
After curing is complete, the press is opened, and the finished part is removed from the mold, often with the assistance of ejector pins. The part may then undergo minor finishing operations like trimming excess flash.
Key Materials and Their Applications
The choice of material is fundamental to the success of a compression-molded part. While various materials can be used, the process is dominated by high-strength thermoset composites.
Thermoset Composites: SMC and BMC
Sheet Molding Compound (SMC) is the most common material. It is a "ready-to-mold" sheet that combines resin (like polyester or vinyl ester), fillers, and chopped fiber reinforcement (typically glass fibers).
Bulk Molding Compound (BMC) is similar but has a dough-like consistency with shorter fibers. It is well-suited for molding more complex shapes compared to SMC. Both materials offer an exceptional strength-to-weight ratio.
Common Applications
These high-strength properties make compression molding ideal for producing large, robust parts. Common examples include automotive body panels, hoods, electrical enclosures, and structural components for industrial equipment.
Understanding the Trade-offs
No manufacturing process is perfect for every application. Choosing compression molding requires a clear understanding of its inherent advantages and limitations.
Advantage: High Strength and Large Parts
The ability to use long-fiber reinforced composites allows for the creation of components with superior stiffness and structural integrity. The process is one of the most cost-effective ways to produce very large composite parts.
Advantage: Lower Tooling Costs (vs. Injection Molding)
Compression molds are generally simpler and more durable than their injection molding counterparts. They do not require complex runner and gate systems, and they operate at lower pressures, resulting in significantly lower upfront tooling investment.
Limitation: Slower Cycle Times
The need for the material to cure within the mold makes cycle times inherently longer than those of thermoplastic processes like injection molding. This can make it less suitable for extremely high-volume production of smaller parts.
Limitation: Geometric Complexity
While compression molding can produce parts with a fair amount of detail, it is not ideal for components with very fine features, sharp internal corners, or complex undercuts. The material flow is not as controlled as in injection molding.
Is Compression Molding Right for Your Project?
Your choice should be guided by your project's primary goal: strength, cost, or production speed.
- If your primary focus is maximum strength-to-weight: Compression molding is an excellent choice, especially for large structural components using SMC or other fiber-reinforced composites.
- If your primary focus is cost-effective medium-volume production: This process hits a sweet spot where tooling costs for injection molding are prohibitive, but you need more durability than other methods can offer.
- If your primary focus is high-speed, high-volume production of complex parts: You should strongly consider injection molding, as its rapid cycle times are better suited for that goal.
Understanding this balance between material capability, tooling cost, and production speed is the key to leveraging compression molding effectively.
Summary Table:
| Aspect | Key Detail |
|---|---|
| Best For | Large, high-strength parts (e.g., automotive panels, enclosures) |
| Key Materials | Thermoset Composites (SMC, BMC) |
| Main Advantage | High strength-to-weight ratio; lower tooling costs vs. injection molding |
| Main Limitation | Slower cycle times; limited geometric complexity |
Ready to produce strong, durable parts for your laboratory or industrial needs?
KINTEK specializes in providing the equipment and consumables that power advanced manufacturing processes like compression molding. Whether you're developing new composite materials or scaling up production, our expertise can help you achieve superior results. Contact our experts today to discuss how we can support your project with reliable lab solutions.
Visual Guide
Related Products
- Laboratory Hydraulic Press Split Electric Lab Pellet Press
- Laboratory Hydraulic Press Lab Pellet Press Machine for Glove Box
- Automatic Laboratory Hydraulic Press for XRF & KBR Pellet Press
- Laboratory Hydraulic Press Lab Pellet Press for Button Battery
- Automatic High Temperature Heated Hydraulic Press Machine with Heated Plates for Lab
People Also Ask
- What is KBr disc method? A Complete Guide to IR Spectroscopy Sample Prep
- What is a hydraulic press for sample preparation? Create Consistent Pellets for Reliable Analysis
- What is the purpose of KBr pellets? Unlock Clear FTIR Analysis of Solid Samples
- What is an example of a hydraulic press? Discover the Power of Laboratory Sample Preparation
- What is the use of potassium bromide in IR? Achieve Clear Solid Sample Analysis with KBr Pellets

