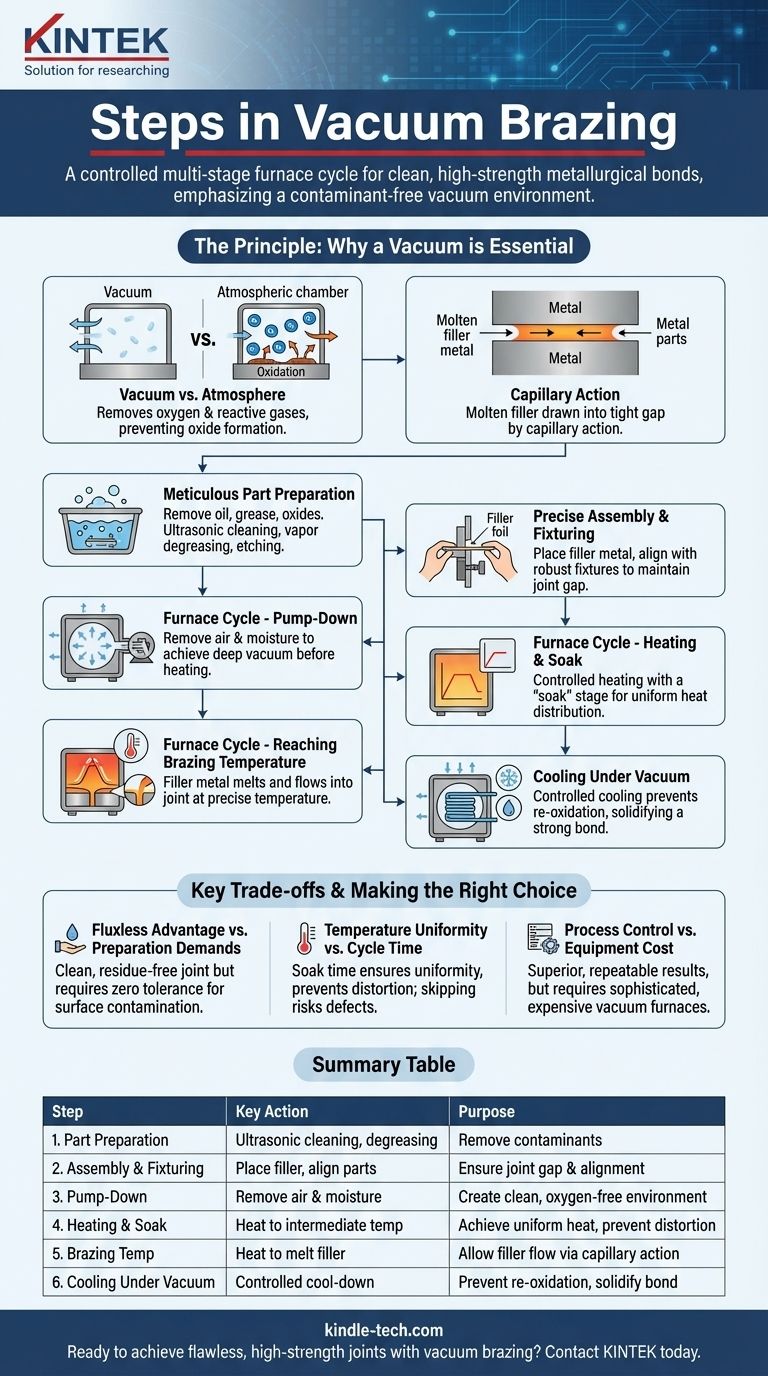
The vacuum brazing process involves meticulous part preparation, precise assembly, and a carefully controlled multi-stage furnace cycle. This cycle includes creating a deep vacuum, heating the assembly uniformly to a soak temperature, raising it to the final brazing temperature to melt the filler metal, and then cooling it under vacuum to form a clean, high-strength metallurgical bond.
The core principle is not just about heat; it's about creating an ultra-clean, controlled environment. The vacuum itself prepares the metal surfaces, removes contaminants, and eliminates the need for chemical fluxes, making the quality of the vacuum as critical as the temperature itself.
The Principle: Why a Vacuum is Essential
What is Vacuum Brazing?
Vacuum brazing is a high-tech joining method that connects two or more base materials using a filler metal.
The key is that the brazing temperature is above the melting point of the filler metal but below the melting point of the base materials. This allows the filler to melt and flow into the joint without melting the components being joined.
The Critical Role of the Vacuum
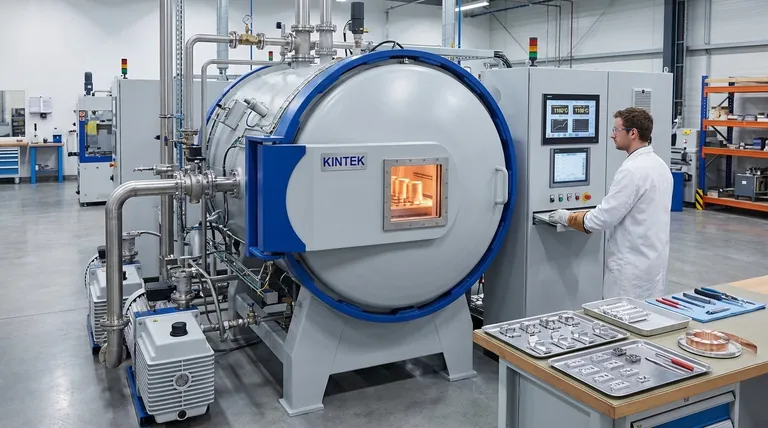
The process takes place in a vacuum furnace at very low pressures, typically around 10⁻⁵ Torr. This environment is not just a container; it's an active part of the process.
The vacuum removes oxygen and other reactive gases, preventing the formation of oxides on the metal surfaces. Oxides are a primary barrier to a successful braze.
Furthermore, the high temperature and vacuum can remove existing oxides and vaporize surface contaminants, a process known as deoxidization. This creates an exceptionally clean surface for the filler metal to bond with.
How the Filler Metal Creates the Joint
Once the environment is clean and the assembly reaches the correct temperature, the solid filler metal melts.
Driven by capillary action, the molten filler is drawn into the tight gap between the base materials. As the assembly cools, the filler solidifies, creating a strong, permanent, and often seamless metallurgical bond.
A Step-by-Step Breakdown of the Process
Step 1: Meticulous Part Preparation
This is the most critical and often overlooked stage. Any contaminants like oil, grease, dirt, or heavy oxides must be completely removed.
Common methods include ultrasonic cleaning, vapor degreasing, or chemical etching. A chemically and physically clean surface is non-negotiable for a successful bond.
Step 2: Precise Assembly and Fixturing
The clean parts are assembled with the filler metal placed at or near the joint. The filler is often a thin foil, paste, or wire.
Fixtures are used to hold the components in the correct alignment and maintain the proper joint gap throughout the heating and cooling cycle. These fixtures must be made of materials that can withstand the high temperatures without distorting or reacting with the parts.
Step 3: The Furnace Cycle - Pump-Down
The assembled parts are loaded into the vacuum furnace. The first step is the pump-down, where powerful pumps remove air and, critically, any water vapor from the chamber.
A proper vacuum level must be achieved before heating can begin. This is often monitored by a vacuum safety interlock to ensure the process doesn't start in a contaminated environment.
Step 4: The Furnace Cycle - Controlled Heating and Soak
The furnace begins to heat the assembly at a controlled rate.
The cycle almost always includes a "soak" or "stand-off" temperature. The furnace holds at this intermediate temperature to allow the entire assembly, including thick and thin sections, to reach a uniform heat level. This prevents distortion and ensures consistent results.
Step 5: The Furnace Cycle - Reaching Brazing Temperature
After the soak, the temperature is raised to the final brazing temperature.
This is the point where the filler metal melts and flows into the joint. The temperature and time at this stage are the most essential parameters of the process and must be controlled with high precision.
Step 6: Cooling Under Vacuum
Once the filler has flowed completely, the furnace begins to cool. The cooling process is also controlled and occurs while the vacuum is maintained.
Cooling under vacuum prevents the hot, reactive metal surfaces from re-oxidizing, ensuring the joint remains clean and strong as it solidifies.
Understanding the Key Trade-offs
The Fluxless Advantage vs. Preparation Demands
The biggest advantage of vacuum brazing is that it's a fluxless process. This results in an incredibly clean joint with no corrosive flux residue to remove afterward.
However, this advantage places an extreme burden on the initial cleaning steps. Unlike flux-based processes that can clean away minor surface oxides, vacuum brazing has zero tolerance for surface contamination.
Temperature Uniformity vs. Cycle Time
The temperature soak step is crucial for achieving uniform heat distribution, especially in complex assemblies with varying material thicknesses.
Skipping or shortening this step to reduce cycle time is a false economy. It risks incomplete brazing, thermal distortion, or internal stresses in the final product.
Process Control vs. Equipment Cost
Vacuum furnaces are sophisticated and expensive pieces of equipment requiring precise control systems for temperature, time, and vacuum levels.
While the process produces superior, highly repeatable results, the initial capital investment and operational complexity are significantly higher than for other joining methods like torch brazing or welding.
Making the Right Choice for Your Application
- If your primary focus is ultimate joint strength and purity: Prioritize meticulous pre-cleaning and a deep, stable vacuum level above all else.
- If your primary focus is joining complex geometries or dissimilar materials: Emphasize the design of the heating and soak stages to ensure absolute temperature uniformity across the entire assembly.
- If your primary focus is repeatability in high-volume production: Invest in robust process controls and automation to ensure every parameter is identical from one cycle to the next.
Ultimately, mastering vacuum brazing means treating the entire process as an integrated system where the environment is as critical as the materials themselves.
Summary Table:
| Step | Key Action | Purpose |
|---|---|---|
| 1. Part Preparation | Ultrasonic cleaning, degreasing | Remove all contaminants for a clean surface |
| 2. Assembly & Fixturing | Place filler metal, align parts | Ensure proper joint gap and alignment during heating |
| 3. Pump-Down | Remove air and moisture from furnace | Create an ultra-clean, oxygen-free environment |
| 4. Heating & Soak | Heat to intermediate temperature | Achieve uniform heat distribution, prevent distortion |
| 5. Brazing Temperature | Heat to melt filler metal | Allow filler to flow via capillary action into the joint |
| 6. Cooling Under Vacuum | Controlled cool-down | Prevent re-oxidation, solidify a strong, clean bond |
Ready to achieve flawless, high-strength joints with vacuum brazing? KINTEK specializes in advanced lab equipment and consumables for precise thermal processing. Our expertise ensures your laboratory can master the critical balance of temperature control and vacuum environment for superior results. Contact us today to discuss how our solutions can enhance your brazing process and meet your specific laboratory needs.
Visual Guide
Related Products
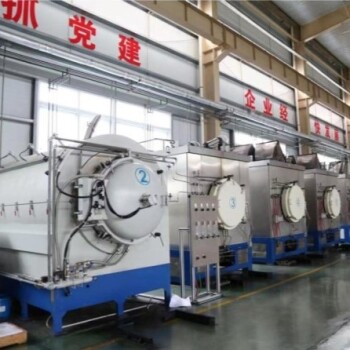
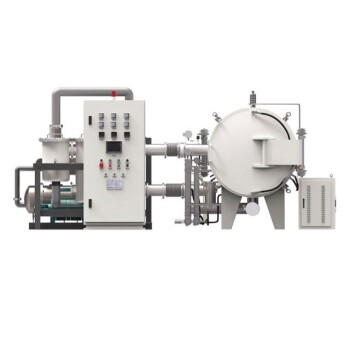
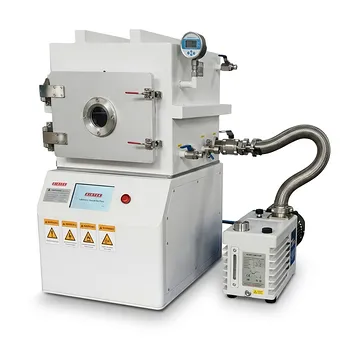
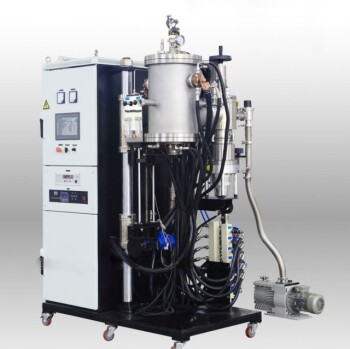
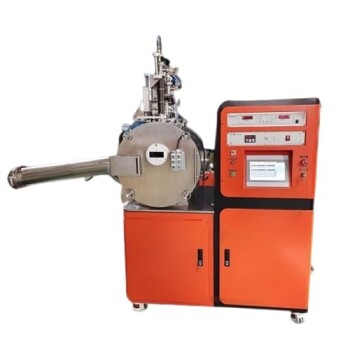
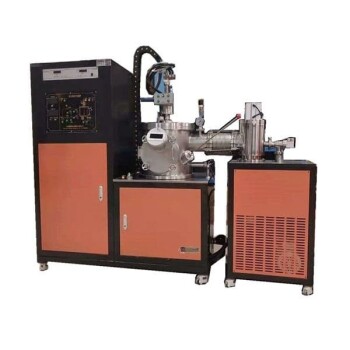
- Vacuum Heat Treat Sintering Brazing Furnace
- Stainless Steel Quick Release Vacuum Chain Three-Section Clamp
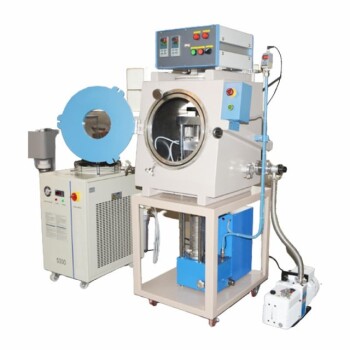
- Vacuum Dental Porcelain Sintering Furnace
- Vacuum Cold Mounting Machine for Sample Preparation
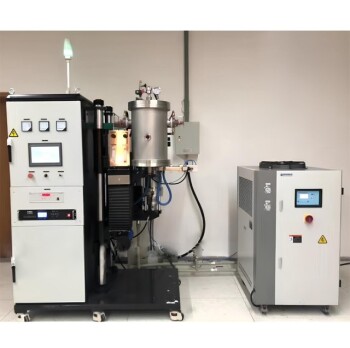
- Horizontal High Temperature Graphite Vacuum Graphitization Furnace
People Also Ask
- What is a vacuum heat treatment furnace? The Ultimate Guide to Controlled Atmosphere Processing
- What is a vacuum heat treatment furnace? Achieve Unmatched Purity and Control
- What is vacuum heat treatment process? Achieve Superior Control, Cleanliness, and Quality
- How does a vacuum brazing furnace work? Achieve Superior, Flux-Free Metal Joining
- What are the specific functions of introducing reducing atmospheres or inert gas environments in vacuum brazing?