To restore a worn or scratched platinum disk electrode, the standard and most effective method is mechanical polishing. This process uses a fine abrasive, typically alumina powder, on a polishing pad to carefully remove the damaged surface layer, revealing a fresh, smooth, and electrochemically active platinum surface underneath.
The core objective is not merely to remove scratches, but to systematically create a mirror-like, contaminant-free surface. This is achieved by using a sequence of progressively finer alumina polishing grits, ensuring the electrode is held perfectly perpendicular to the polishing pad throughout the process.
Why a Pristine Surface is Non-Negotiable
A flawed electrode surface directly compromises the integrity of your electrochemical data. Understanding the "why" behind polishing reinforces the importance of proper technique.
The Impact of Scratches and Wear
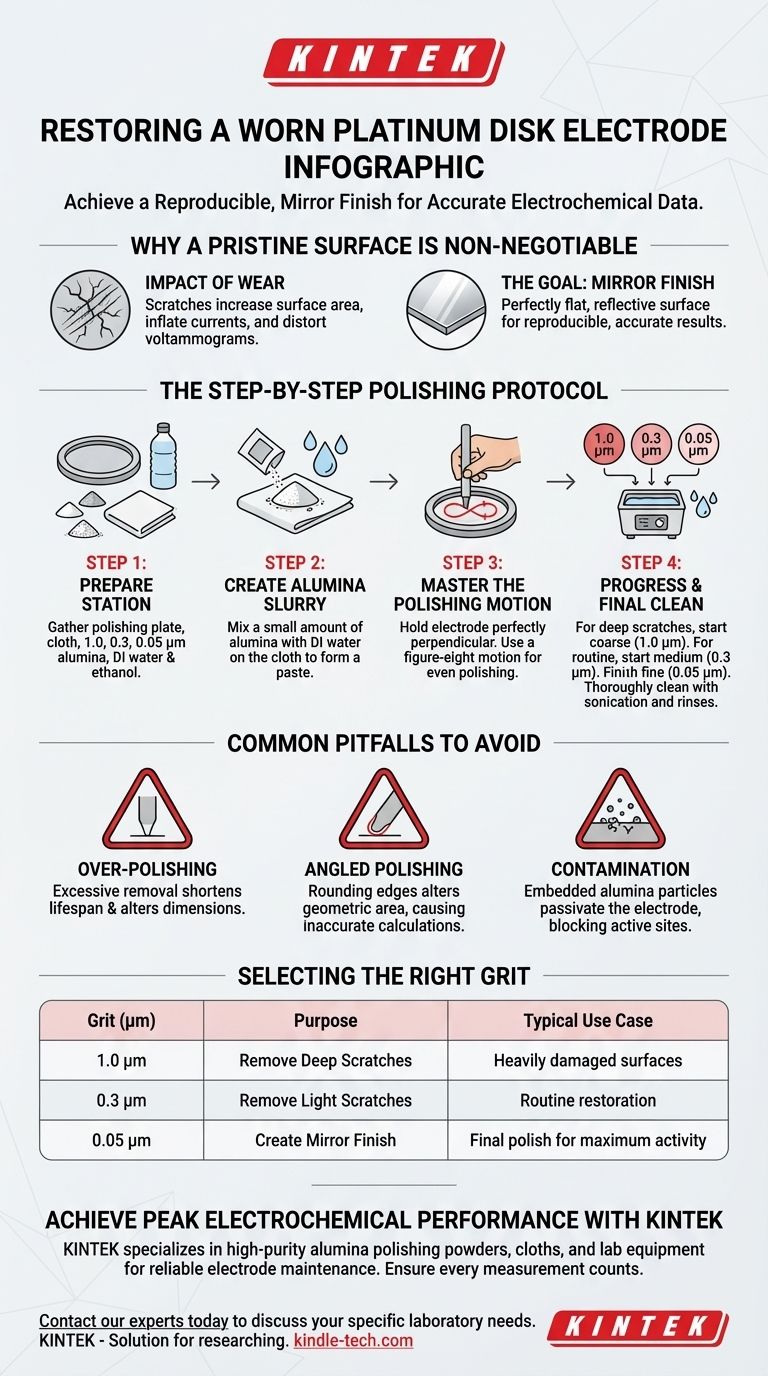
Scratches and surface wear dramatically increase the electrode's true surface area, even if the geometric area remains the same. This can artificially inflate measured currents.
Furthermore, these imperfections alter the electrode's double-layer capacitance and disrupt the ideal electron transfer kinetics, leading to distorted voltammograms and unreliable results.
The Goal: A Reproducible, Mirror Finish
The ideal polished surface is perfectly flat, highly reflective like a mirror, and free of any abrasive particles or contaminants. This uniformity is the foundation for achieving reproducible and accurate electrochemical measurements.
The Step-by-Step Polishing Protocol
Follow this procedure carefully to restore your electrode without causing further damage. Precision and cleanliness are paramount.
Step 1: Prepare Your Polishing Station
Gather your materials: a polishing plate (a flat glass slab works well), a polishing cloth or suede pad, and a series of alumina polishing powders. Common grits are 1.0, 0.3, and 0.05 micrometers (µm).
You will also need deionized water and ethanol for creating the slurry and for final cleaning.
Step 2: Create the Alumina Slurry
Adhere the polishing cloth to your flat plate. Place a small amount of alumina powder onto the cloth and add a few drops of deionized water to form a thin, consistent paste or slurry.
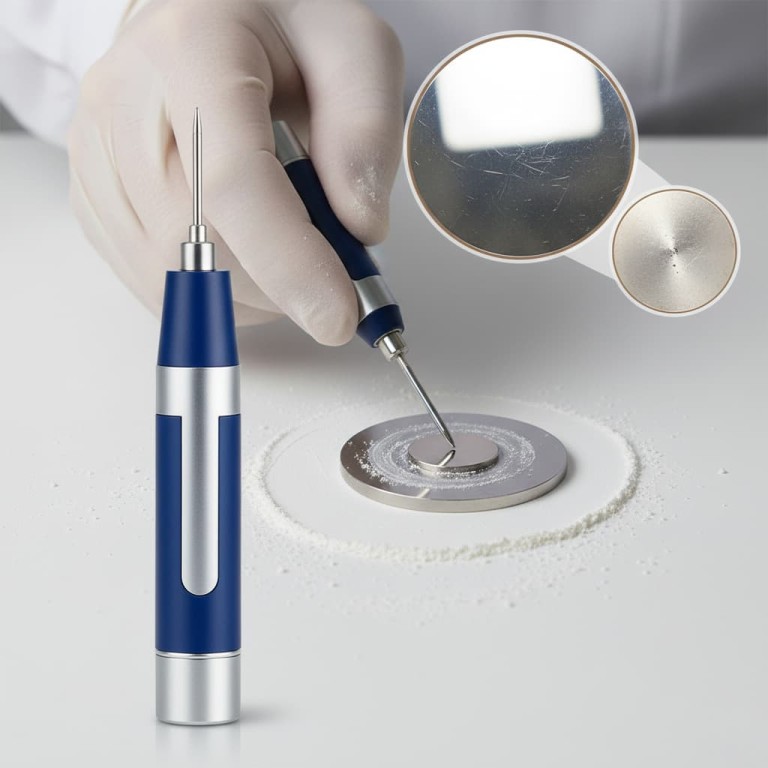
Step 3: Master the Polishing Motion
Hold the electrode body so the platinum disk is flat against the slurry-covered pad. It is absolutely critical to keep the electrode perfectly perpendicular to the polishing surface.
Move the electrode in a figure-eight pattern. This motion helps ensure even polishing across the entire surface and prevents the creation of directional grooves.
Step 4: Work Through Progressively Finer Grits
For deep scratches, you may need to start with a coarser grit like 1.0 µm. Polish for a minute or two, then thoroughly rinse the electrode and the pad before moving to the next finer grit.
For routine restoration, starting with 0.3 µm and finishing with 0.05 µm is often sufficient. The final polish with the 0.05 µm alumina should result in a distinct mirror finish.
Step 5: Execute a Thorough Final Cleaning
After the final polish, the electrode must be meticulously cleaned to remove all residual alumina particles. Rinse it thoroughly with deionized water.
For best results, sonicate the electrode tip in deionized water for a few minutes, followed by a rinse with ethanol, and a final rinse with deionized water.
Common Pitfalls and How to Avoid Them
Improper polishing can be worse than no polishing at all. Be aware of these critical trade-offs.
The Risk of Over-Polishing
Remember that polishing is an abrasive process that physically removes platinum. Excessive or overly aggressive polishing will shorten the electrode's lifespan and can alter its critical dimensions.
The Danger of Angled Polishing
Failing to keep the electrode perpendicular is the most common mistake. This will round the edges of the insulating sheath, altering the defined geometric area of the electrode and rendering any current density calculations inaccurate.
The Threat of Contamination
If you do not clean the electrode sufficiently after polishing, fine alumina particles can become embedded in the soft platinum surface. This will passivate the electrode, blocking active sites and ruining your measurements.
Making the Right Choice for Your Goal
Select your starting point based on the electrode's current condition to ensure an efficient and effective restoration.
- If your electrode is merely dull or lightly contaminated: Start directly with the finest 0.05 µm alumina polish to refresh the surface without removing excess material.
- If you can see light scratches: Begin the process with the 0.3 µm grit to remove the defects, then proceed to the 0.05 µm grit for the final mirror finish.
- If your primary focus is maximum reproducibility: Always follow mechanical polishing with an electrochemical cleaning step (e.g., cycling in dilute sulfuric acid) and verification with a standard redox couple to confirm the surface is both clean and active.
Properly restoring your electrode surface is a critical skill that directly translates to higher quality data and confidence in your results.
Summary Table:
| Polishing Grit (µm) | Purpose | Typical Use Case |
|---|---|---|
| 1.0 µm | Remove deep scratches | Heavily damaged surfaces |
| 0.3 µm | Remove light scratches | Routine restoration |
| 0.05 µm | Create mirror finish | Final polish for maximum activity |
Achieve Peak Electrochemical Performance with KINTEK
Restoring your platinum electrodes is crucial for data integrity, but having the right lab equipment and consumables makes the process seamless. KINTEK specializes in high-purity alumina polishing powders, polishing cloths, and the precise lab equipment you need for reliable electrode maintenance and preparation.
Let us help you ensure every measurement counts. Contact our experts today to discuss your specific laboratory needs and discover how our products can support your research excellence.
Visual Guide
Related Products
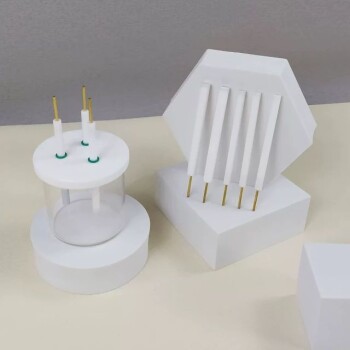
- Rotating Platinum Disk Electrode for Electrochemical Applications
- RRDE rotating disk (ring disk) electrode / compatible with PINE, Japanese ALS, Swiss Metrohm glassy carbon platinum
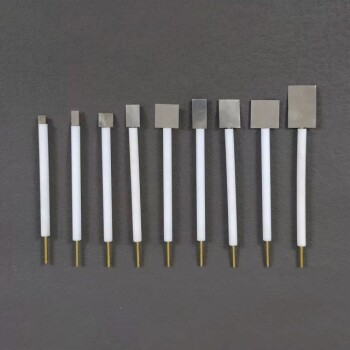
- Platinum Sheet Electrode for Laboratory and Industrial Applications
- Platinum Sheet Electrode for Battery Lab Applications
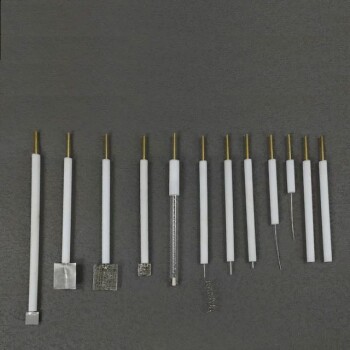
- Platinum Auxiliary Electrode for Laboratory Use
People Also Ask
- What are the temperature limitations for a platinum disk electrode? The Critical Factor is the Insulating Body
- What is the working principle of a platinum disk electrode? A Guide to Precise Electrochemical Analysis
- What can cause poisoning of a platinum disk electrode and how can it be prevented? Ensure Reliable Electrochemical Data
- How should a platinum disk electrode be polished? Master the Technique for Reliable Electrochemical Data
- What regular maintenance is required for a platinum disk electrode? Ensure Accurate Electrochemical Data Every Time