At its core, using a crucible furnace is a process of controlled heating and melting. It involves selecting the correct crucible for your material, placing the material inside it, setting a target temperature on the furnace controller, and allowing the furnace's heating element to transfer heat to the crucible until the contents melt.
The key to successfully using a crucible furnace is not just following the steps, but understanding the principles behind them. The single most critical factor is matching your crucible material to the substance you are melting to ensure chemical compatibility and prevent equipment failure.
Understanding the Core Components
A crucible furnace appears simple, but its effectiveness lies in the interaction between its primary parts. Understanding each one is crucial for proper operation.
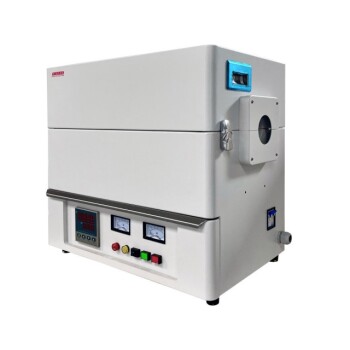
The Heating Chamber and Element
The furnace body contains the heating elements, which can be electric coils or gas burners. These elements generate intense heat within an insulated chamber. This heat is then transferred—primarily through radiation and convection—to the crucible placed inside.
The Crucible: The Heart of the Operation
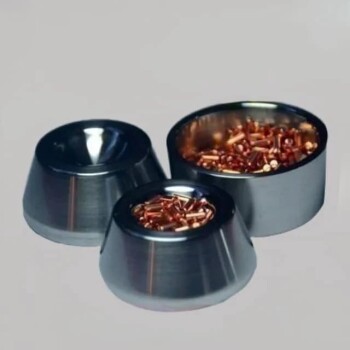
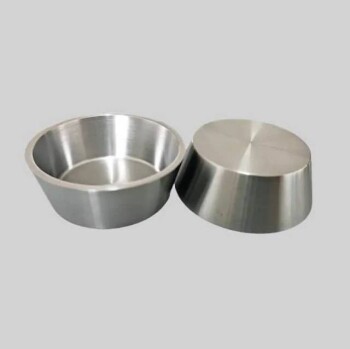
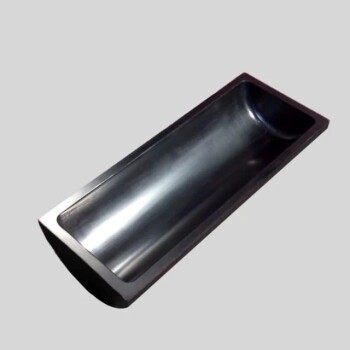
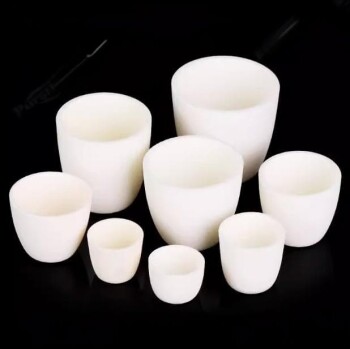
The crucible is the removable container that holds the material you intend to melt, known as the charge. It is designed to withstand extreme temperatures without reacting with the substance it holds.
Crucibles are made from various refractory materials, such as graphite, clay, or silicon carbide. The choice of material is not arbitrary; it must be chemically compatible with the metal or alloy you are melting.
The Control System
Modern furnaces feature a temperature control system. This allows you to set a precise target temperature and, in some cases, control the rate of heating. This precision is vital for achieving consistent results and protecting both the crucible and the material from damage.
The Step-by-Step Operational Process
Following a systematic procedure ensures safety, protects the equipment, and leads to a successful melt.
Step 1: Crucible Selection and Preparation
Before anything else, select a crucible made of a material appropriate for your charge. An incorrect choice can lead to crucible degradation, melt contamination, or even catastrophic failure. Ensure the crucible is clean and dry before use.
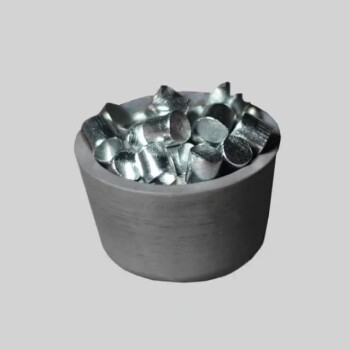
Step 2: Loading the Material
Carefully place your charge into the crucible. Avoid dropping heavy pieces, which could crack the crucible. Once loaded, use tongs or other appropriate tools to place the crucible in the center of the furnace chamber.
Step 3: Setting the Furnace Parameters
Close the furnace lid and input your desired temperature into the control unit. If your furnace allows it, set a heating ramp rate to prevent thermal shock to the crucible.
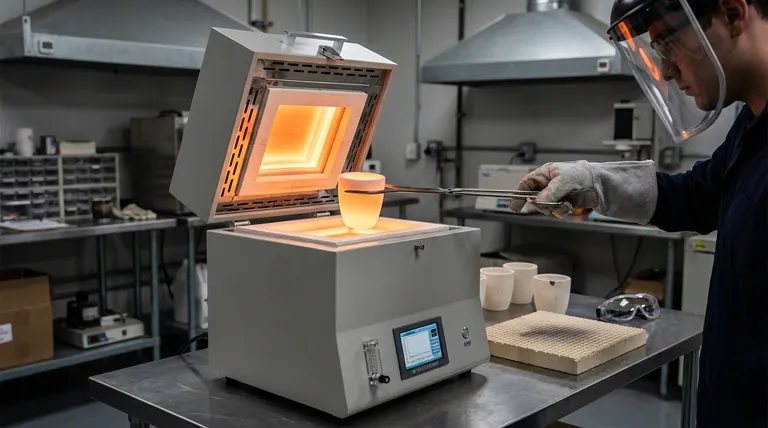
Step 4: The Heating and Melting Cycle
The furnace will now begin heating. The heating element warms the chamber, which in turn heats the crucible. The heat conducts through the crucible walls to melt the charge inside. Monitor the process as needed without keeping the lid open for extended periods.
Step 5: Post-Melt Handling and Cooling
Once the melt is complete, turn off the furnace. The next steps depend on your goal. If you are pouring the metal, you will remove the crucible with specialized tongs. If you are simply heat-treating a sample, you must allow it to cool.
Controlled cooling is critical. Removing a hot crucible and placing it on a cold surface will cause it to crack from thermal shock. It should be placed on a buffer refractory material in a safe, designated area to cool slowly. For analytical work, a desiccator may be used to prevent moisture absorption during cooling.
Common Pitfalls and Key Considerations
The versatility and power of a crucible furnace come with inherent risks. Understanding the trade-offs and common mistakes is key to safe, repeatable success.
The Critical Choice of Crucible Material
This is the most common point of failure. For example, using a clay-graphite crucible to melt a highly reactive metal can cause the crucible to break down, contaminating your melt and destroying the crucible. Always consult compatibility charts.
Thermal Shock: The Silent Destroyer
Crucibles are tough but brittle. Heating or cooling them too quickly creates internal stresses that can cause them to crack or shatter. Always use a measured ramp rate for heating and ensure a slow, controlled cooling process.
Contamination and Burnout
Using a dirty or previously used crucible can introduce impurities into your melt. Likewise, repeatedly overheating a crucible beyond its specified limits will cause it to degrade and fail prematurely, a process known as burnout.
How to Apply This to Your Project
Your specific procedure will vary based on your final objective. Focus on the principle that matches your goal.
- If your primary focus is metallurgical purity: Your top priority is the strict selection of the correct, clean crucible material for each specific alloy to prevent cross-contamination.
- If your primary focus is operational safety: Your top priority is managing thermal shock through controlled heating and cooling cycles and using proper personal protective equipment (PPE).
- If your primary focus is process repeatability: Your top priority is mastering the furnace's control system to ensure every melt follows the exact same temperature profile.
Mastering a crucible furnace is about respecting it as a high-temperature control system, not just a simple heater.
Summary Table:
| Key Step | Crucial Consideration | Purpose |
|---|---|---|
| Crucible Selection | Match material to your metal/alloy | Prevent contamination and failure |
| Loading & Heating | Use controlled ramp rates | Avoid thermal shock to the crucible |
| Post-Melt Cooling | Allow slow, controlled cooling | Ensure crucible and sample integrity |
Ready to achieve precise and reliable melting in your lab? The right equipment is key to success. KINTEK specializes in high-quality lab furnaces, crucibles, and consumables designed for safety and repeatability. Our experts can help you select the perfect setup for your specific materials and applications.
Contact us today to discuss your project needs and ensure your next melt is a success!
Visual Guide

Related Products
- Electron Beam Evaporation Coating Gold Plating Tungsten Molybdenum Crucible for Evaporation
- High Purity Pure Graphite Crucible for Evaporation
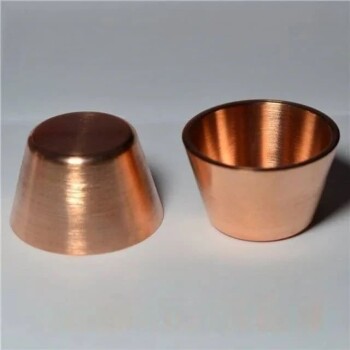
- Electron Beam Evaporation Coating Oxygen-Free Copper Crucible and Evaporation Boat
- Engineering Advanced Fine Ceramics Alumina Al2O3 Crucible With Lid Cylindrical Laboratory Crucible
- E Beam Crucibles Electron Gun Beam Crucible for Evaporation
People Also Ask
- What is the current of e-beam evaporation? A Guide to High-Purity Thin Film Deposition
- What is the temperature of e-beam evaporation? Mastering the Two-Zone Thermal Process for Precision Films
- What is e-beam evaporation? Achieve High-Purity Thin Film Deposition for Your Lab
- What materials are used in electron beam evaporation? Master High-Purity Thin Film Deposition
- What is the process of e-beam coating? Achieve High-Purity, Precise Thin Films for Your Lab