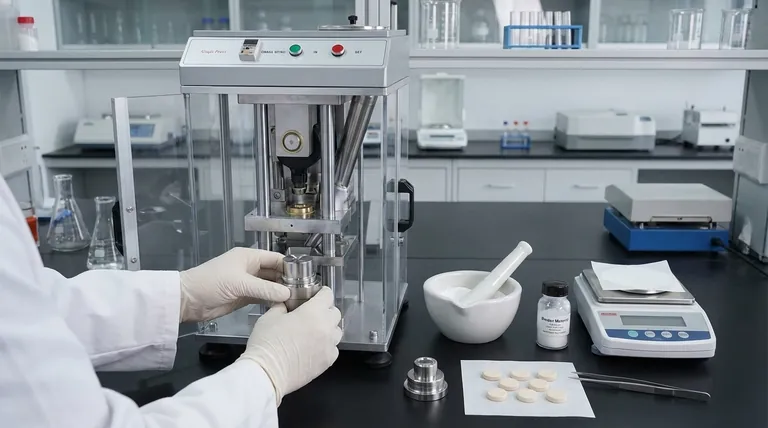
To prepare a pressed powder pellet, you must first grind the sample to a fine, uniform particle size, often with a binding agent. This homogeneous mixture is then poured into a die set and compressed under high pressure using a hydraulic press. The final pellet is carefully ejected for analysis.
The critical insight is that the quality of your final analytical data is determined not by the press itself, but by the meticulous and consistent preparation of the powder before it ever enters the die. Attention to detail in this early stage is non-negotiable for reliable results.
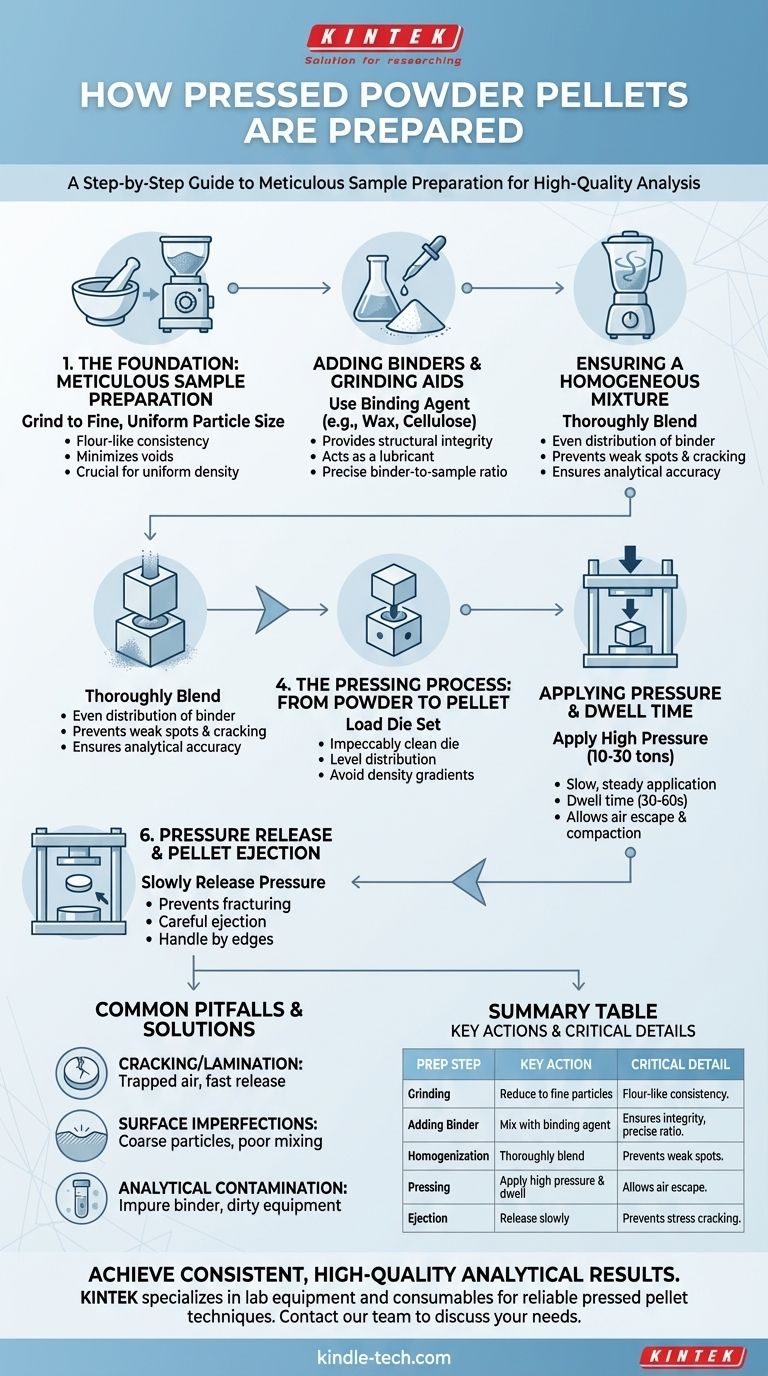
The Foundation: Meticulous Sample Preparation
The most common errors in pellet analysis originate from poor sample preparation. A mechanically sound pellet is the direct result of a well-homogenized powder.
Achieving Particle Size Homogeneity
The first step is to reduce your sample to a fine, flour-like consistency. This is typically done with a high-performance mill or a simple mortar and pestle.
A uniform, small particle size is crucial. It minimizes voids in the final pellet, reduces the effects of particle segregation, and ensures a more uniform density, which is critical for many analytical techniques like XRF.
The Role of Binders and Grinding Aids
Most samples require a binding agent or grinding aid to create a durable pellet that can withstand handling. Common binders include waxes, cellulose, or boric acid.
The binder acts as a lubricant during pressing and provides structural integrity to the finished pellet. The ratio of binder to sample must be precise and consistent from sample to sample to ensure analytical accuracy.
Ensuring a Homogeneous Mixture
Once ground, the sample and binder must be thoroughly blended. This ensures that the binder is evenly distributed throughout the powder.
Inadequate mixing can lead to weak spots, cracking, or an uneven surface on the pellet, all of which compromise the quality of your analysis.
The Pressing Process: From Powder to Pellet
With a properly prepared powder, the pressing stage becomes a controlled, repeatable process. The goal is to compact the powder into a solid disc with a smooth, flat analytical surface.
Loading the Die Set
The die set, consisting of a body, a plunger, and a base, must be impeccably clean. The prepared powder is carefully poured into the die.
It is important to ensure the powder is level before inserting the plunger. An uneven distribution can create density gradients and structural weaknesses in the pellet.
Applying Pressure and Dwell Time
The die is placed in a hydraulic press, and pressure is applied slowly and steadily. The final pressure can range from 10 to 30 tons, depending on the material and die size.
This pressure is typically held for a specific period, known as dwell time (e.g., 30-60 seconds). This allows trapped air to escape and the particles to fully compact, reducing the risk of lamination or cracking.
Pressure Release and Pellet Ejection
Releasing the pressure too quickly is a common cause of pellet failure. The pressure must be released slowly and smoothly to prevent the pellet from fracturing due to internal stresses.
Once the pressure is fully released, the pellet is carefully ejected from the die. It should be handled only by its edges, preferably with tweezers, to avoid contaminating the analytical surface.
Understanding the Trade-offs and Common Pitfalls
Even with a defined method, problems can arise. Understanding why they happen is key to troubleshooting and perfecting your technique.
Pellet Cracking or Lamination
This is the most frequent issue, often caused by trapped air. A slow pressure application, sufficient dwell time, and a slow pressure release are the primary solutions. An incorrect binder-to-sample ratio can also contribute to a weak pellet.
Surface Imperfections
A dull, pockmarked, or uneven surface (sometimes called "orange peel") indicates a problem. This is usually due to particles being too coarse, poor mixing, or a worn or dirty die surface.
Analytical Contamination
The binder itself can be a source of contamination if it contains elements you are trying to measure. Always select a binder that is free of your analytes of interest. Furthermore, cross-contamination between samples can be prevented by rigorously cleaning the die set and grinding equipment after every use.
A Checklist for High-Quality Pellets
Your preparation strategy should be guided by your ultimate analytical goal.
- If your primary focus is high-accuracy quantitative analysis (e.g., XRF): Your top priority is consistency in particle size, sample mass, and the binder-to-sample ratio for every pellet.
- If your primary focus is qualitative identification (e.g., FTIR): Your main concern is selecting the right matrix (like KBr) that is transparent in the infrared region and free of impurities to avoid spectral interference.
- If your primary focus is routine, high-throughput screening: The key is to establish a standardized and documented procedure that every operator can follow precisely to ensure inter-user consistency.
Ultimately, a meticulously prepared pellet is the foundation of trustworthy analytical data.
Summary Table:
| Preparation Step | Key Action | Critical Detail |
|---|---|---|
| Sample Grinding | Reduce to fine, uniform particles | Achieves flour-like consistency for uniform density |
| Adding Binder | Mix with binding agent (e.g., wax, cellulose) | Ensures pellet integrity; ratio must be precise |
| Homogenization | Thoroughly blend powder and binder | Prevents weak spots and uneven surfaces |
| Pressing | Apply high pressure (10-30 tons) with dwell time | Allows air escape and proper compaction |
| Ejection | Release pressure slowly and eject carefully | Prevents cracking from internal stress |
Achieve consistent, high-quality analytical results with every pellet. The precision of your analysis starts with perfect sample preparation. KINTEK specializes in the lab equipment and consumables—including mills, presses, dies, and binders—that laboratories rely on for reliable pressed pellet techniques.
Let our experts help you optimize your preparation workflow. Contact our team today to discuss your specific application needs.
Visual Guide
Related Products
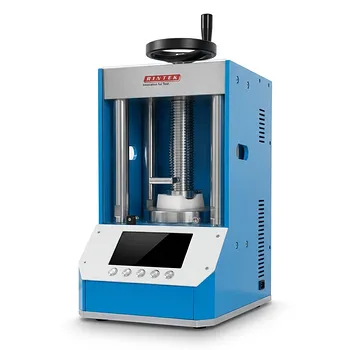
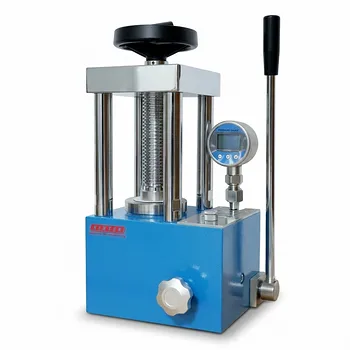
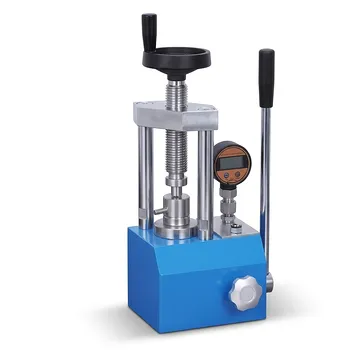
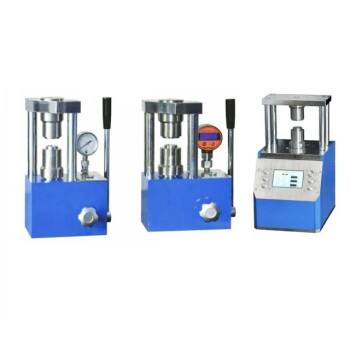
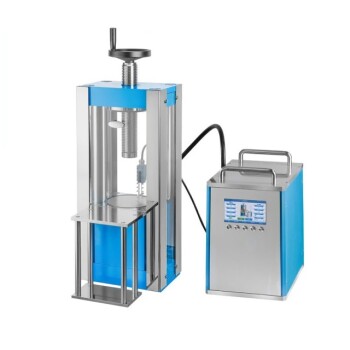
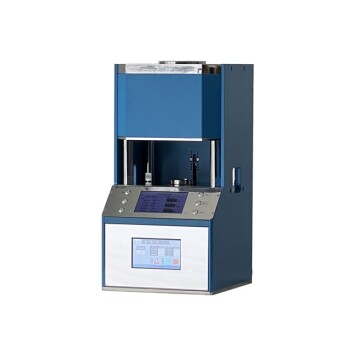
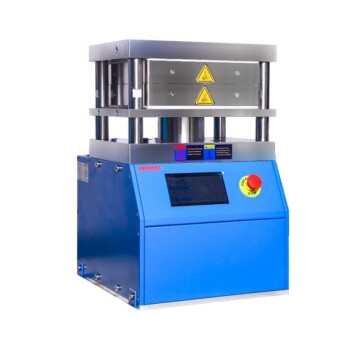
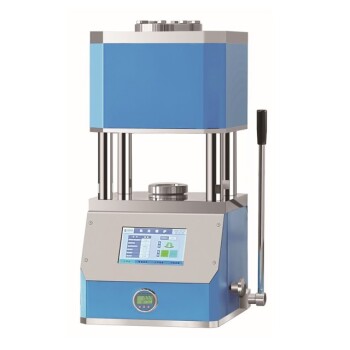
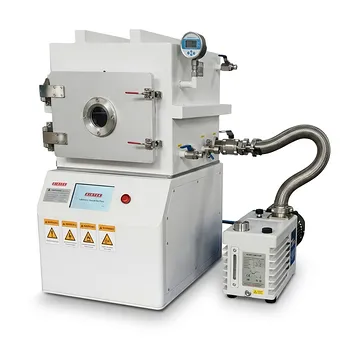
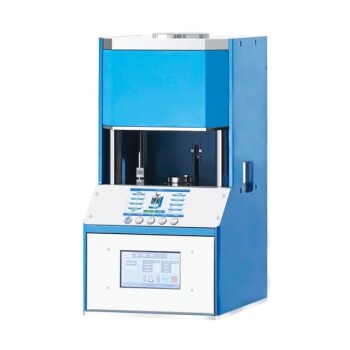
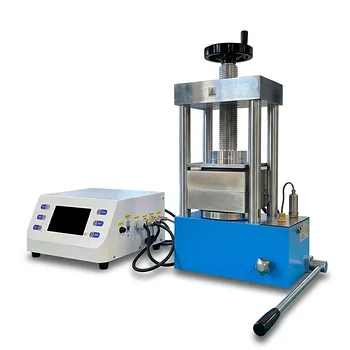
- Laboratory Hydraulic Pellet Press for XRF KBR FTIR Lab Applications
- Automatic Laboratory Hydraulic Pellet Press Machine for Lab Use
- Automatic Laboratory Hydraulic Press for XRF & KBR Pellet Press
- Laboratory Manual Hydraulic Pellet Press for Lab Use
- Laboratory Manual Hydraulic Pellet Press for Lab Use
People Also Ask
- What is the necessity of using a laboratory hydraulic pellet press in the preparation of biomass fuel pellets? Guide
- What is the purpose of using a laboratory pellet press when evaluating the electronic conductivity of carbon powders? Guide
- What is the role of a laboratory hydraulic pellet press and stainless steel molds in the fabrication of RuO2/NbC anodes?
- Why are specialized battery research tools necessary for evaluating recycled graphite? Ensure Material Validation
- Why is a laboratory hydraulic press used to compress powders into pellets? Enhance Solid-State Reaction Kinetics