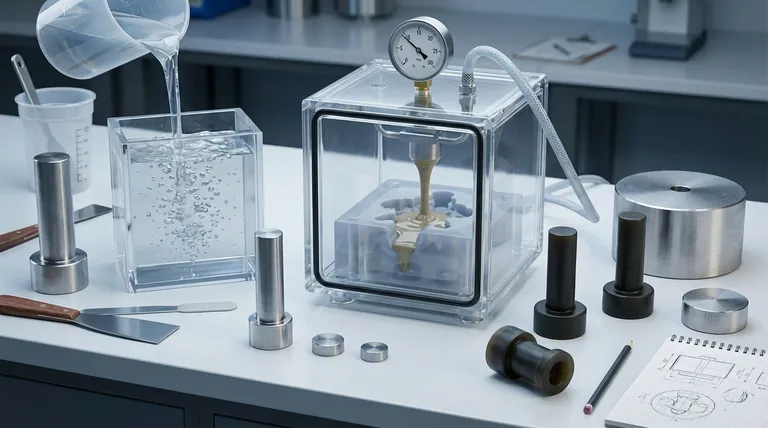
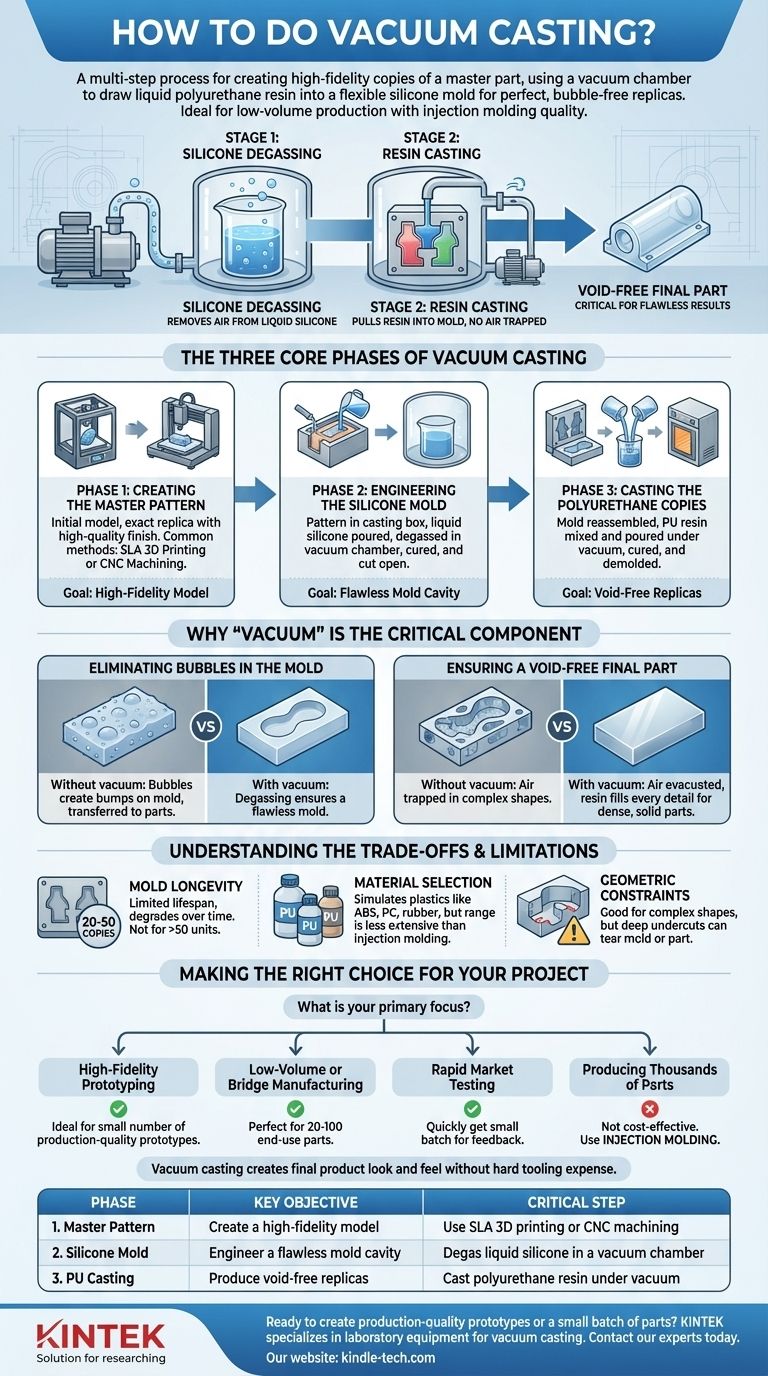
At its core, vacuum casting is a multi-step process for creating high-fidelity copies of a master part. It involves creating a flexible silicone mold around a master pattern and then using a vacuum chamber to draw liquid polyurethane resin into that mold, ensuring a perfect, bubble-free replica. This method is renowned for its ability to produce parts with quality that rivals injection molding, but for low-volume production runs.
The essential takeaway is that the "vacuum" is not just a name; it is the critical element that ensures flawless results. It is applied twice: first to remove air from the liquid silicone to create a perfect mold, and second to pull casting resin into that mold without trapping any air, resulting in a void-free final part.
The Three Core Phases of Vacuum Casting
The entire process is a systematic replication technique, broken down into three distinct phases. The quality of the output from one phase directly dictates the potential quality of the next.
Phase 1: Creating the Master Pattern
The final cast part can only be as good as the initial model, known as the master pattern.
This pattern is an exact replica of the final product. It must have a high-quality surface finish, as any imperfection, layer line, or blemish will be faithfully transferred to the silicone mold and, subsequently, to every cast part.
Common methods for creating the master pattern include SLA (Stereolithography) 3D printing or CNC machining, which are chosen for their high resolution and smooth surfaces.
Phase 2: Engineering the Silicone Mold
This phase creates the negative cavity into which the final parts will be cast.
The master pattern is suspended inside a casting box. Liquid silicone is then poured over the pattern until it is fully submerged.
Critically, this entire box is then placed inside a vacuum chamber to degas the silicone. This step removes all trapped air bubbles from the liquid silicone, preventing flaws in the mold cavity.
After degassing, the silicone is cured in an oven until solid. The hardened mold is then carefully cut open along a planned parting line, and the master pattern is removed, leaving a pristine, detailed cavity.
Phase 3: Casting the Polyurethane Copies
This is where the final parts are created using the finished silicone mold.
The two halves of the silicone mold are securely reassembled. A two-part polyurethane (PU) resin is then mixed, often with color pigments to match design specifications.
The mixing and pouring process takes place within the vacuum chamber. The resin is poured into the mold, and the vacuum ensures that the liquid material is drawn into every minute detail of the cavity without trapping any air. This is what produces a void-free part.
Once filled, the mold is removed from the chamber and placed into a curing oven to solidify the resin. After curing, the part is demolded, cleaned, and is ready for finishing.
Why "Vacuum" is the Critical Component
Understanding the two distinct vacuum stages is key to understanding why this process delivers such high-quality results. Each stage solves a different problem.
Eliminating Bubbles in the Mold
The first vacuum stage occurs when making the silicone mold. If air bubbles were allowed to remain in the liquid silicone, they would create tiny bumps or pits on the surface of the mold cavity.
These mold imperfections would then be transferred to every single part cast from it, compromising both aesthetics and function. Degassing the silicone ensures the mold itself is flawless.
Ensuring a Void-Free Final Part
The second vacuum stage occurs when casting the polyurethane resin. Pouring a liquid into a complex shape naturally traps air pockets in small corners or features.
By performing this step under vacuum, air is evacuated from the mold cavity first. The liquid resin then flows in unopposed, filling every crevice and resulting in a dense, solid part that is free of internal voids or surface bubbles. This is essential for both cosmetic quality and mechanical strength.
Understanding the Trade-offs and Limitations
While powerful, vacuum casting is not the right solution for every scenario. It is crucial to understand its limitations to make an informed decision.
Mold Longevity
A single silicone mold has a limited lifespan. Typically, a mold can produce between 20 and 50 copies before it begins to degrade from thermal cycling and chemical exposure.
This wear can lead to a loss of fine detail or surface texture in later parts. For production runs larger than 50 units, you will either need to create new molds or consider a different manufacturing process.
Material Selection
Vacuum casting primarily uses polyurethane resins that simulate the properties of common production plastics like ABS, PC, or rubber-like elastomers.
While the range of available materials is versatile (offering rigid, flexible, and clear options), it is not as extensive as the vast library of thermoplastics available for injection molding.
Geometric Constraints
The flexible nature of silicone molds is excellent for parts with complex geometries and even minor undercuts.
However, very deep or aggressive undercuts can make demolding difficult, potentially tearing the part or the mold itself. This can significantly reduce the lifespan of the mold.
Making the Right Choice for Your Project
Use these guidelines to determine if vacuum casting aligns with your specific goal.
- If your primary focus is high-fidelity prototyping: Vacuum casting is the ideal choice for creating a small number of production-quality prototypes to test form, fit, and function.
- If your primary focus is low-volume or bridge manufacturing: This process is perfect for producing 20-100 end-use parts while waiting for expensive injection mold tooling or for serving niche markets.
- If your primary focus is rapid market testing: Use vacuum casting to quickly get a small batch of visually perfect products into the hands of customers for feedback before committing to mass production.
- If your primary focus is producing thousands of identical parts: Vacuum casting is not cost-effective; the unit cost and tooling limitations make injection molding the correct process for this scale.
Ultimately, vacuum casting empowers you to create parts with the look and feel of a final product without the time and expense of hard tooling.
Summary Table:
| Phase | Key Objective | Critical Step |
|---|---|---|
| 1. Master Pattern | Create a high-fidelity model | Use SLA 3D printing or CNC machining |
| 2. Silicone Mold | Engineer a flawless mold cavity | Degas liquid silicone in a vacuum chamber |
| 3. PU Casting | Produce void-free replicas | Cast polyurethane resin under vacuum |
Ready to create production-quality prototypes or a small batch of parts?
KINTEK specializes in providing the laboratory equipment and consumables essential for precision processes like vacuum casting. Whether you are prototyping a new design or need reliable low-volume manufacturing, our solutions help ensure flawless results.
Contact our experts today to discuss how we can support your lab's specific needs and elevate your project's success.
Visual Guide
Related Products
- Vacuum Cold Mounting Machine for Sample Preparation
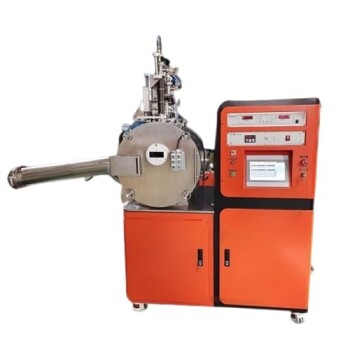
- Vacuum Induction Melting Spinning System Arc Melting Furnace
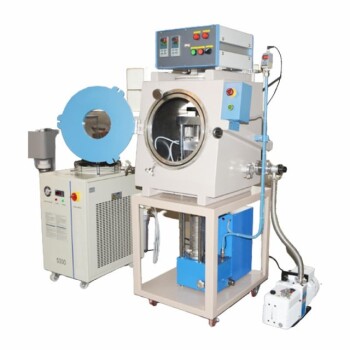
- Vacuum Hot Press Furnace Machine for Lamination and Heating
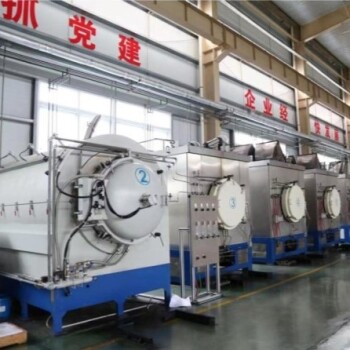
- Vacuum Heat Treat Sintering Brazing Furnace
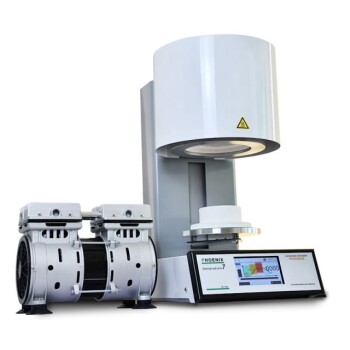
- Vacuum Dental Porcelain Sintering Furnace
People Also Ask
- What can you do with a vacuum press? Achieve Flawless Lamination and Clamping
- What are the steps involved in sample preparation? A Guide to Accurate and Reliable Analysis
- What is a vacuum press machine? Harness Atmospheric Pressure for Perfect Lamination
- How does a vacuum press work? Harness Atmospheric Pressure for Perfect Lamination
- What sample preparation methods are used in labs? Master the Critical First Step for Reliable Analysis