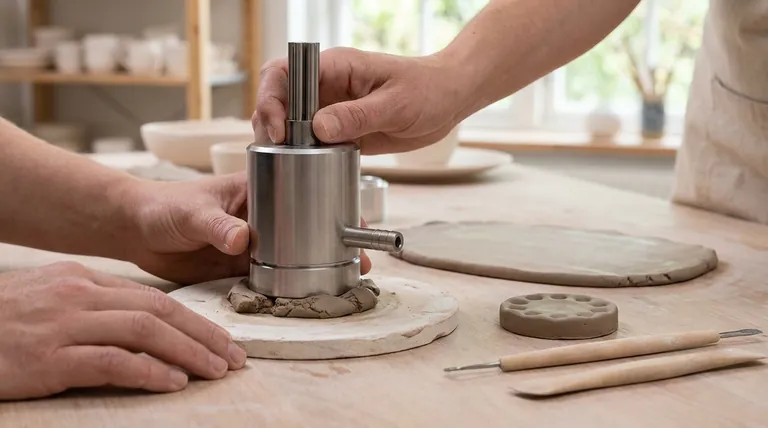
To use a ceramic press mold, you line it with a soft slab of clay, apply gentle and even pressure to ensure the clay captures the mold's shape, and then wait. The mold, particularly if it's made of plaster, will absorb moisture from the clay, causing it to firm up and shrink slightly, which allows it to be removed cleanly without distortion.
The central challenge in hand-building ceramics is achieving consistent, repeatable forms. A press mold solves this by providing a rigid guide; the key to success is not just the pressing action, but patiently allowing the clay to stiffen to a "leather-hard" state so it can be removed without damage.
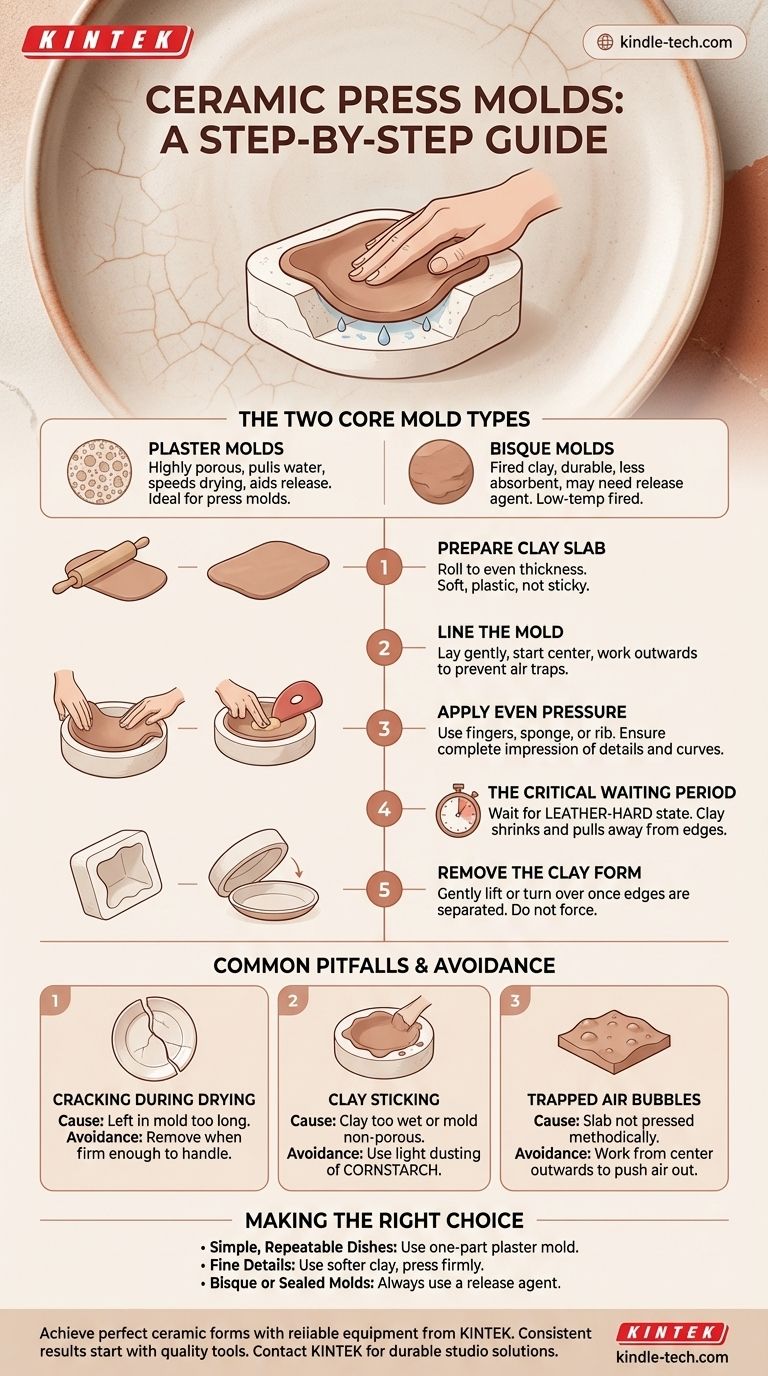
The Two Core Types of Press Molds
Before you begin, it's important to understand what your mold is made of, as this affects the process. The two most common types in a studio setting are plaster and bisque.
Plaster Molds
Plaster is the ideal material for press molds because it is highly porous.
Its primary advantage is its ability to actively pull water out of the clay. This action significantly speeds up the stiffening process and, crucially, helps the clay release itself as it dries and shrinks.
Bisque Molds
A bisque mold is simply a mold that has been made from clay and then fired once to a low temperature (around 1000°C or 1832°F).
These molds are very durable but are far less absorbent than plaster. Because they don't pull water from the clay as effectively, you may need to wait longer for the clay to firm up, or use a release agent.
The Step-by-Step Pressing Process
Following these steps methodically will prevent most common problems and ensure a clean, successful form.
Step 1: Prepare Your Clay Slab
Your starting point is a consistent clay slab. Roll it out to an even thickness, ensuring it is large enough to cover the entire mold.
The clay should be soft and plastic, but not overly wet or sticky, as this can lead to it sticking to the mold.
Step 2: Lining the Mold
Gently lay your clay slab over or into the mold. Start from the bottom or center and slowly work your way outwards.
The goal is to prevent air from getting trapped between the clay and the mold surface, which can create blemishes or weak spots.
Step 3: Applying Even Pressure
Using your fingers, a soft rubber rib, or a damp sponge, carefully press the clay into the mold.
Pay special attention to any details, corners, or curves. The pressure should be firm and uniform across the entire surface to ensure an even thickness and a complete impression.
Step 4: The Critical Waiting Period
This is the most crucial step. You must now wait for the mold to do its work. The clay needs to transition from soft to leather-hard—firm enough to hold its shape but still workable.
As the clay loses moisture, it will naturally shrink and begin to pull away from the edges of the mold. This is the visual cue that it is nearly ready for removal.
Step 5: Removing the Clay Form
Once the edges have visibly pulled away, the piece is ready.
Carefully turn the mold over and allow the clay form to fall out, or gently lift it from the mold. If you have to pull or force it, it is likely not dry enough.
Common Pitfalls and How to Avoid Them
Understanding why problems occur is the key to preventing them. Most issues with press molds trace back to timing and preparation.
Cracking During Drying
Cracking often occurs if the clay is left in the mold for too long. As the clay shrinks, the rigid mold prevents it from moving, building up tension that results in cracks.
To prevent this, remove the piece as soon as it is firm enough to handle without distorting its shape.
Clay Sticking to the Mold
If your clay is too wet when you press it in, it can bond too strongly to the mold surface.
For bisque or other non-porous molds, a very light dusting of cornstarch can act as an effective release agent, preventing the clay from sticking.
Trapped Air Bubbles
Air bubbles create weak spots and surface imperfections. This happens when the clay slab isn't pressed into the mold methodically.
Always work from the center of the mold outwards, methodically pressing the clay down to push any potential air pockets out toward the edges.
Making the Right Choice for Your Goal
Your approach may vary slightly depending on your desired outcome and the materials you're using.
- If your primary focus is creating simple, repeatable dishes like plates or shallow bowls: A one-part plaster press mold is the most efficient and reliable tool for the job.
- If your primary focus is capturing fine surface details or textures: Use a softer clay slab and take extra time to press it firmly into every crevice of the mold with a soft tool.
- If you are working with a bisque or sealed mold: Always use a release agent like cornstarch to ensure the clay doesn't stick, as the mold itself will not aid in the release process.
Mastering the press mold technique unlocks a remarkable level of consistency and precision in your ceramic work.
Summary Table:
| Step | Key Action | Purpose |
|---|---|---|
| 1. Prepare Slab | Roll clay to an even thickness. | Ensure consistent form without weak spots. |
| 2. Line Mold | Gently press clay from center outwards. | Prevent trapped air bubbles. |
| 3. Apply Pressure | Use fingers or a soft rib for even pressure. | Capture all mold details and curves. |
| 4. Wait | Allow clay to reach leather-hard state. | Let clay shrink and release from mold. |
| 5. Remove | Gently lift or turn mold over. | Avoid distortion or damage to the form. |
Achieve perfect ceramic forms with reliable equipment from KINTEK. Whether you are a studio artist, educator, or professional potter, consistent results start with quality tools. KINTEK specializes in durable, precision lab and studio equipment, including supplies perfect for your ceramic workflow. Contact our experts today to find the right solutions for your creative and production needs.
Visual Guide
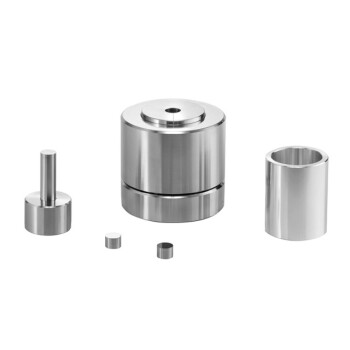
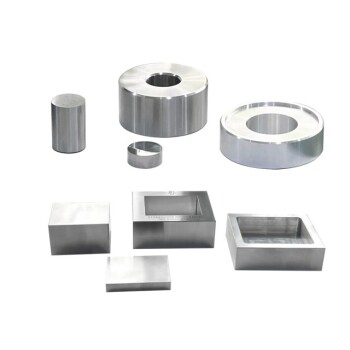
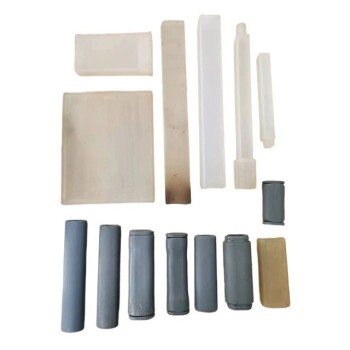
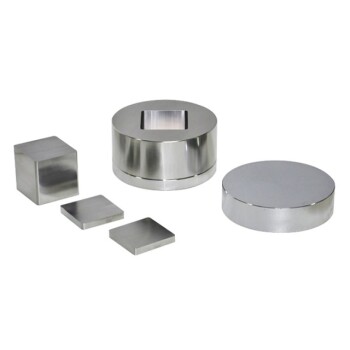
Related Products
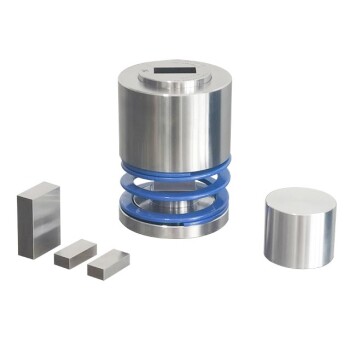
- Anti-Cracking Press Mold for Lab Use
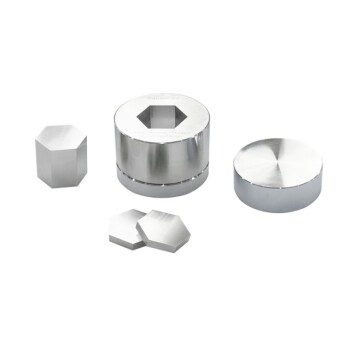
- Special Shape Press Mold for Lab
- Ball Press Mold for Lab
- Ring Press Mold for Lab Applications
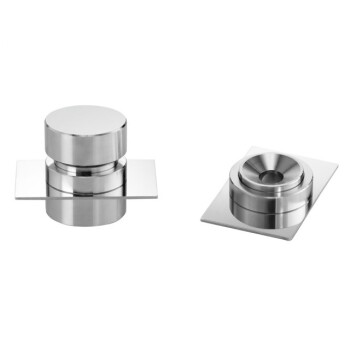
- Assemble Lab Cylindrical Press Mold
People Also Ask
- What role do high-pressure mold components play in the thermal pressing of nano-crystalline tungsten? Maximize Density
- How to use a press mould? Master the Art of Consistent Ceramic Forms
- Why are pressure molds with non-conductive resin inner walls required for battery testing? Ensure Data Accuracy
- What is the process of mold press? A Step-by-Step Guide to Compression Molding
- What is the primary function of mold pressing for LAGP powders? Achieve High-Performance Solid Electrolytes