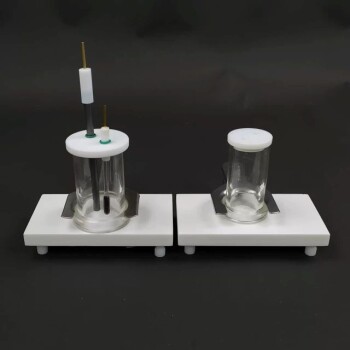
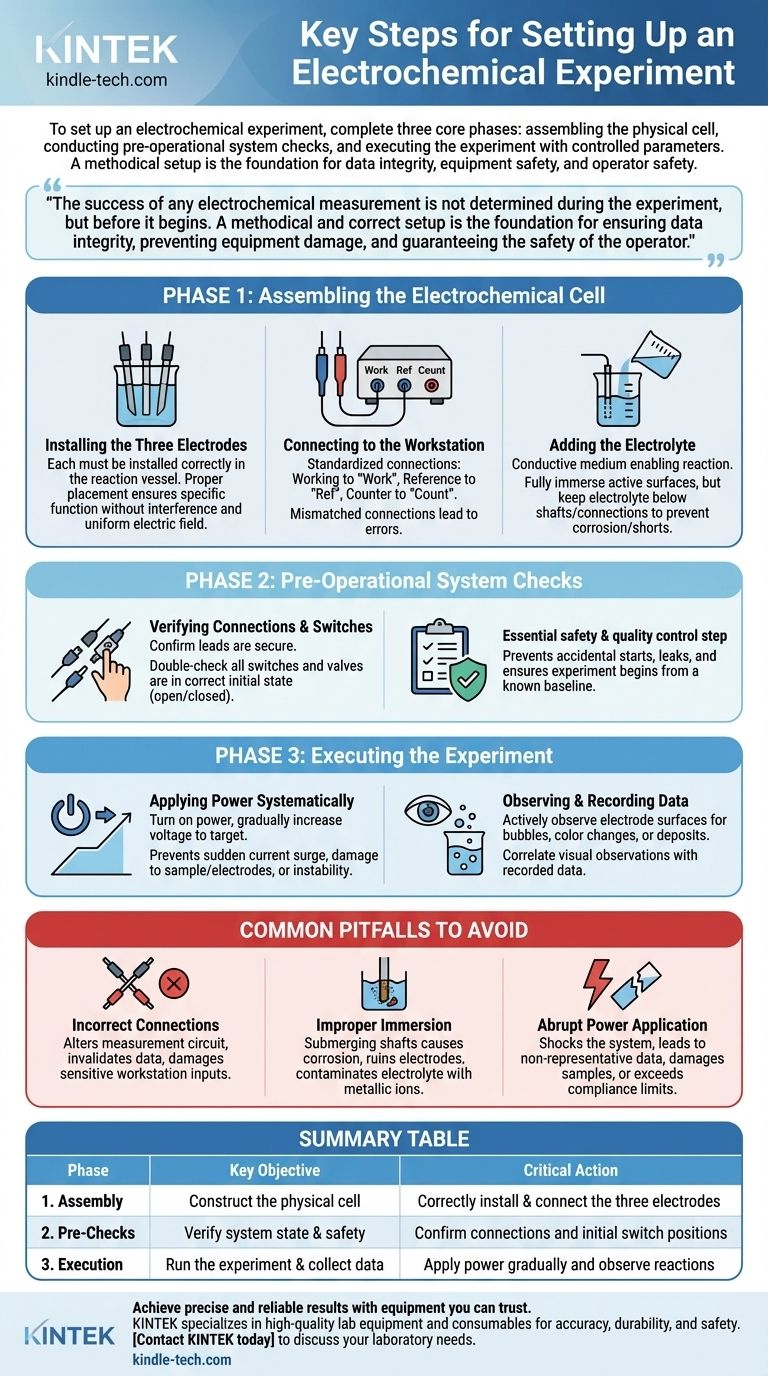
To set up an electrochemical experiment, you must complete three core phases in order: assembling the physical cell, conducting pre-operational system checks, and then executing the experiment with controlled parameters. This process involves the precise installation of electrodes, correct connection to the workstation, and careful application of power while observing the reaction.
The success of any electrochemical measurement is not determined during the experiment, but before it begins. A methodical and correct setup is the foundation for ensuring data integrity, preventing equipment damage, and guaranteeing the safety of the operator.

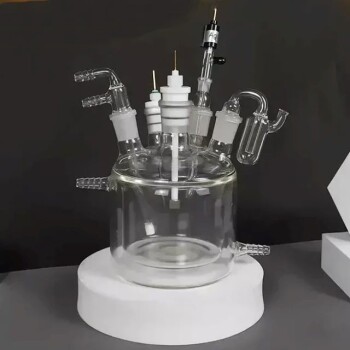
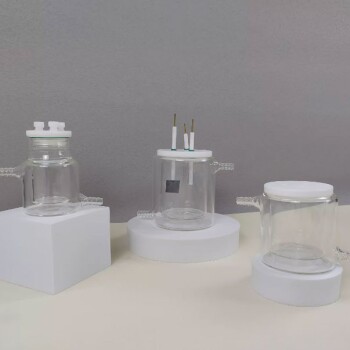
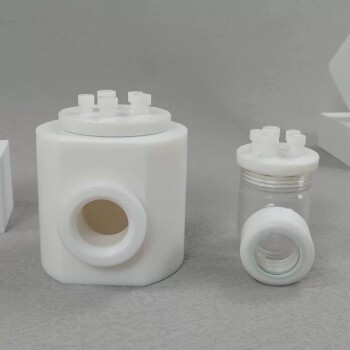
Phase 1: Assembling the Electrochemical Cell
The physical construction of your cell is the most critical phase. Errors made here will invalidate any data you collect, regardless of how well you run the experiment itself.
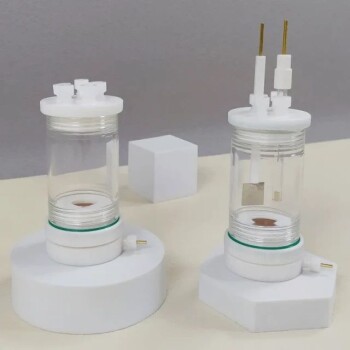
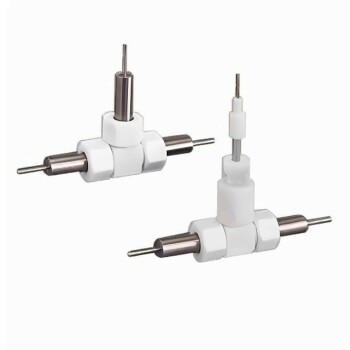
Installing the Three Electrodes
Your electrochemical cell uses a three-electrode system. Each must be installed correctly in the reaction vessel.
Proper placement ensures that each electrode performs its specific function without interfering with the others. The spacing is critical for maintaining a uniform electric field and achieving accurate measurements.
Connecting to the Workstation
The electrode leads must be connected to their corresponding ports on the electrochemical workstation (potentiostat/galvanostat).
These connections are standardized. For instance, the working electrode lead connects to the "Work" port, the reference electrode to the "Ref" port, and the counter electrode to the "Count" port. Mismatched connections will lead to nonsensical data or equipment errors.
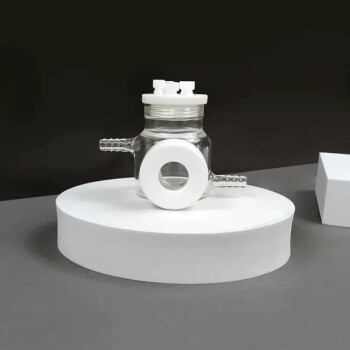
Adding the Electrolyte
The electrolyte is the conductive medium that enables the reaction. It must be added carefully to the vessel.
The goal is to fully immerse the active surfaces of all three electrodes. However, the electrolyte level must remain below the electrode shafts and connection points to prevent corrosion, contamination, and potential short circuits.
Phase 2: Pre-Operational System Checks
Before applying any power, a final verification of the system's state is an essential safety and quality control step.
Verifying Connections and Switches
Confirm that all electrical leads are securely fastened to the correct ports. Double-check that all equipment switches and any associated gas or fluid valves are in their correct initial state (open or closed as required by your specific procedure).
This step prevents accidental starts, protects against leaks, and ensures the experiment begins from a known, controlled baseline.
Phase 3: Executing the Experiment
With the setup verified, you can now begin the measurement process.
Applying Power Systematically
Turn on the power supply for the workstation. The experimental voltage should be increased gradually to the target value, not applied abruptly.
This controlled ramp-up prevents a sudden current surge that could damage your sample, foul the electrodes, or push the system into an unstable state before measurement can begin.
Observing and Recording Data
Throughout the experiment, you must actively observe the electrode surfaces. Look for phenomena like bubble generation, color changes, or the formation of a deposit.
These qualitative observations provide critical context for the quantitative data being recorded by the software. Note any visual changes alongside the corresponding data to aid in your final analysis.
Common Pitfalls to Avoid
A precise setup requires avoiding common but critical mistakes. These errors are the most frequent cause of failed experiments.
The Risk of Incorrect Connections
Connecting the wrong electrode to a port is not a trivial mistake. It fundamentally alters the measurement circuit, making the collected data completely invalid and potentially damaging the sensitive inputs of the workstation.
The Impact of Improper Immersion
If the electrolyte submerges the electrode shafts or connection clips, it will cause corrosion. This not only ruins expensive electrodes but also leaches metallic ions into your solution, contaminating the electrolyte and compromising the integrity of your experiment.
The Danger of Abrupt Power Application
Applying the target voltage instantly can shock the system. This can lead to non-representative initial data, damage to delicate samples (like thin films or biological specimens), and in some cases, exceed the compliance limits of the workstation.
Making the Right Choice for Your Goal
Your setup priorities may shift slightly depending on your primary objective.
- If your primary focus is data accuracy: Double-check that the reference electrode is placed close to the working electrode and that all electrical connections are secure and correct.
- If your primary focus is equipment longevity and safety: Your top priorities are ensuring the electrolyte never touches the electrode shafts and always applying power gradually.
- If your primary focus is qualitative analysis: Ensure you have a clear line of sight to the working electrode surface and correlate your visual observations with the recorded data in real time.
Ultimately, a deliberate and methodical approach to setup is the single most important factor in achieving reliable and meaningful results.
Summary Table:
| Phase | Key Objective | Critical Action |
|---|---|---|
| 1. Assembly | Construct the physical cell | Correctly install & connect the three electrodes |
| 2. Pre-Checks | Verify system state & safety | Confirm connections and initial switch positions |
| 3. Execution | Run the experiment & collect data | Apply power gradually and observe reactions |
Achieve precise and reliable results with equipment you can trust. A meticulous setup is the foundation of any successful electrochemical experiment. At KINTEK, we specialize in providing high-quality lab equipment and consumables—including electrochemical workstations and electrodes—designed for accuracy, durability, and safety. Let our experts help you build a reliable foundation for your research.
Contact KINTEK today to discuss your specific laboratory needs and ensure your experiments are set up for success from the start.
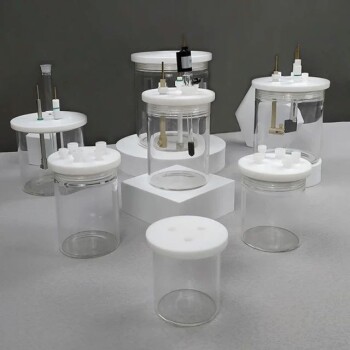
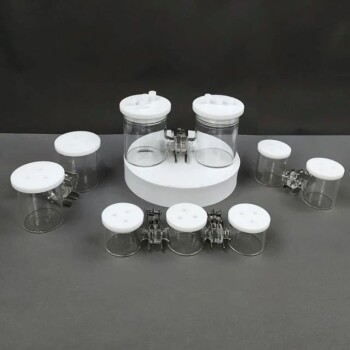
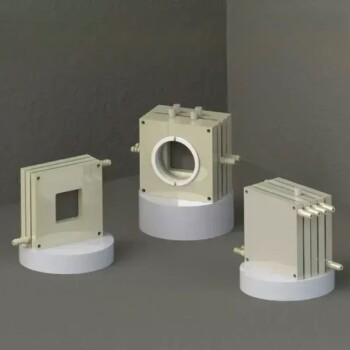
Visual Guide
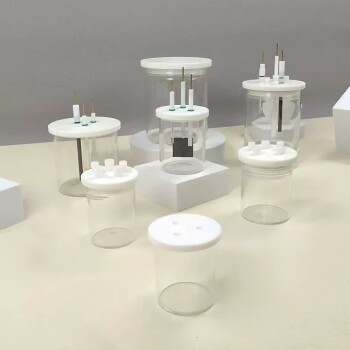
Related Products
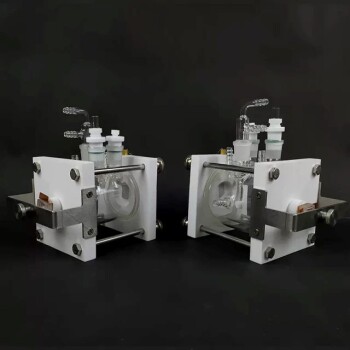
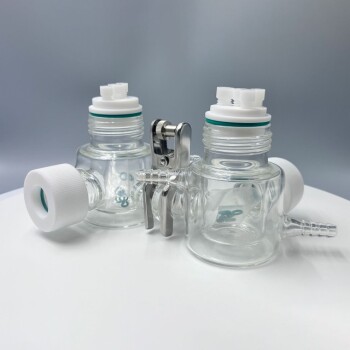
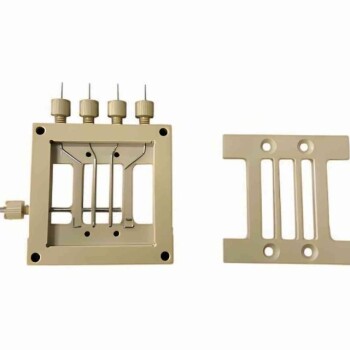
- PTFE Electrolytic Cell Electrochemical Cell Corrosion-Resistant Sealed and Non-Sealed
- Super Sealed Electrolytic Electrochemical Cell
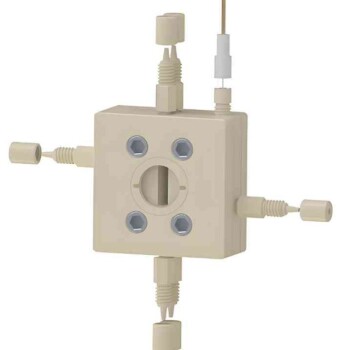
- Electrolytic Electrochemical Cell with Five-Port
- H Type Electrolytic Cell Triple Electrochemical Cell
- Electrolytic Electrochemical Cell Gas Diffusion Liquid Flow Reaction Cell
People Also Ask
- What is the correct shutdown and disassembly procedure after an experiment? Ensure Safety and Protect Your Equipment
- What is the proper method for cleaning the surface of an all-PTFE electrolytic cell? Ensure Accurate Results with a Pristine Surface
- What is the proper cleaning method for an all-PTFE electrolytic cell? Essential Tips for Surface Integrity
- What safety precautions should be taken during an experiment with the electrolytic cell? A Guide to Preventing Shocks, Burns, and Fires
- How does the design of an electrochemical electrolytic cell influence the coating uniformity? Optimize Your Catalysts