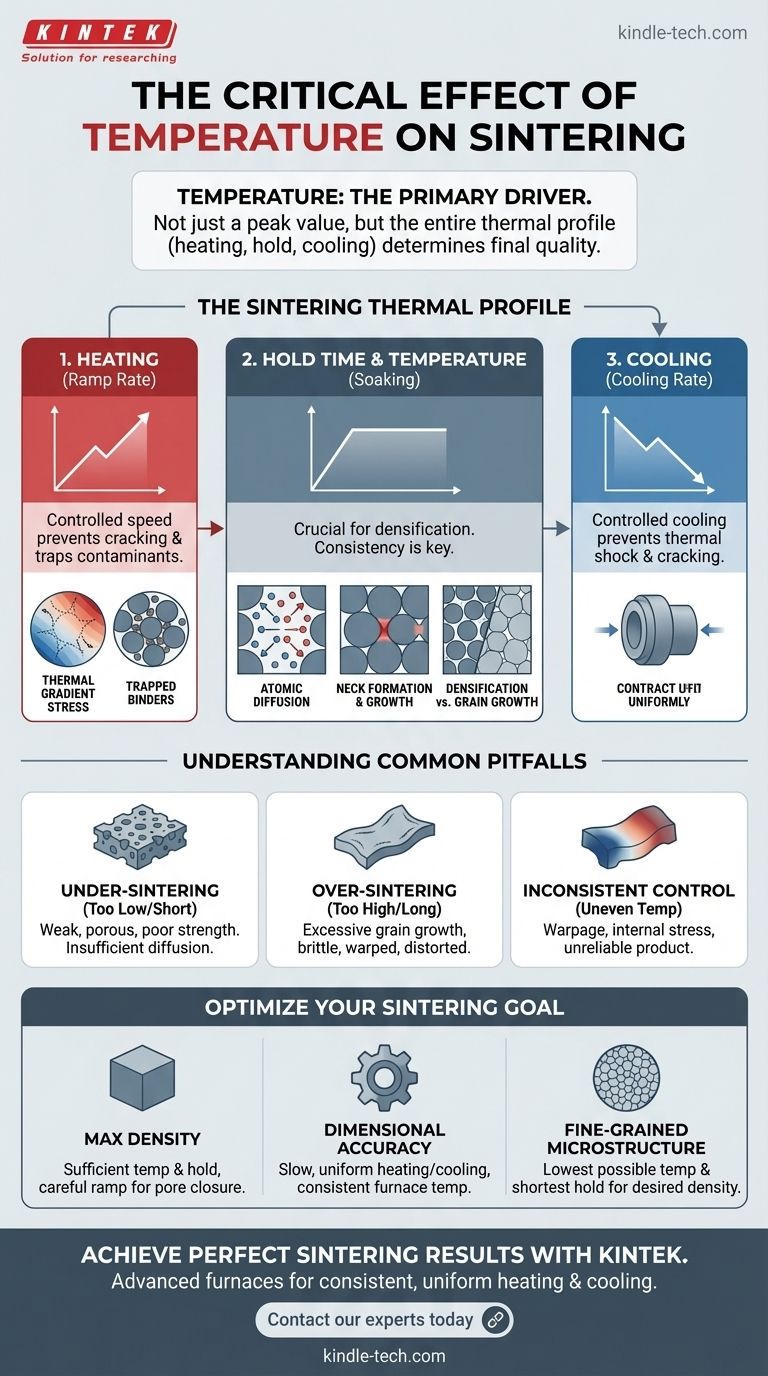
In short, temperature is the single most critical parameter in sintering. It acts as the primary driver for the entire process, dictating the rate and extent to which loose particles bond together to form a solid, dense mass. The final quality, strength, and dimensional accuracy of a sintered part are all direct consequences of how temperature is managed throughout the entire heating and cooling cycle.
The core principle to understand is that successful sintering is not about hitting a single peak temperature. It is about precisely controlling the entire thermal profile—the heating rate, the hold time, and the cooling rate—to manage atomic diffusion and achieve the desired microstructure without causing catastrophic defects.
The Role of Temperature as the Driving Force
Sintering is fundamentally a process of atomic motion. For particles to bond and for pores between them to shrink, atoms must have enough energy to move. Temperature provides this necessary thermal energy.
Activating Atomic Diffusion
Higher temperatures increase the vibrational energy of atoms, allowing them to break existing bonds and move across surfaces or through the bulk of the material. This movement, known as atomic diffusion, is the underlying mechanism that powers sintering.
Without sufficient temperature, diffusion rates are negligible, and densification will not occur.
Neck Formation and Growth
The sintering process begins at the contact points between individual particles. At high temperatures, atoms diffuse to these points, forming small bridges or "necks."
As temperature is held, these necks grow wider, pulling the centers of the particles closer together. This action is what reduces the volume of the voids (porosity) between particles, leading to densification.
Densification vs. Grain Growth
Temperature drives two simultaneous and competing processes: densification (the desirable elimination of pores) and grain growth (the coarsening of the material's microstructure).
Initially, densification dominates. However, if the temperature is too high or held for too long, grain growth can accelerate rapidly. This can be detrimental if grains grow so large that they envelop pores, trapping them within the material and preventing the part from ever reaching full density.
Why the Entire Temperature Profile Matters
The reference correctly highlights that the entire thermal cycle is crucial. Simply reaching a target temperature is not enough; how you get there and back is equally important for a successful outcome.
The Ramp Rate (Heating)
The speed at which the material is heated to the peak sintering temperature must be carefully controlled.
Heating too quickly can create a large temperature difference between the surface and the core of a part. This thermal gradient can cause stress that leads to cracking. It can also trap binders or contaminants that should have been burned out at lower temperatures.
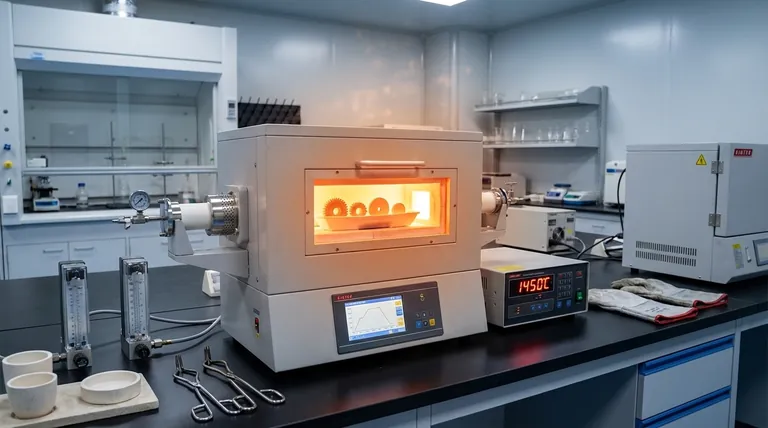
The Hold Time and Temperature (Soaking)
This is the phase where the majority of densification occurs. The temperature must be held with extreme consistency during this period.
Fluctuations in temperature will lead to non-uniform sintering. If the hold time is too short, the part will be under-sintered and porous. If it's too long, excessive grain growth can degrade mechanical properties.
The Cooling Rate
Just as with heating, cooling too rapidly induces thermal shock, creating internal stresses that can easily crack the newly-sintered, brittle part.
A controlled cooling rate allows the entire component to contract uniformly, preserving its structural integrity. The rate from peak temperature down to around 900°C is often the most critical phase for preventing these defects.
Understanding the Common Pitfalls
Improper temperature control is the most common source of failure in sintering. Understanding these risks is key to prevention.
Under-Sintering (Too Low or Too Short)
If the peak temperature is too low or the hold time is too brief, there isn't enough thermal energy for sufficient atomic diffusion.
The result is a weak, porous, and chalky part that has not achieved its target density or mechanical strength.
Over-Sintering (Too High or Too Long)
Exceeding the optimal temperature or time leads to excessive grain growth, which can make the material more brittle.
Furthermore, it can cause the part to slump, warp, or distort, ruining its dimensional accuracy. In extreme cases, it can lead to melting.
Inconsistent Temperature Control
If the furnace has hot and cold spots, different areas of the component will sinter at different rates. This differential shrinkage is a primary cause of warpage and internal stress, leading to a dimensionally unstable and unreliable final product.
Optimizing Temperature for Your Sintering Goal
The ideal temperature profile is not universal; it depends entirely on the material and your desired outcome.
- If your primary focus is maximum density: You must use a sufficiently high temperature and hold time to close porosity, but control the ramp rate carefully to avoid trapping gases before pores can be eliminated.
- If your primary focus is dimensional accuracy: Prioritize slow, uniform heating and cooling rates. Ensure your furnace provides consistent temperature across the entire part to prevent warpage from differential shrinkage.
- If your primary focus is a fine-grained microstructure (for strength or toughness): Aim for the lowest possible sintering temperature and shortest hold time that can still achieve the required density, thereby minimizing the opportunity for grain growth.
Mastering temperature control is mastering the sintering process itself, giving you the power to predictably engineer the final properties of your material.
Summary Table:
| Temperature Parameter | Effect on Sintering Process | Key Consideration |
|---|---|---|
| Peak Temperature | Drives atomic diffusion for neck formation and densification. | Too low = weak, porous part; Too high = excessive grain growth/warping. |
| Heating Rate (Ramp) | Affects thermal stress and binder removal. | Too fast can cause cracking or trap contaminants. |
| Hold Time (Soaking) | Determines extent of densification and microstructure development. | Too short = under-sintered; Too long = degraded properties. |
| Cooling Rate | Influences final stress state and structural integrity. | Too fast can cause thermal shock and cracking. |
Achieve Perfect Sintering Results with KINTEK
Mastering the thermal profile is the key to unlocking the full potential of your materials. Whether your goal is maximum density, precise dimensional accuracy, or a specific fine-grained microstructure, precise temperature control is non-negotiable.
KINTEK's advanced laboratory furnaces are engineered to deliver the consistent, uniform heating and cooling your sintering process demands. Our solutions help you eliminate common pitfalls like warping, cracking, and inconsistent properties by providing exceptional thermal stability across your entire workload.
Ready to transform your sintering outcomes? Contact our experts today to discuss how KINTEK's lab equipment can bring precision, reliability, and superior performance to your laboratory.
Visual Guide
Related Products
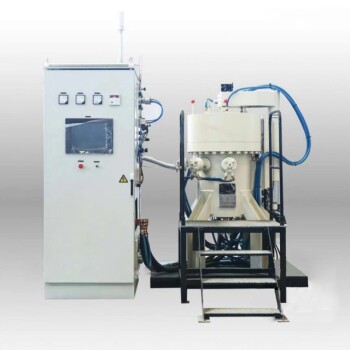
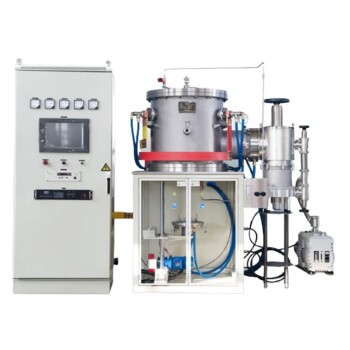
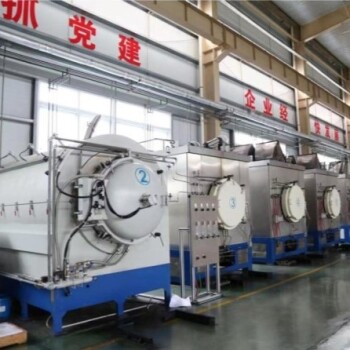
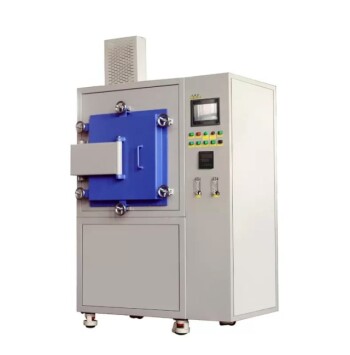
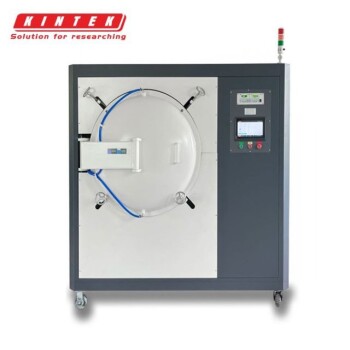
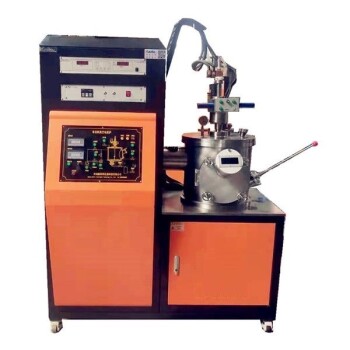
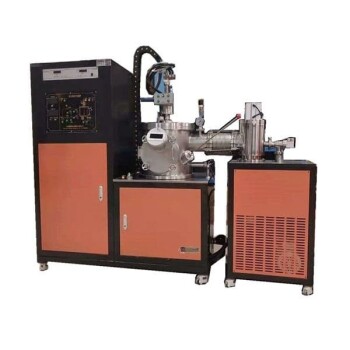
- Vacuum Heat Treat and Sintering Furnace with 9MPa Air Pressure
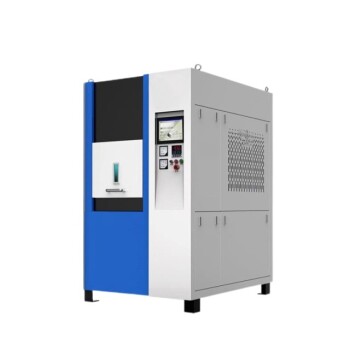
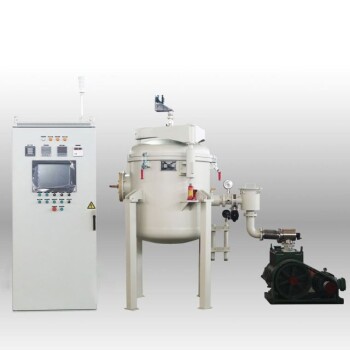
- Spark Plasma Sintering Furnace SPS Furnace
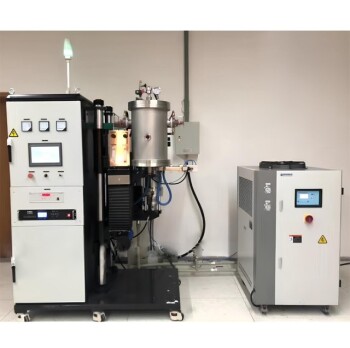
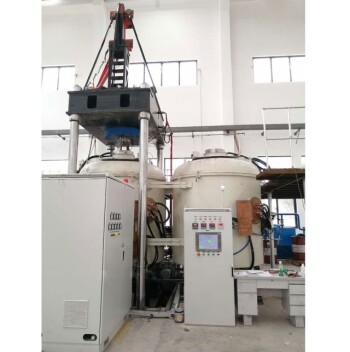
- Vacuum Heat Treat and Molybdenum Wire Sintering Furnace for Vacuum Sintering
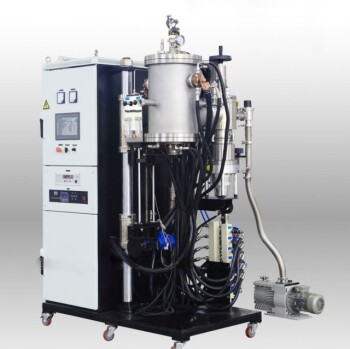
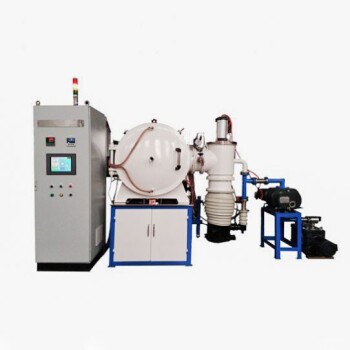
- Small Vacuum Heat Treat and Tungsten Wire Sintering Furnace
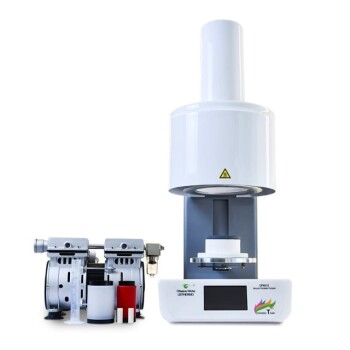
- Dental Porcelain Zirconia Sintering Ceramic Vacuum Press Furnace
People Also Ask
- Why must green bodies produced via binder jetting undergo treatment in a vacuum sintering furnace?
- What is the point of sintering? Create Strong, Complex Parts Without Melting
- What is the process of pressure sintering? Achieve Superior Density and Strength for High-Performance Parts
- What are some alternative atmospheres to pure hydrogen for powder metallurgy sintering processes? Top Sintering Solutions
- What is a vacuum sintering furnace? Unlock Purity and Performance in Advanced Materials