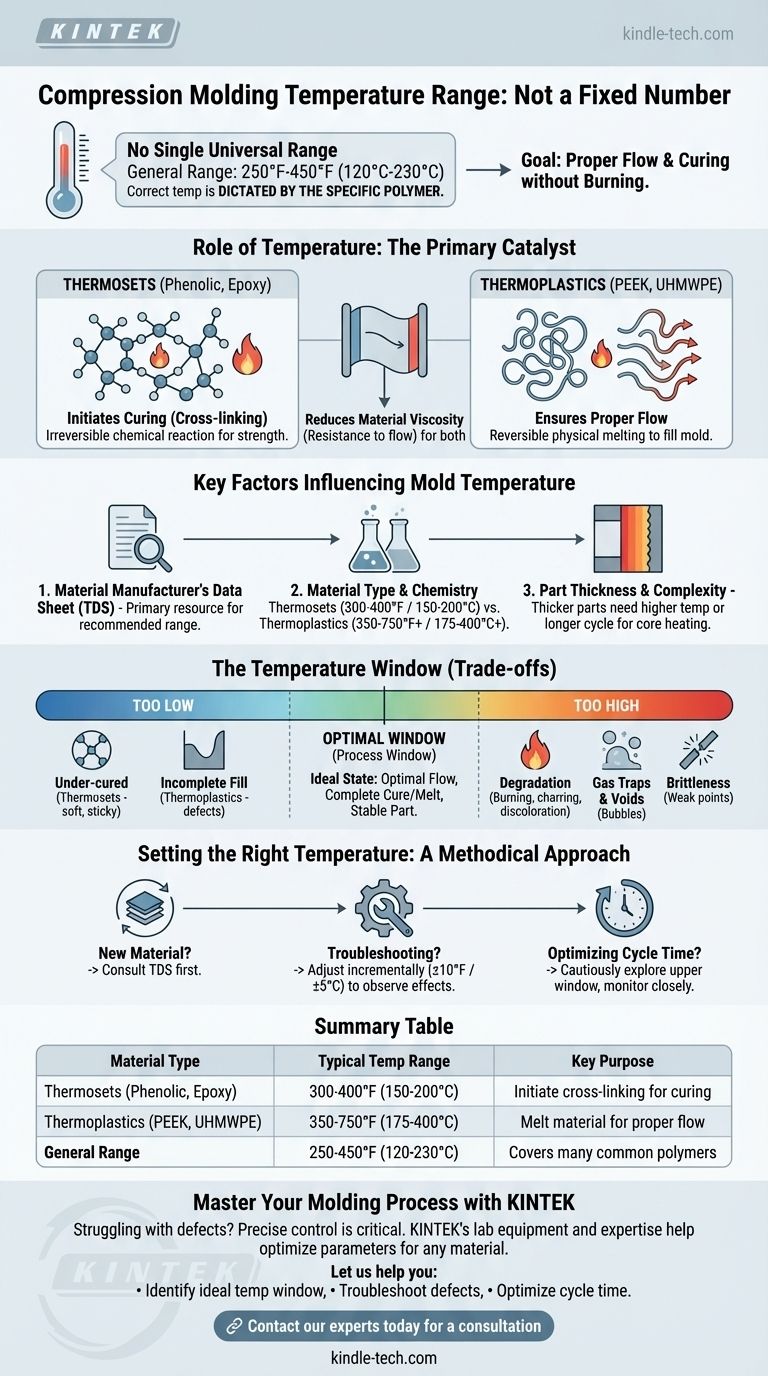
In compression molding, there is no single universal temperature range. While a general range of 250°F to 450°F (120°C to 230°C) covers many common materials, the correct temperature is dictated entirely by the specific polymer you are using. The primary goal is to heat the material enough to achieve proper flow and curing without causing it to burn or degrade.
The correct temperature for compression molding is not a fixed setting but a critical process variable. It is determined by the material's chemical properties, with the objective being to achieve optimal flow and complete cross-linking (for thermosets) or melting (for thermoplastics) without causing thermal damage.
The Role of Temperature in the Molding Process
Temperature is the primary catalyst in compression molding. It doesn't just soften the material; it initiates fundamental chemical and physical changes required to form a stable part.
Initiating the Curing Process (Thermosets)
For thermoset materials like phenolics, silicones, and epoxies, heat triggers an irreversible chemical reaction called cross-linking. This reaction forms strong molecular bonds, converting the raw material from a pliable state into a hard, solid, and heat-resistant final part. The temperature must be high enough to start and complete this reaction within a practical timeframe.
Ensuring Proper Flow (Thermoplastics)
For thermoplastic materials like PEEK or UHMWPE, heat serves a different purpose. It raises the material's temperature above its melting point, allowing it to soften and flow under pressure to fill every detail of the mold cavity. Unlike thermosets, this change is physical and reversible.
Reducing Material Viscosity
In both cases, heat reduces the viscosity (resistance to flow) of the polymer. Achieving the correct viscosity is critical. If viscosity is too high, the material won't fill the mold completely, resulting in defects. If it's too low, it can lead to other issues like flash.
Key Factors Influencing Mold Temperature
Determining the precise temperature requires consulting several key factors. The material itself is the most important variable.
Material Manufacturer's Data Sheet
This is your single most important resource. The Technical Data Sheet (TDS) provided by the material manufacturer will specify the recommended molding temperature range. Always start here, as this range is based on extensive laboratory testing for that specific polymer formulation.
Material Type: Thermoset vs. Thermoplastic
The chemical family of the polymer is the primary determinant.
- Thermosets (e.g., Phenolic, Epoxy, Silicone Rubber) typically cure in a range of 300°F to 400°F (150°C to 200°C).
- Thermoplastics (e.g., PEEK, UHMWPE) require higher temperatures to melt fully, often in the range of 350°F to 750°F (175°C to 400°C) or more, depending on the specific polymer.
Part Thickness and Complexity
Thicker parts require more energy to heat the core of the material to the target temperature. For thick sections, you may need to use a slightly higher mold temperature or a significantly longer cycle (dwell) time to ensure the part is fully cured or melted all the way through.
Understanding the Trade-offs: The Temperature Window
The ideal temperature is rarely a single number but a "process window." Operating outside this window will lead to predictable failures.
What Happens When Temperature is Too Low?
An insufficient molding temperature prevents the material from reaching its ideal state.
- For Thermosets: This results in an under-cured part. The part may feel soft, sticky, or brittle and will lack its intended strength, chemical resistance, and thermal stability.
- For Thermoplastics: The material will be too viscous, leading to incomplete fill (short shots), poor surface finish, and weak points where material fronts failed to fuse properly.
What Happens When Temperature is Too High?
Excessive heat is just as damaging as insufficient heat.
- Material Degradation: All polymers have a temperature at which they begin to break down chemically. This can appear as burning, charring, or discoloration.
- Gas Traps and Voids: Overheating can cause the material to off-gas excessively, creating bubbles and voids that weaken the part.
- Brittleness: Even if not visibly burned, overheating can damage the polymer chains, resulting in a brittle part that fails under stress.
Setting the Right Temperature for Your Project
To determine the optimal temperature, your approach should be methodical and grounded in the material's specifications.
- If your primary focus is processing a new material: Always begin by consulting the manufacturer's technical data sheet for the recommended temperature range.
- If your primary focus is troubleshooting quality issues: Systematically adjust the temperature in small increments (e.g., ±10°F or ±5°C) within the recommended window to observe the effect on defects.
- If your primary focus is optimizing cycle time: After finding a stable process, you can cautiously explore the upper end of the material's temperature window to potentially reduce cure time, but monitor closely for any signs of degradation.
Ultimately, mastering temperature control is about understanding your specific material's behavior, not about finding a single universal number.
Summary Table:
| Material Type | Typical Temperature Range | Key Purpose |
|---|---|---|
| Thermosets (Phenolic, Epoxy) | 300°F - 400°F (150°C - 200°C) | Initiate cross-linking for curing |
| Thermoplastics (PEEK, UHMWPE) | 350°F - 750°F (175°C - 400°C) | Melt material for proper flow |
| General Range | 250°F - 450°F (120°C - 230°C) | Covers many common polymers |
Master Your Molding Process with KINTEK
Struggling with under-cured thermosets or incomplete fills with thermoplastics? The precise temperature control of your compression molding process is critical for part quality and production efficiency.
At KINTEK, we specialize in lab equipment and consumables that help you achieve perfect results. Our expertise supports laboratories in optimizing their molding parameters for any material, from common polymers to high-performance engineering plastics.
Let us help you:
- Identify the ideal temperature window for your specific material
- Troubleshoot common defects like burning, short shots, or brittleness
- Optimize your cycle time without compromising part integrity
Contact our experts today for a personalized consultation and discover how KINTEK's solutions can enhance your lab's capabilities and ensure flawless compression molding outcomes.
Visual Guide
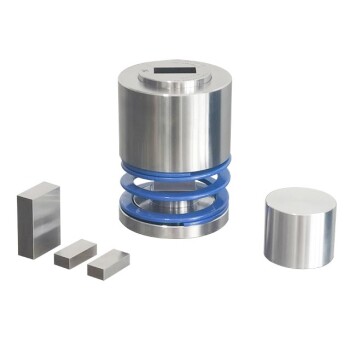
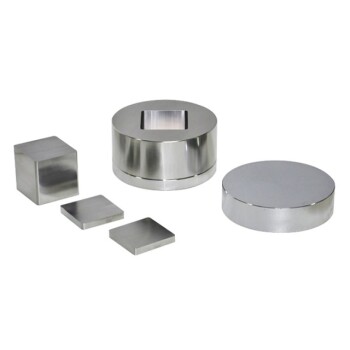
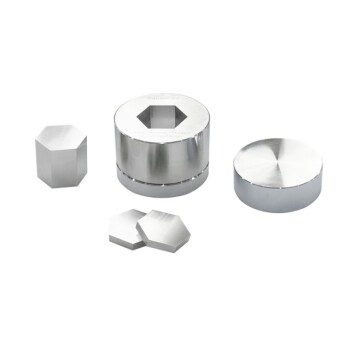
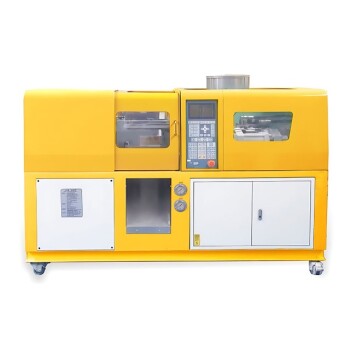
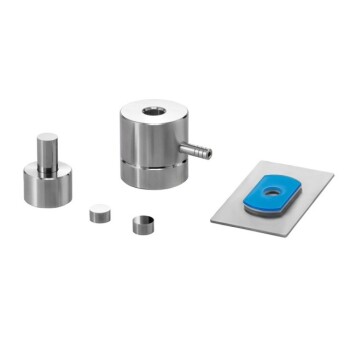
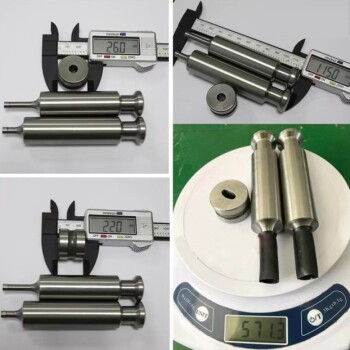
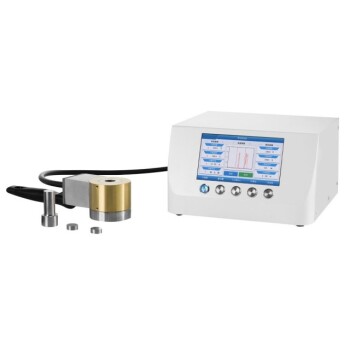
Related Products
- Ball Press Mold for Lab
- Round Bidirectional Press Mold for Lab
- XRF & KBR plastic ring lab Powder Pellet Pressing Mold for FTIR
- Anti-Cracking Press Mold for Lab Use
- XRF & KBR steel ring lab Powder Pellet Pressing Mold for FTIR
People Also Ask
- How to use a press mold? Master the Art of Creating Consistent Ceramic Forms
- What is the purpose of specialized pressure devices in sulfide solid-state batteries? Ensure Chemo-Mechanical Stability
- Why is a laboratory hydraulic hot press essential for high-density, additive-free Silicon Carbide? Unlock Pure SiC.
- What is the press mould method? A Guide to Consistent, Detailed Ceramic Forms
- Why are pressure molds with non-conductive resin inner walls required for battery testing? Ensure Data Accuracy