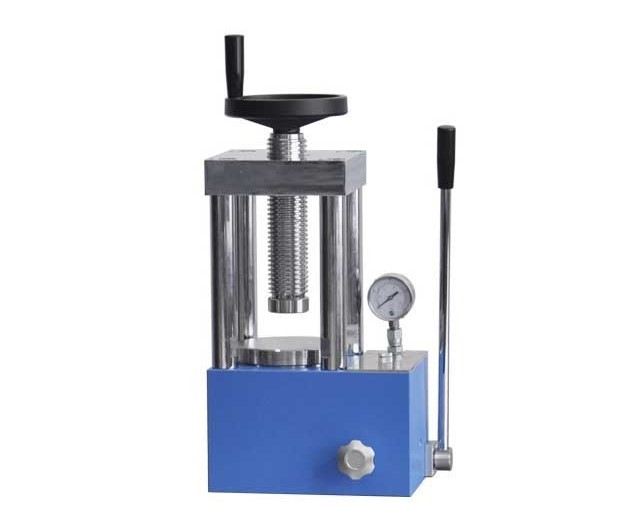
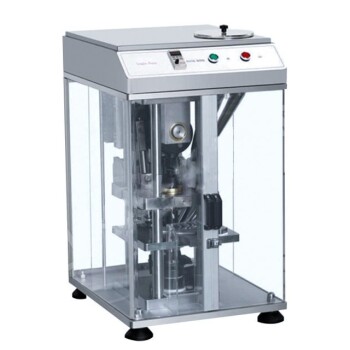
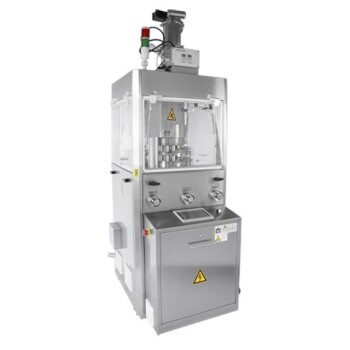
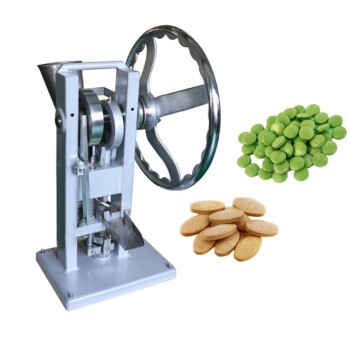
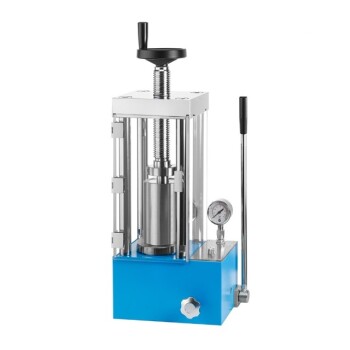
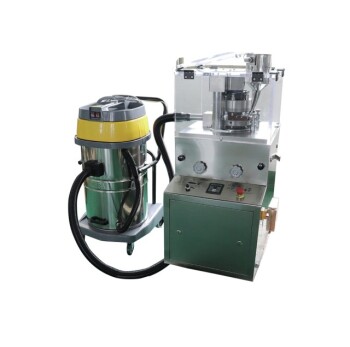
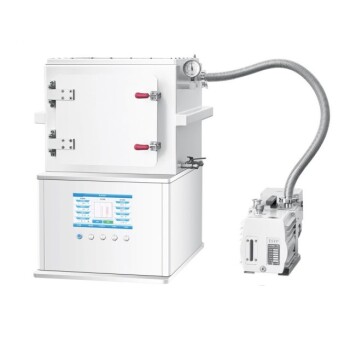
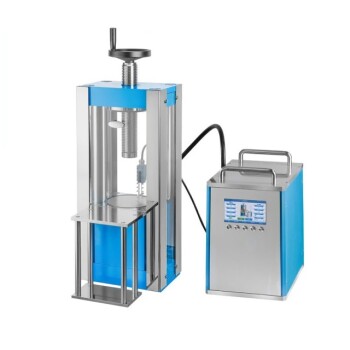
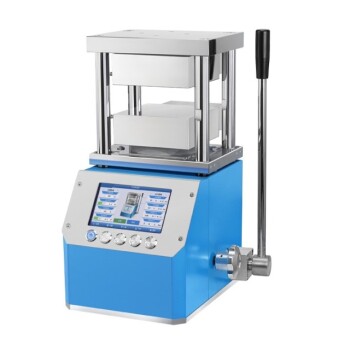
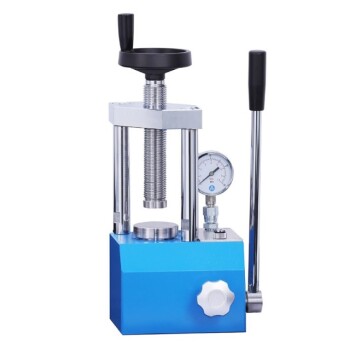
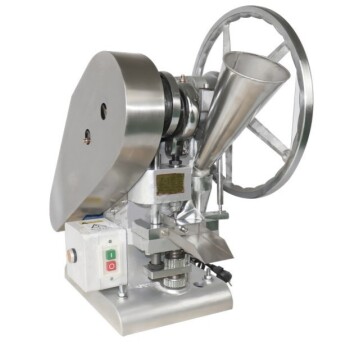
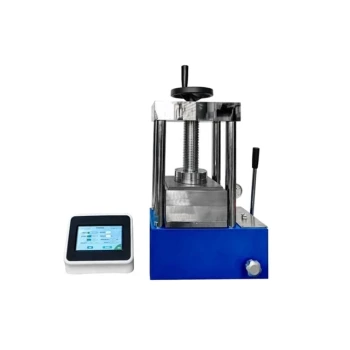
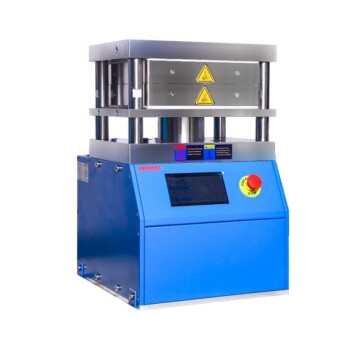
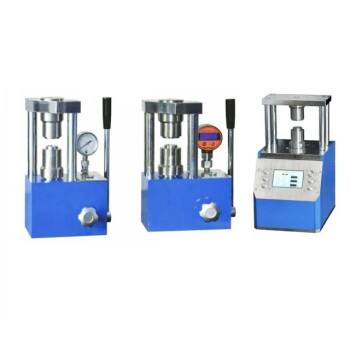
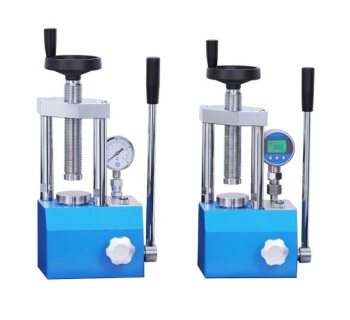
In the realm of pharmaceutical manufacturing, precision and reliability are paramount. One crucial piece of equipment that plays a pivotal role in this process is the manual tablet press. Operating seamlessly, it transforms raw materials into the essential medication we rely on. Understanding the intricacies of this device, such as the replacement of rubber rings and steps for replacing parts, is essential for maintaining efficiency and ensuring the quality of the final product.
Operating steps
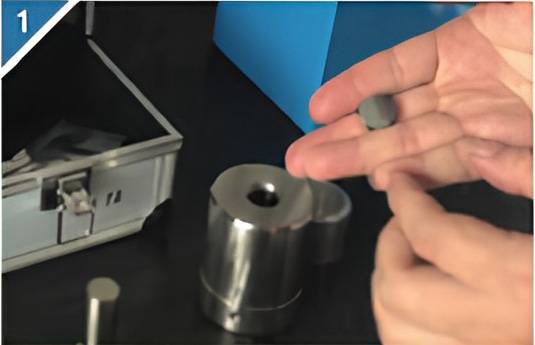
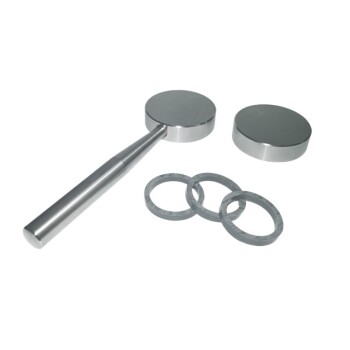
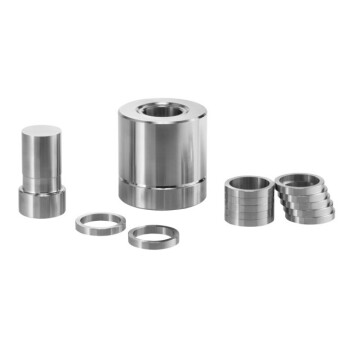
1.Assemble the mold cover and mold bottom and place the mold piece.
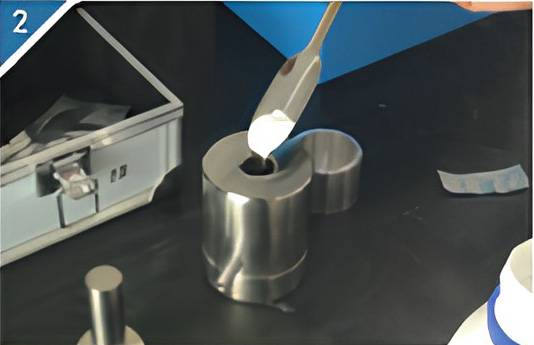
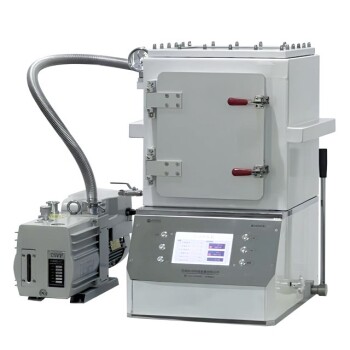
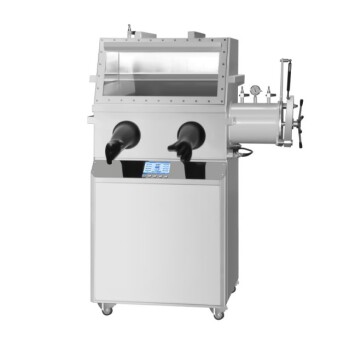
Step 2: Pre press the sample and close the door to startvacuuming.
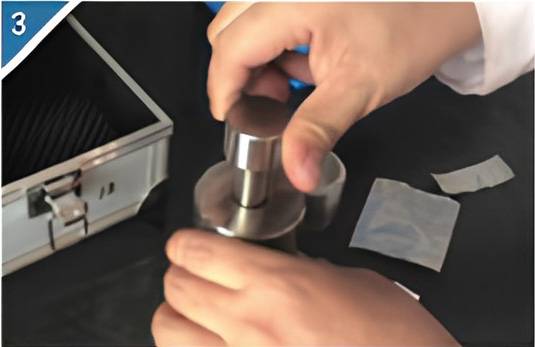
3.Use the mold rod to flatten the sample.
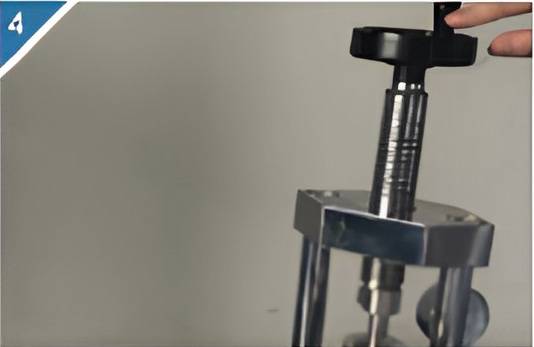
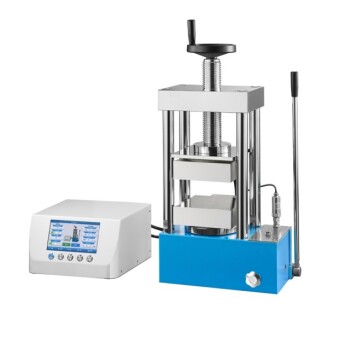
4.Place the mold into the tablet press.
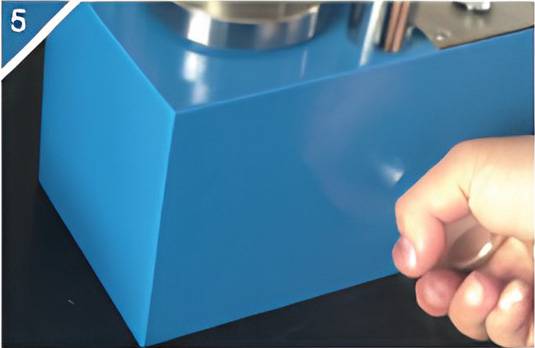
5.Tighten the oil drain valve stem.
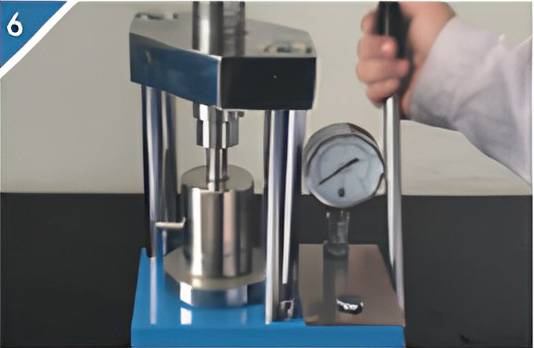
6.Rock the handle to increase pressure to the required pressure.
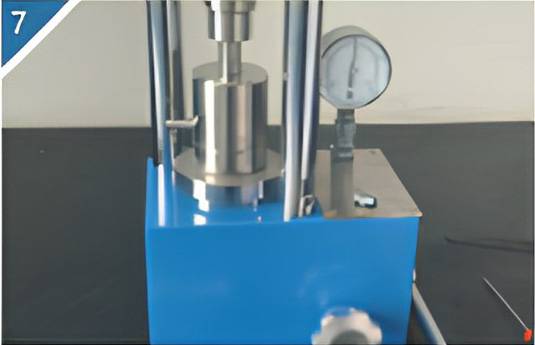
7.After the sample is pressed to the required pressure, the pressure is maintained for a period of time.
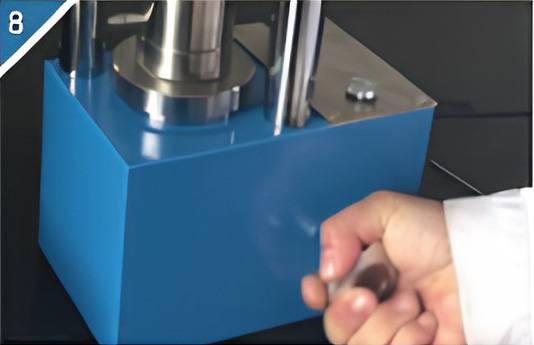
8.Loosen the oil drain valve stem.
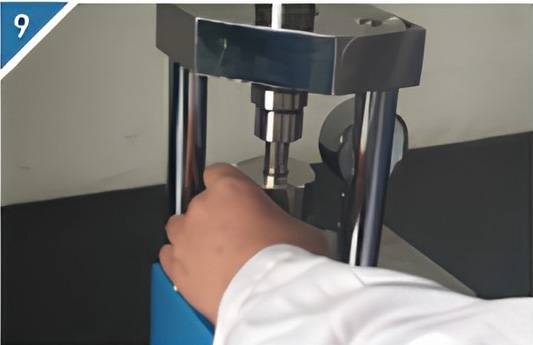
9.Remove the mold.
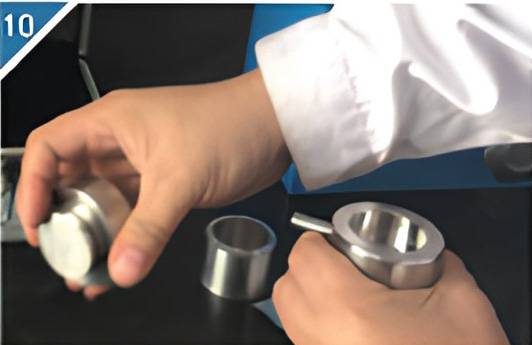
10.Remove the bottom of the mold.
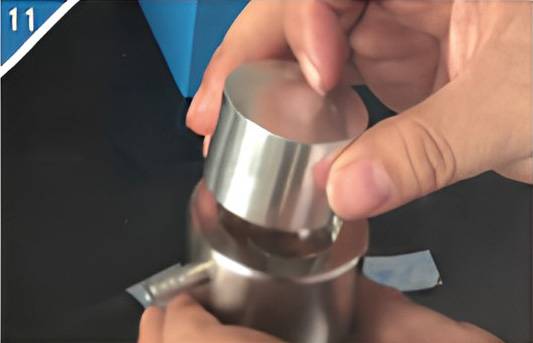
11.Attach the demoulding tool.
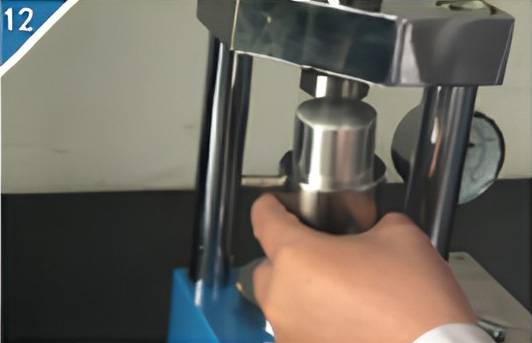
12.Place the assembled mold into the tablet press.
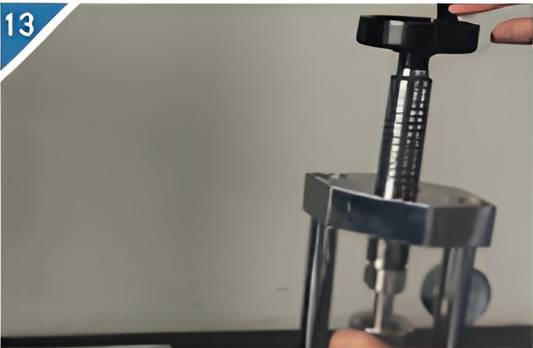
13.Use the screw of the tablet press to eject the sample from the mold.
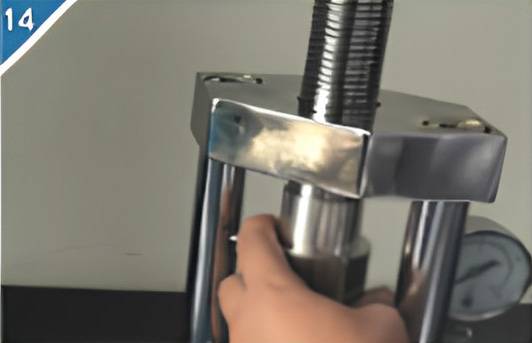
14.Remove the mold from the tablet press.
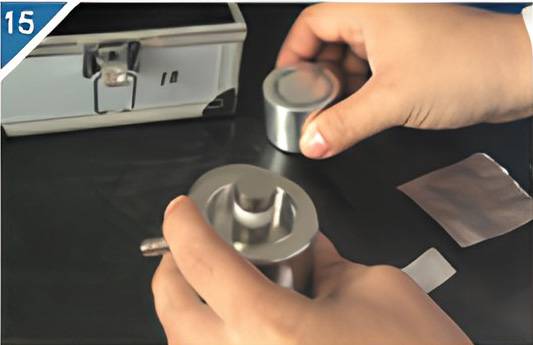
15.Remove the mold release tool.
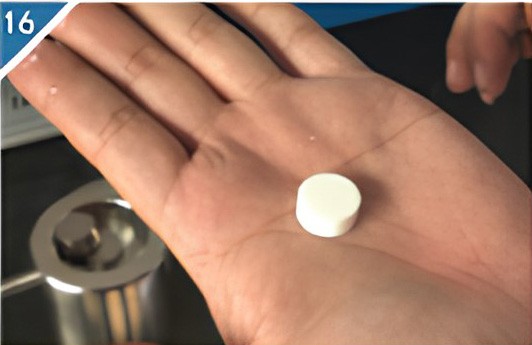
16.Remove the sample from the mold.
Replace rubber ring
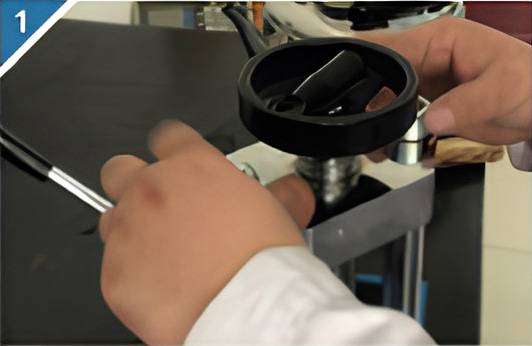
1. Loosen the fastening screws of the upper plate and remove On board.
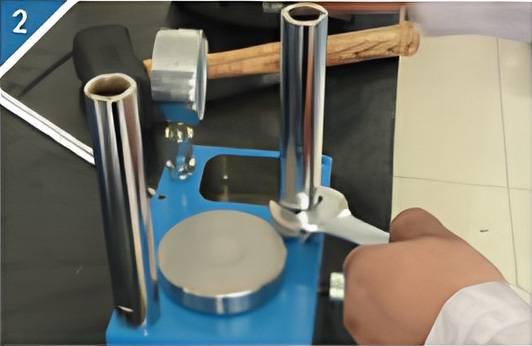
2. Remove the uprights.
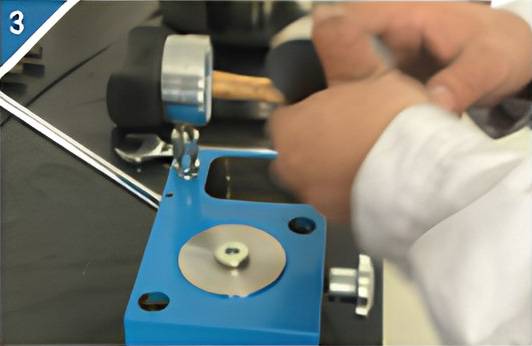
3. Remove the top cover of the oil cylinder.
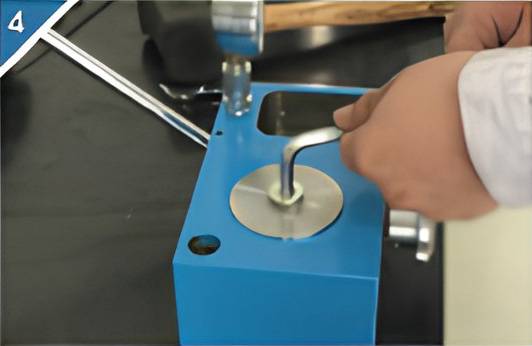
4. Use an 8mm inner hexagonal plate to loosen the lock nut of the large oil cylinder.
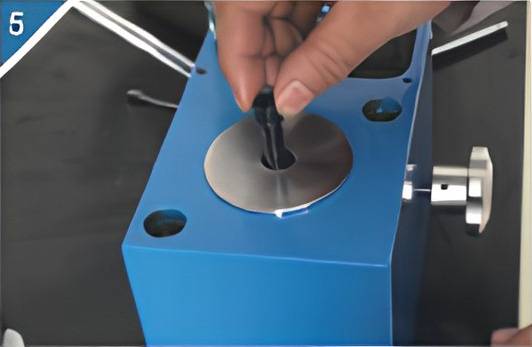
5. Remove the tension spring screw in the oil cylinder.
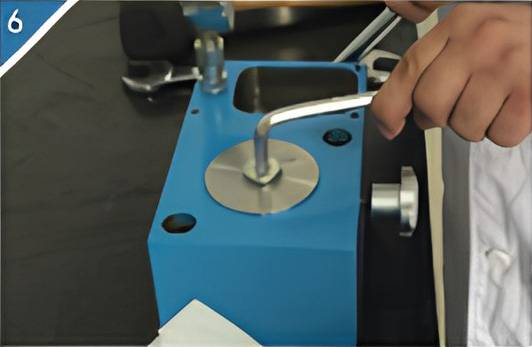
6. Install the large oil cylinder lock nut.
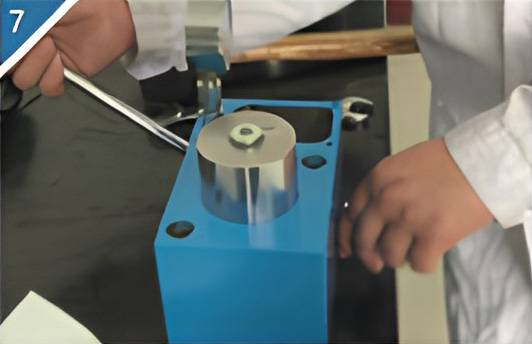
7. Tighten the oil drain valve stem, shake the pressure handle and use hydraulic oil to push out the large oil cylinder.
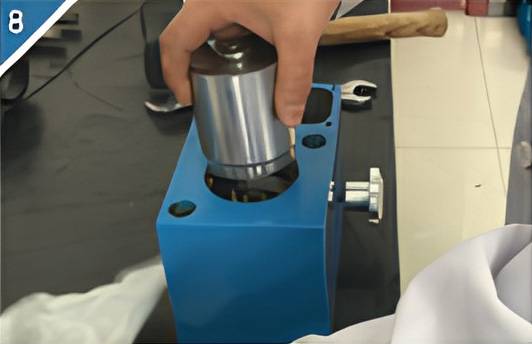
8. Remove the large oil cylinder.
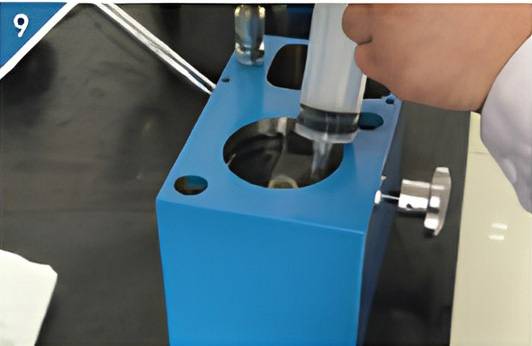
9. Remove the hydraulic oil from the cylinder.
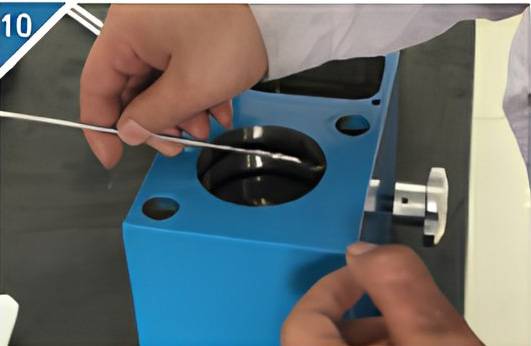
10. Remove the sealing ring from the oil cylinder.
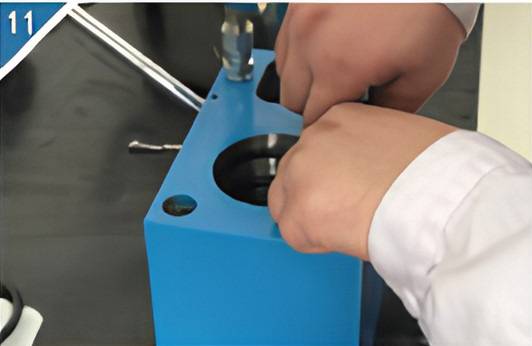
11. Replace the sealing ring with a new one.
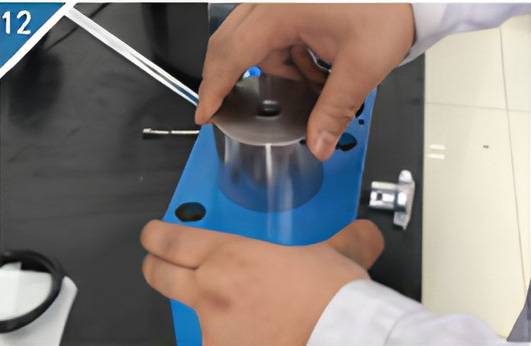
12. Place the oil cylinder on the oil cylinder hole.
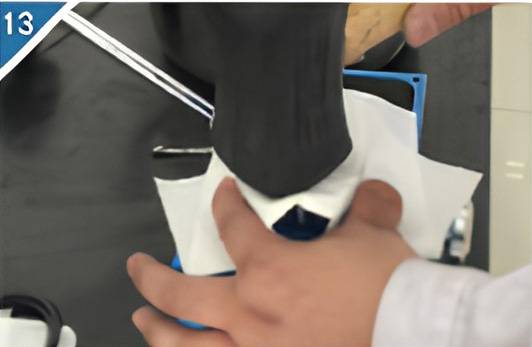
13. Use a rubber hammer to smash the large oil cylinder back to the bottom.

14. Tighten the tension spring screw and the large oil cylinder sealing nut.
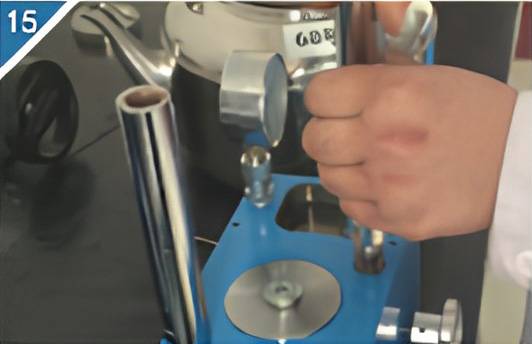
15. Restore the column.
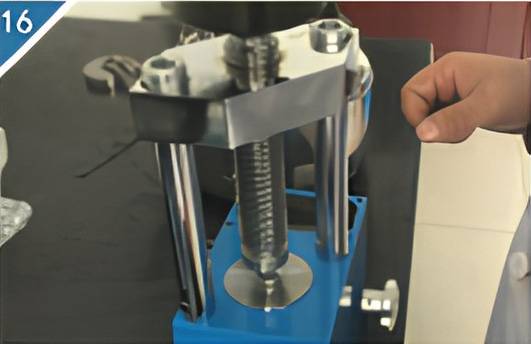
16. Restore the upper board.
Replacement accessories
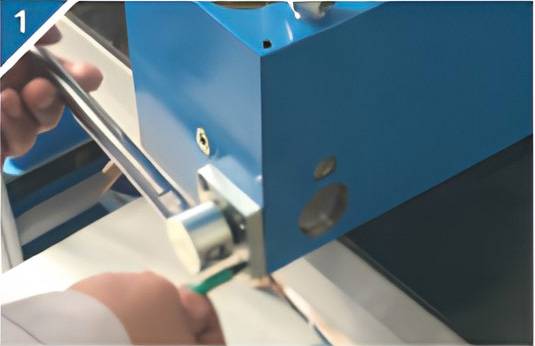
1. Remove the four fixing screws of the support sleeve.
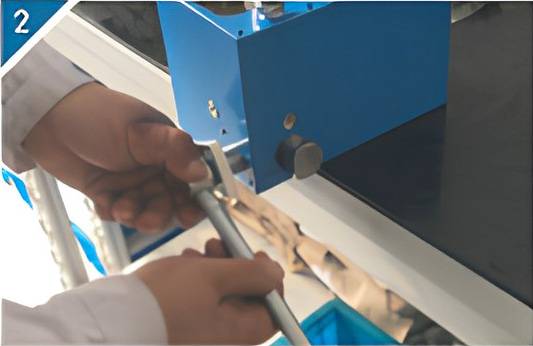
2. Remove the pressurized pressure handle.
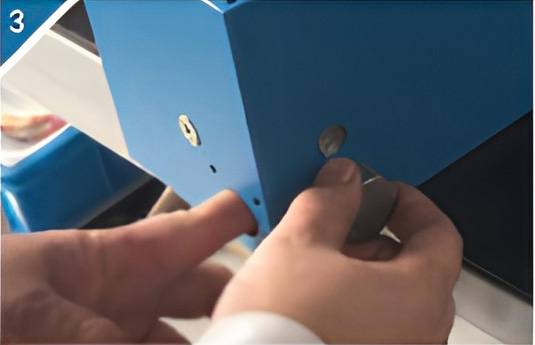
3. Remove the guide sleeve.
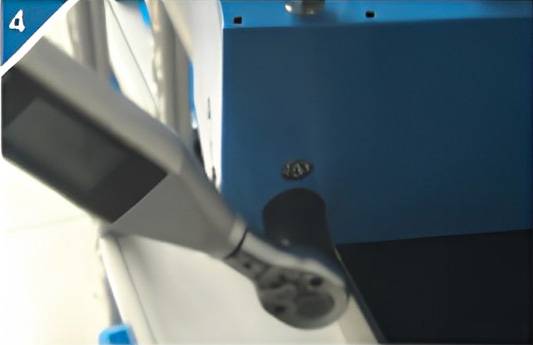
4. Use a large flat plate to loosen the small plunger.
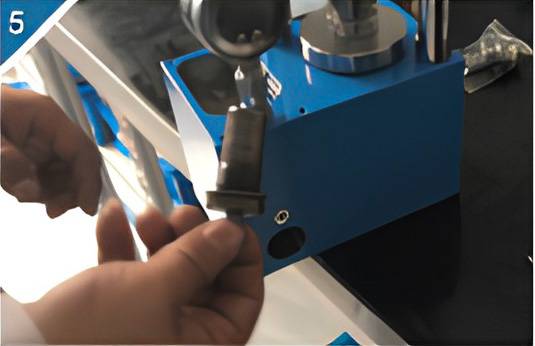
5. Remove the plunger.
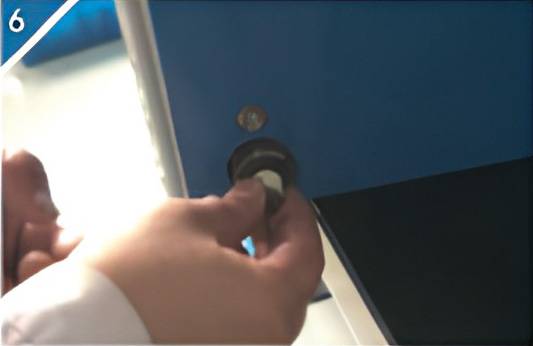
6. Replace with a new small plunger.
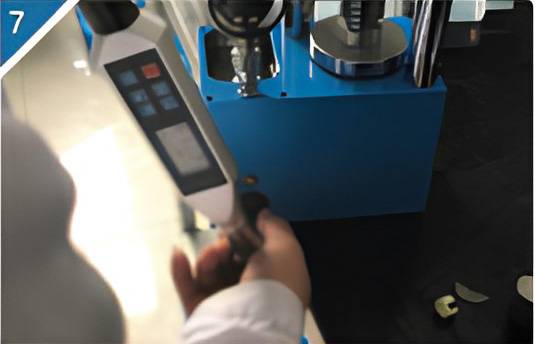
7. Use a special plate to tighten the small plunger.
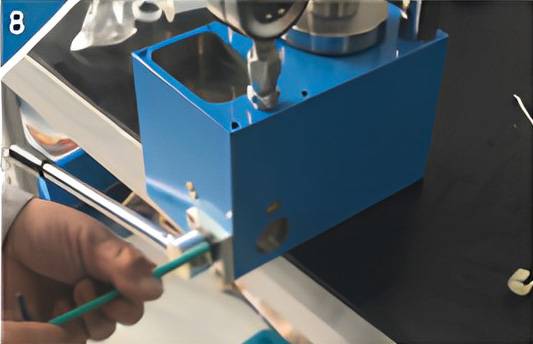
8. Restore the guide sleeve and pressure handle.
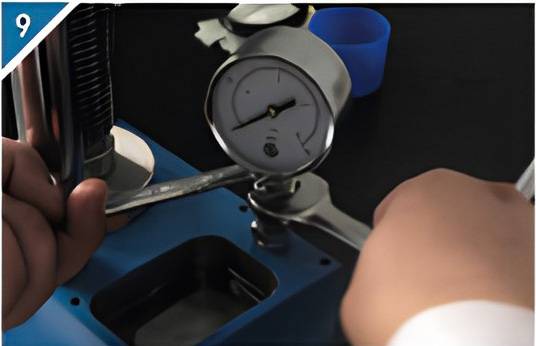
9. Separate the pressure gauge and pressure gauge column.
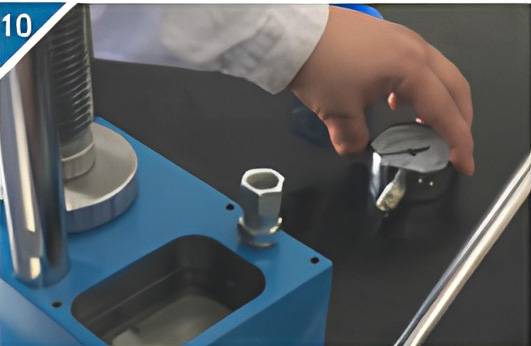
10. Remove the pointer pressure gauge.
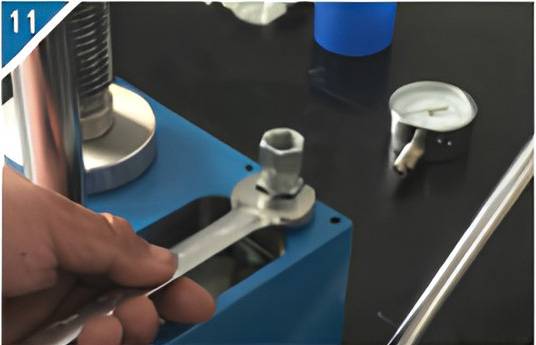
11. Remove the pressure gauge connecting column.
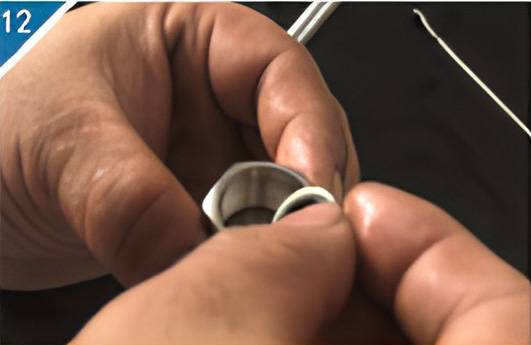
12. Assemble the digital meter connecting column.
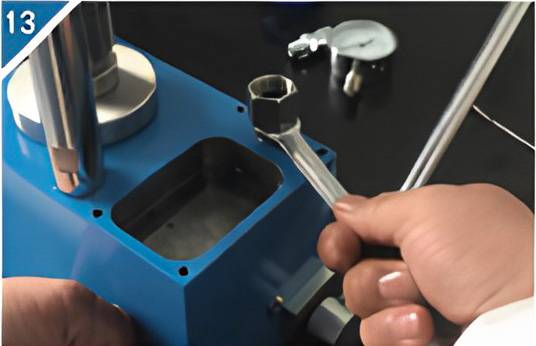
13. Install the pressure gauge connecting column.
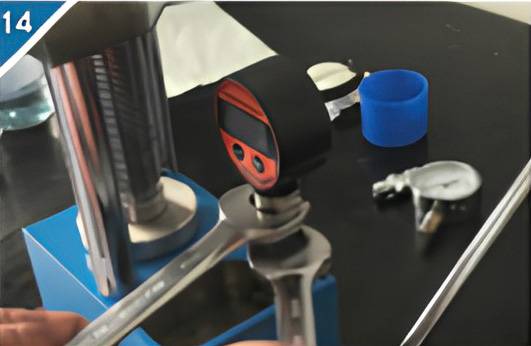
14. Fasten the digital meter and the digital meter connecting post together.
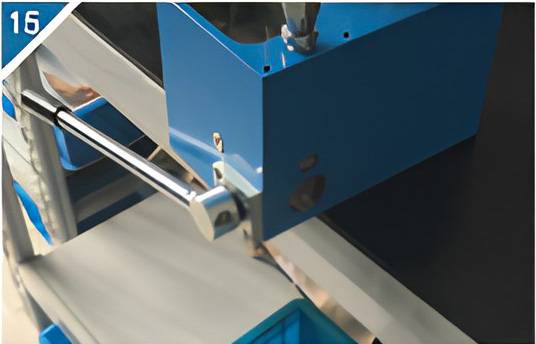
15. If the pressure does not increase, you need to loosen the screw on the plunger and shake the pressure handle to release some oil, and then tighten the screw of the high-pressure valve.
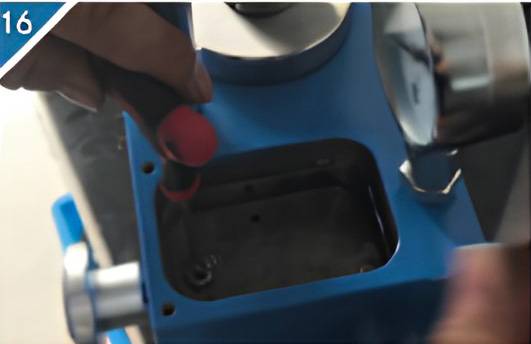
16. Use a thin plate to push open the ball of the one-way valve and shake the pressure handle to release the gas.
Precautions
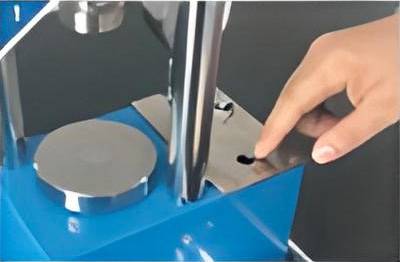
Problem 1: The oil pool does not absorb oil. In order to prevent oil leakage during transportation, the oil filling hole screws were tightened very tightly. However, the oil pool was tightly sealed and the cylinder could not suck in the hydraulic oil and pressurize it normally. This screw needs to be loosened during normal use.
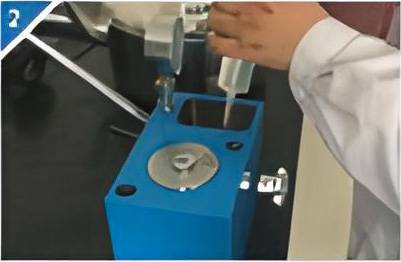
Problem 2: The oil pool is short of oil and cannot be pressurized. Under normal circumstances, the oil level in the oil pool is 5-10mm lower than the flat surface. When it is far below this position, oil needs to be replenished. Generally, 68# anti-wear hydraulic oil is added.
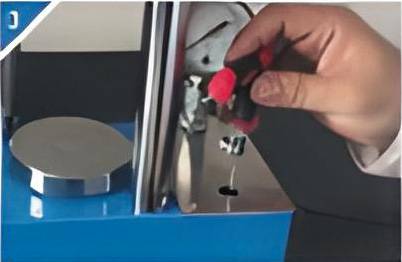
Problem 3: The air intake in the oil line is not pressurized Intake air into the oil line and use a thin screwdriver to open the ball in the one-way valve. Use the other hand to shake the pressure handle 12 to expel the air and the equipment returns to normal.
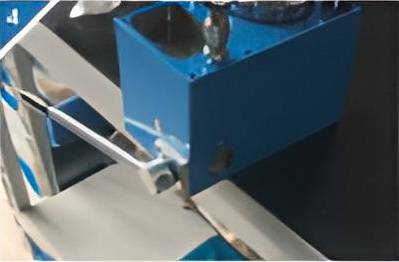
Problem 4: The high-pressure valve does not pressurize. The one-way valve in the hexagonal screw on the back of the tablet press failed, resulting in no pressurization. Generally, you need to relieve the pressure of the hexagon socket screws, take out the springs and balls inside, wipe them clean and then restore them. Try adding pressure again.
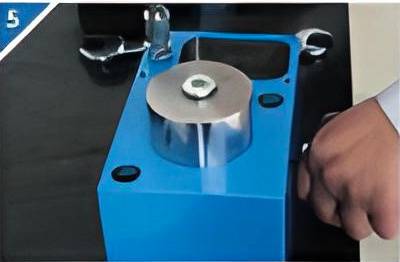
Problem 5: Tension spring deformation. Do not exceed the specified stroke of the oil cylinder. This will cause the tension spring to deform and prevent the oil cylinder from returning to its original position. Pay attention to the height of the oil cylinder when using it.
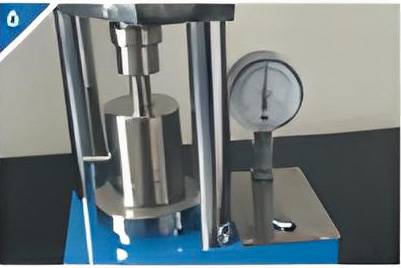
Problem 6: Mold overpressure. When pressurizing, you need to pay attention to the fact that the mold must be placed in the center of the tablet press. And it cannot exceed the maximum pressure that the mold can withstand to avoid deformation of the mold.
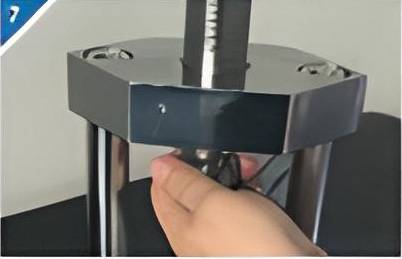
Problem 7: Lead screw deformation. When pressurizing, be careful that all threads of the screw must enter the upper plate and cannot only connect a few buckles to prevent the threads of the screw from deforming and becoming unusable.
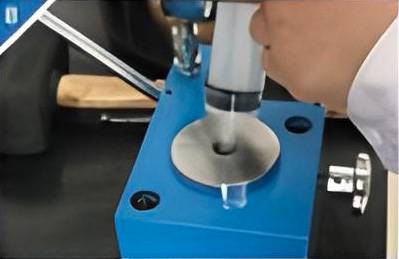
Question 8: Replacing hydraulic oil. It is advisable for the tablet press to use clean No. 68 anti-wear hydraulic oil. If the color turns black or there are many particles, it needs to be replaced in time.
In conclusion, the manual tablet press stands as a testament to the delicate balance between science and technology in the pharmaceutical industry. As we delve into the meticulous operation of this essential apparatus, from the careful replacement of rubber rings to the systematic steps for replacing parts, we gain a deeper appreciation for the craftsmanship that goes into producing the medications that impact countless lives. In the ever-evolving landscape of pharmaceuticals, knowledge and precision continue to be the driving force behind innovation, ensuring a healthier and more resilient future for all.
Related Products
- Automatic Laboratory Hydraulic Pellet Press Machine for Lab Use
- Heated Hydraulic Press Machine with Heated Plates for Vacuum Box Laboratory Hot Press
- Single Punch Electric Tablet Press Machine Laboratory Powder Tablet Punching TDP Tablet Press
- Single Punch Tablet Press Machine and Mass Production Rotary Tablet Punching Machine for TDP
- Single Punch Manual Tablet Press Machine TDP Tablet Punching Machine
Related Articles
- Fully automatic tablet press operating steps and replacement accessories
- Manual Hydraulic Pellet Press: An Efficient Tool for Spectral Analyses Preparation
- Operating of Automatic Lab xrf Pellet Press
- An In-Depth Guide on Laboratory Presses and KBr Pellets Production
- A Comprehensive Guide on Pressing XRF Pellets Using a KinTek Automatic Hydraulic Press
