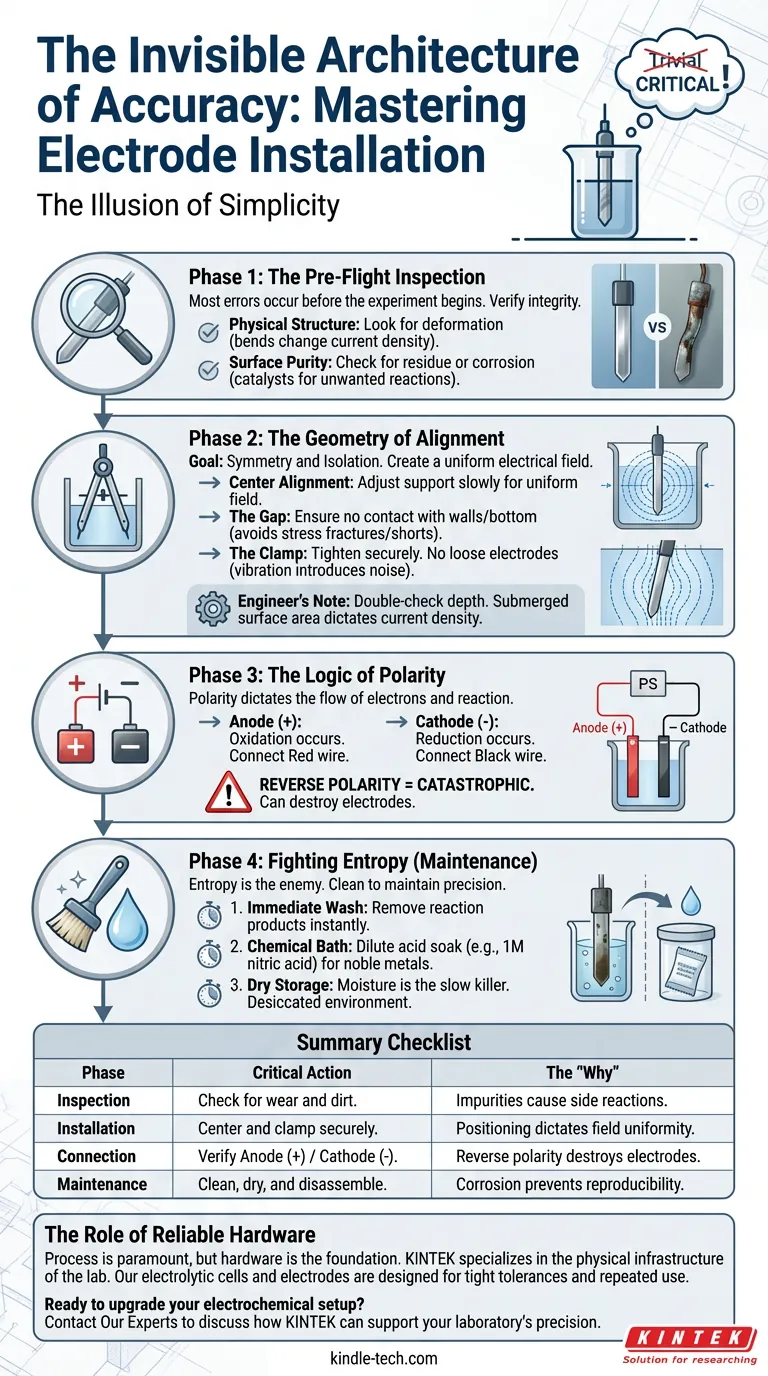
The Illusion of Simplicity
In the laboratory, the most critical moments are often the quietest.
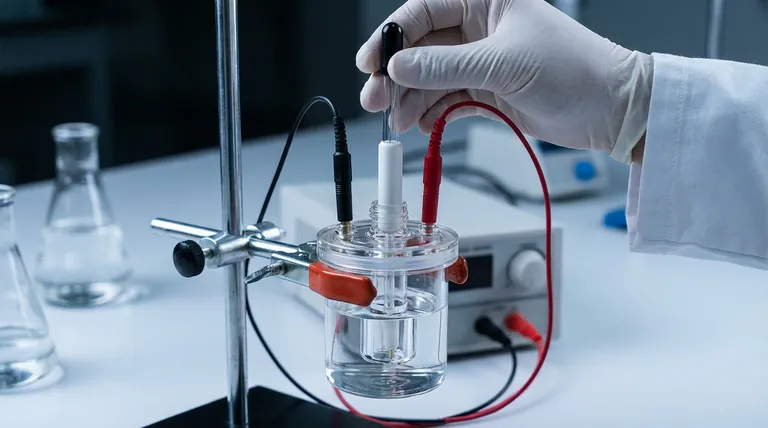
We tend to obsess over the complex chemistry—the exotic reagents, the precise voltage, the theoretical yield. But in electrochemistry, the entire experiment hinges on a mechanical act that takes less than five minutes: installing the electrodes.
It seems trivial. You put the metal in the glass. You turn the power on.
But this view is dangerous.
An electrolytic cell is not just a container; it is a circuit. The electrode is the interface where the physical world meets the chemical world. If that interface is flawed—even by a millimeter—the data isn't just slightly off. It is fiction.
Here is how to approach the installation process with the precision of an engineer and the discipline of a surgeon.
Phase 1: The Pre-Flight Inspection
Most errors occur before the experiment begins.
We often assume that because an electrode looks solid, it is functional. This is a cognitive bias known as "what you see is all there is." However, in electrochemistry, surface chemistry is everything.
Before the electrode touches the cell, you must verify its integrity:
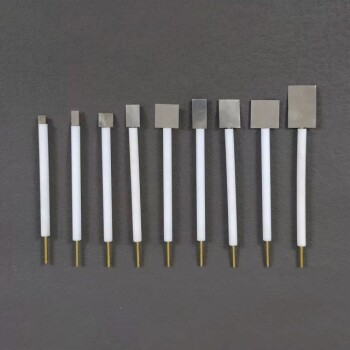
- Physical Structure: Look for deformation. A bent electrode changes the current density distribution.
- Surface Purity: Check for residue or corrosion. A speck of dirt isn't just dirt; it is a catalyst for unwanted side reactions.
If the surface is compromised, the experiment is doomed before you start. Clean surfaces are not a luxury; they are a prerequisite.
Phase 2: The Geometry of Alignment
Once the inspection is complete, we move to the physical installation.
This is a game of geometry. The goal is symmetry and isolation.
When you lower the electrodes into the cell, you are trying to create a uniform electrical field. If an electrode sits askew, the field warps. Reaction rates shift. Reproducibility vanishes.
The Rules of Placement
- Center Alignment: Adjust the support mechanism slowly. The electrode should be the axis around which the cell revolves.
- The Gap: Ensure the electrode never touches the bottom or the walls of the cell. Contact with the glass can cause stress fractures. Contact with the other electrode causes a short circuit.
- The Clamp: Once positioned, tighten the support clamps. Do not rely on gravity or friction. A loose electrode vibrates, and vibration introduces noise to your data.
Engineer’s Note: Double-check your depth. The surface area submerged dictates the current density. If the depth shifts, your calculations break.
Phase 3: The Logic of Polarity
Chemistry has a direction.
Connecting the power supply is not like plugging in a toaster. Polarity dictates the flow of electrons, and therefore, the flow of the reaction.
- Anode (+): Oxidation occurs here.
- Cathode (-): Reduction occurs here.
A reversal here is catastrophic. It doesn't just stop the experiment; it often destroys the electrodes by forcing oxidation on a material designed for reduction.
Always trace the wire from the source to the cell. Red to Anode. Black to Cathode. Do not trust your memory. Trust the wire.
Phase 4: Fighting Entropy (Maintenance)
The experiment doesn't end when the power is cut.
Entropy is the enemy of laboratory equipment. If you leave an electrode wet with electrolyte, corrosion begins immediately. The salts crystallize. The metal degrades.
To maintain the "romance" of precise machinery, you must clean it.
- Immediate Wash: Remove reaction products immediately.
- Chemical Bath: For noble metals like platinum, a dilute acid soak (e.g., 1M nitric acid) restores the surface.
- Dry Storage: Moisture is the slow killer. Store components in a desiccated environment.
If you are storing the cell long-term, disassemble it. Leaving electrolyte in a sealed cell is inviting degradation.
Summary Checklist
A professional treats this process as a system, not a chore.
| Phase | Critical Action | The "Why" |
|---|---|---|
| Inspection | Check for wear and dirt. | Impurities cause side reactions. |
| Installation | Center and clamp securely. | Positioning dictates field uniformity. |
| Connection | Verify Anode (+) / Cathode (-). | Reverse polarity destroys electrodes. |
| Maintenance | Clean, dry, and disassemble. | Corrosion prevents reproducibility. |
The Role of Reliable Hardware
Process is paramount, but hardware is the foundation.
You cannot perform precise work with unstable clamps or impure metals. The best protocol in the world cannot compensate for an electrode that degrades unpredictably or a cell that distorts under thermal stress.
This is where KINTEK steps in.
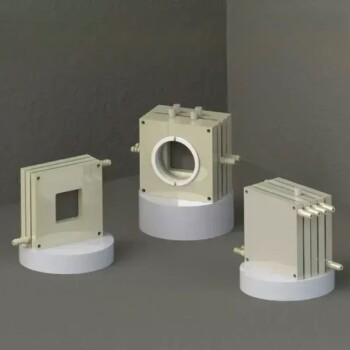
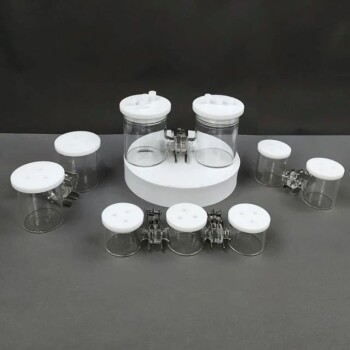
We specialize in the physical infrastructure of the lab. Our electrolytic cells and platinum or graphite electrodes are designed to withstand the rigors of repeated use. We build our equipment with the tight tolerances that engineers appreciate, ensuring that when you center an electrode, it stays centered.
Your research deserves equipment that is as disciplined as you are.
Ready to upgrade your electrochemical setup?
Contact Our Experts to discuss how KINTEK can support your laboratory’s precision.
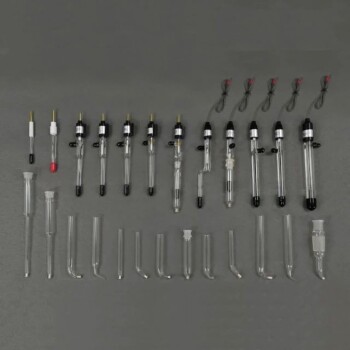
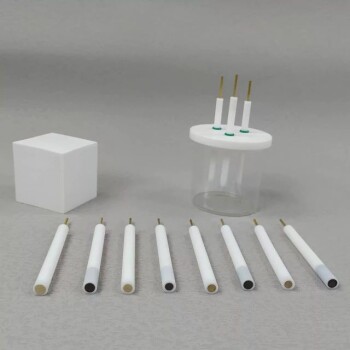
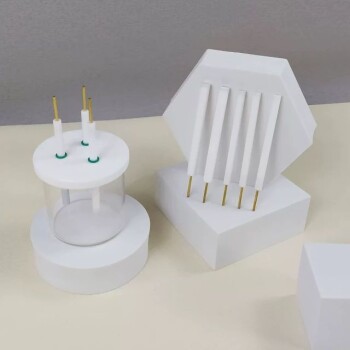
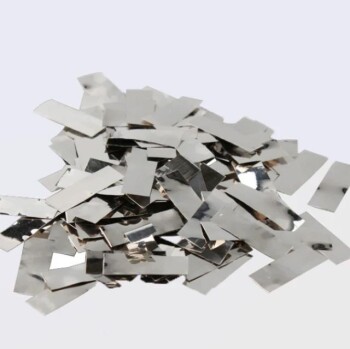
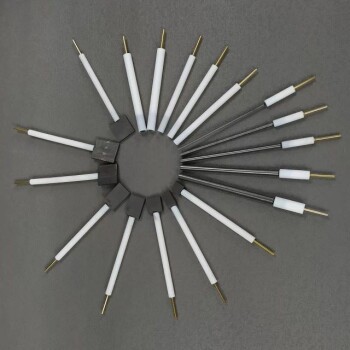
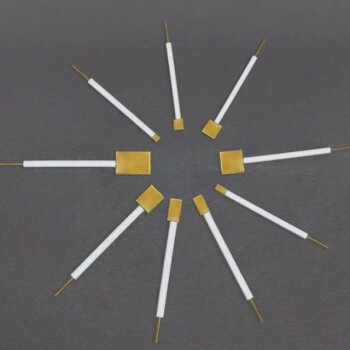
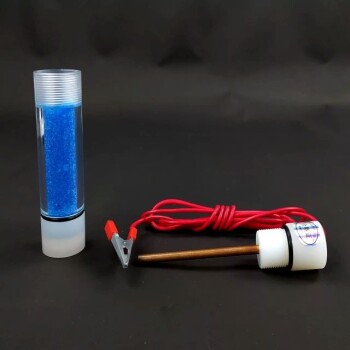
Visual Guide
Related Products
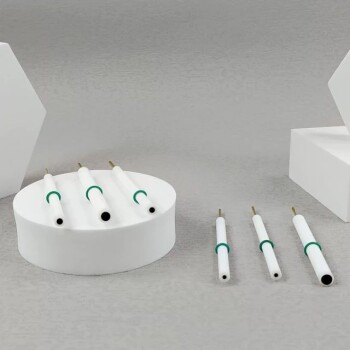
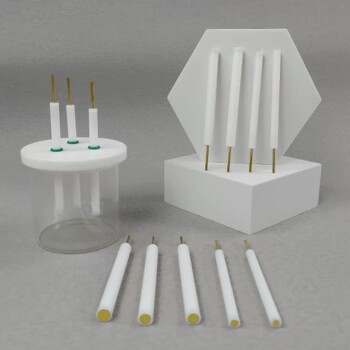
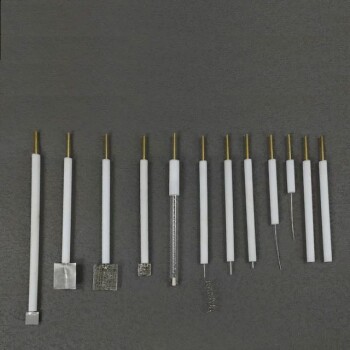
- Reference Electrode Calomel Silver Chloride Mercury Sulfate for Laboratory Use
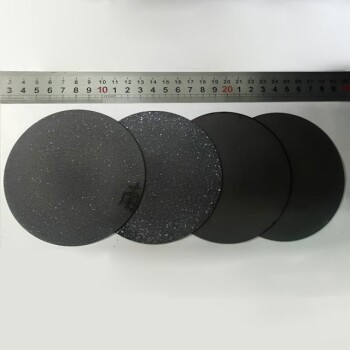
- Metal Disc Electrode Electrochemical Electrode
- RRDE rotating disk (ring disk) electrode / compatible with PINE, Japanese ALS, Swiss Metrohm glassy carbon platinum
- Rotating Platinum Disk Electrode for Electrochemical Applications
- Platinum Sheet Electrode for Battery Lab Applications
Related Articles
- Common Reference Electrodes in Electrochemical Studies
- Comprehensive Guide to Reference Electrodes: Types, Applications, and Selection Criteria
- A Comprehensive Guide to Reference Electrodes
- How to Choose the Right Reference Electrode for Your Application
- Reference Electrodes: Calomel, Silver Chloride, and Mercury Sulfate - A Comprehensive Guide