The definitive method for cleaning a part before Physical Vapor Deposition (PVD) is a multi-stage process centered on ultrasonic cleaning with specialized detergents, followed by thorough rinsing and controlled drying. This isn't simple washing; it's a meticulous surface preparation procedure designed to remove all oils, greases, fingerprints, and microscopic particulates that would otherwise cause the coating to fail.
The core challenge is not just making a surface look clean, but achieving an atomically pure substrate. PVD occurs in a high vacuum where even a single fingerprint can vaporize and contaminate the entire process, guaranteeing poor adhesion and a defective finish.
Why "Clean" for PVD is a Different Standard
PVD is a process of atomic deposition. Vaporized coating material travels in a near-perfect vacuum and condenses onto your part, forming a thin, durable film. The quality of this bond is entirely dependent on the purity of the substrate surface.
The Problem with Contaminants
Any foreign particle—be it oil, dust, or residue from a fingerprint—acts as a barrier. It prevents the coating material from directly bonding to the substrate.
This microscopic separation is the root cause of most PVD coating failures, including poor adhesion, flaking, discoloration, and reduced durability.
The Challenge of the Vacuum Chamber
The PVD process chamber is a high-vacuum environment. Under this low pressure, residual contaminants like water, oils, or solvents can "outgas," meaning they turn into a vapor.
This rogue vapor contaminates the entire chamber, interfering with the controlled deposition process and potentially ruining not just one part, but the entire batch.
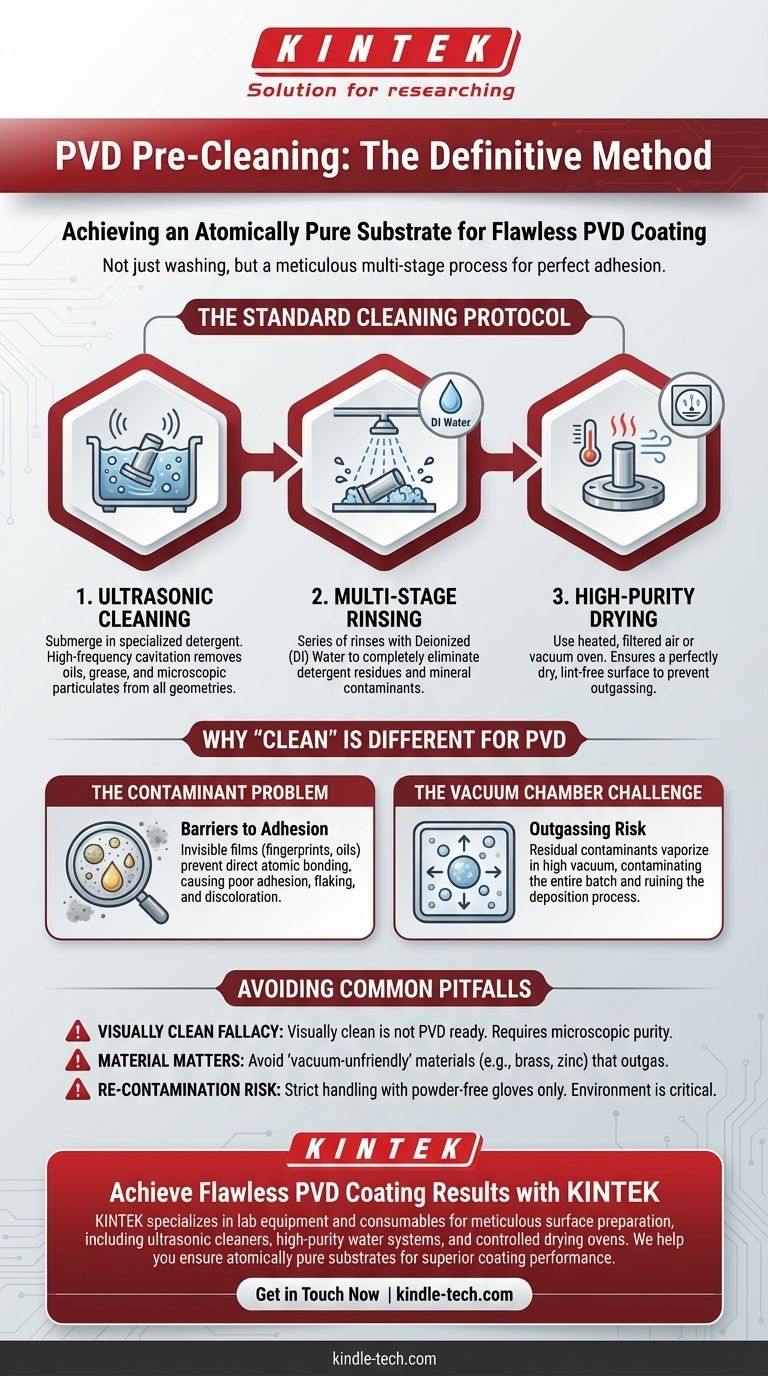
The Standard Cleaning Protocol
Achieving a PVD-ready surface requires a systematic, multi-step protocol. Skipping or rushing any stage compromises the final result.
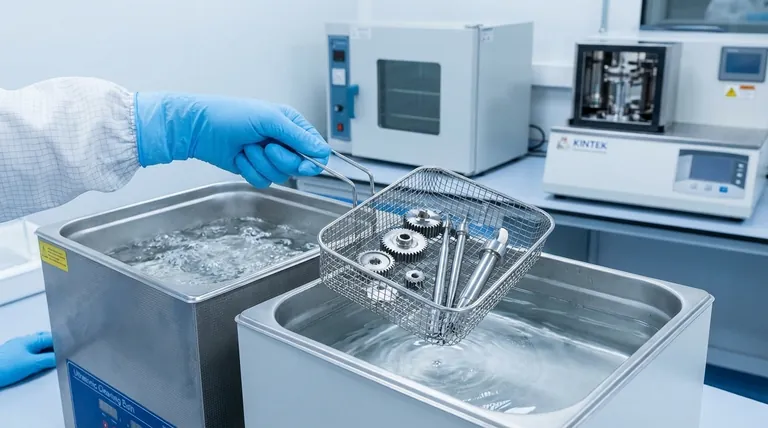
Step 1: Ultrasonic Cleaning
The cornerstone of pre-PVD preparation is ultrasonic cleaning. The part is submerged in a tank with a specialized, environmentally-friendly detergent solution.
High-frequency sound waves create and collapse millions of microscopic bubbles in the liquid. This process, called cavitation, generates a gentle but powerful scrubbing action that dislodges contaminants from even the most complex geometries and microscopic surface pores.
Step 2: Multi-Stage Rinsing
After the detergent bath, all cleaning agents must be completely removed. This is typically done with a series of rinsing stages.
Using deionized (DI) water is critical for the final rinses. Tap water contains dissolved minerals that will leave spots and residue on the surface, which are themselves contaminants.
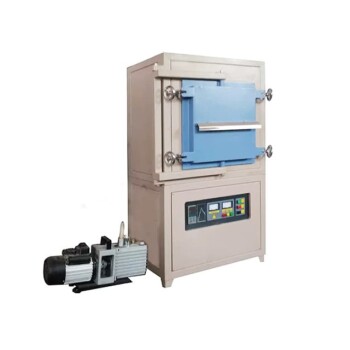
Step 3: High-Purity Drying
The final step is to dry the part completely without re-introducing contaminants. Wiping with a cloth is unacceptable as it leaves behind lint fibers.
Proper methods include drying with heated, filtered air or placing the parts in a vacuum oven. The goal is a perfectly dry surface, as any remaining moisture will outgas in the PVD chamber. Once clean, parts must only be handled with clean, powder-free gloves.
Understanding the Pitfalls
Success lies in avoiding common mistakes that seem minor but have major consequences for the coating.
The "Visually Clean" Fallacy
A part that looks clean to the naked eye is not necessarily clean enough for PVD. Invisible films from handling (fingerprints) or residual lubricants are major sources of failure. The process demands a chemically and microscopically pure surface.
Material Selection Matters
Some materials are inherently "vacuum-unfriendly" and unsuitable for PVD. Materials like brass and certain galvanized metals contain volatile elements (e.g., zinc).
These elements can outgas under the heat and vacuum of the PVD process, disrupting deposition and causing poor results. Always verify your substrate material is compatible with PVD.
Post-Cleaning Re-contamination
The environment between the cleaning line and the coating chamber is a critical risk zone. A perfectly cleaned part can be instantly re-contaminated by a fingerprint, airborne dust, or contact with a dirty surface. Strict handling protocols are essential.
Making the Right Choice for Your Goal
The intensity of your cleaning protocol should match your quality requirements.
- If your primary focus is aesthetic quality: Meticulous cleaning is non-negotiable, as even the smallest surface flaw from a dust particle or fingerprint will be visible in the final coated finish.
- If your primary focus is functional performance: The complete removal of all organic films (oils, grease) via ultrasonic cleaning is paramount to ensure maximum adhesion for wear resistance or corrosion protection.
- If you are designing a product for PVD: Select a "vacuum-friendly" material like stainless steel, titanium, or correctly plated metals from the start to avoid outgassing issues.
Ultimately, surface preparation is not just a preliminary step; it is the fundamental principle that guarantees the success of your PVD coating.
Summary Table:
| Cleaning Stage | Key Action | Purpose |
|---|---|---|
| 1. Ultrasonic Cleaning | Submerge in specialized detergent | Remove oils, greases, and microscopic particulates via cavitation |
| 2. Rinsing | Multi-stage rinse with deionized (DI) water | Eliminate all detergent residues and mineral contaminants |
| 3. Drying | Use heated, filtered air or a vacuum oven | Prevent outgassing by ensuring a perfectly dry, lint-free surface |
| Handling | Use powder-free gloves only | Avoid re-contamination from fingerprints and airborne dust |
Achieve Flawless PVD Coating Results with KINTEK
Don't let improper cleaning compromise your coating's adhesion, appearance, or durability. KINTEK specializes in the lab equipment and consumables essential for meticulous surface preparation. Our ultrasonic cleaners, high-purity water systems, and controlled drying ovens are designed to meet the exacting standards required for successful PVD coating.
We help laboratories and manufacturers ensure their substrates are atomically pure and vacuum-ready, guaranteeing superior coating performance every time.
Contact us today to discuss your specific PVD preparation needs and let our experts help you build a reliable cleaning protocol.
Visual Guide
Related Products
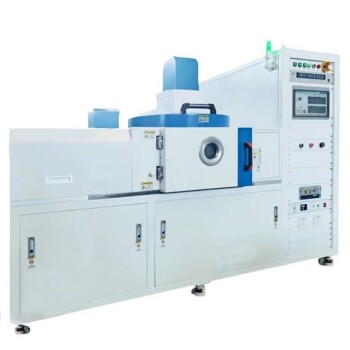
- RF PECVD System Radio Frequency Plasma-Enhanced Chemical Vapor Deposition RF PECVD
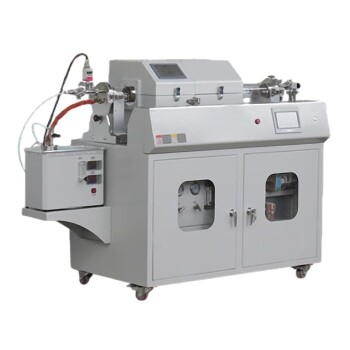
- Chemical Vapor Deposition CVD Equipment System Chamber Slide PECVD Tube Furnace with Liquid Gasifier PECVD Machine
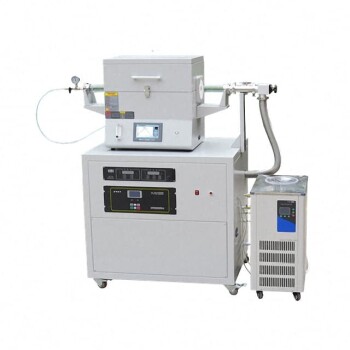
- Split Chamber CVD Tube Furnace with Vacuum Station Chemical Vapor Deposition System Equipment Machine
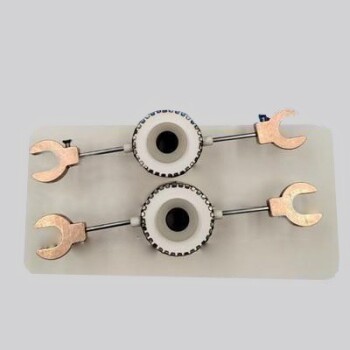
- Aluminized Ceramic Evaporation Boat for Thin Film Deposition
- VHP Sterilization Equipment Hydrogen Peroxide H2O2 Space Sterilizer
People Also Ask
- How are PECVD and CVD different? A Guide to Choosing the Right Thin-Film Deposition Process
- What are the advantages of PECVD? Enable Low-Temperature, High-Quality Thin-Film Deposition
- What is the principle of plasma enhanced chemical vapor deposition? Achieve Low-Temperature Thin Film Deposition
- What are the benefits of PECVD? Achieve Superior Low-Temperature Thin Film Deposition
- How does RF power create plasma? Achieve Stable, High-Density Plasma for Your Applications