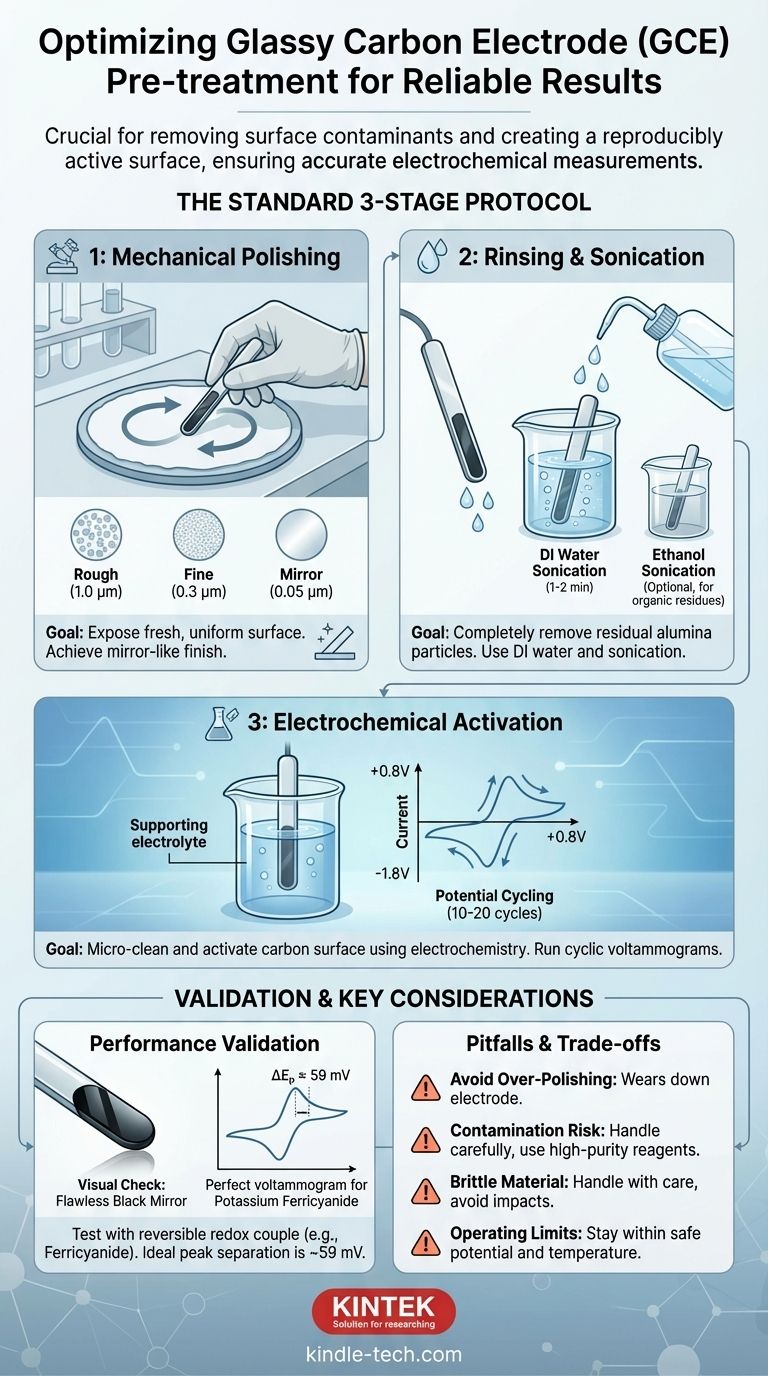
The standard pre-treatment for a glassy carbon electrode (GCE) involves a three-stage process of mechanical polishing, ultrasonic cleaning, and electrochemical activation. This procedure is essential to remove surface contaminants and create a reproducibly active surface, ensuring the accuracy and reliability of your electrochemical measurements.
Your glassy carbon electrode is not just a conductor; it is an active participant in the reaction you are studying. Its surface condition is the single most critical variable determining the quality of your data, and proper pre-treatment is the only way to control it.
Why Pre-treatment is Non-Negotiable
A GCE's performance is dictated entirely by its surface. An untreated or poorly maintained surface can lead to incorrect, sluggish, and non-reproducible results.
The Problem of Surface Fouling
The surface of a GCE is easily contaminated, a process known as fouling. Contaminants can include adsorbed organic molecules, reaction byproducts, or metallic impurities from the environment or previous experiments.
These contaminants physically block the electrode surface, preventing your analyte from reaching the active sites where electron transfer occurs. This leads to distorted signals and inaccurate measurements.
The Goal: A Clean and Active Surface
The pre-treatment process has two primary goals. First, to physically and chemically clean the surface. Second, to electrochemically activate it, creating functional groups (like quinone/hydroquinone moieties) that facilitate rapid electron transfer.
The Standard Pre-treatment Protocol
Follow this three-step process for a new electrode or one that has been heavily used or stored for a long time.
Step 1: Mechanical Polishing
This is the most critical step for creating a smooth, clean surface. The goal is to remove a very thin top layer of the electrode, exposing a fresh, uniform surface underneath.
Use a polishing cloth (chamois or a dedicated microcloth pad) and an alumina (Al₂O₃) slurry. Polish in a figure-eight motion for about 1-2 minutes with each successive grit size.
- Rough Polish (if necessary): For a scratched or very fouled electrode, start with a 1.0 µm alumina slurry.
- Fine Polish: Proceed to a 0.3 µm alumina slurry.
- Mirror Polish: Finish with a 0.05 µm alumina slurry.
After this final step, the electrode should have a mirror-like finish with no visible scratches.
Step 2: Rinsing and Sonication
Polishing leaves behind residual alumina particles that must be completely removed.
First, rinse the electrode tip thoroughly with deionized (DI) water. Then, sonicate the electrode in a beaker of DI water for 1-2 minutes to dislodge any remaining abrasive particles. A second sonication step in ethanol can help remove organic residues.
Step 3: Electrochemical Activation
The final step uses electrochemistry to perform a micro-cleaning and activate the carbon surface.
Place the polished and rinsed electrode in your supporting electrolyte (the solution you'll use for your experiment, but without the analyte). Run a series of cyclic voltammograms over a wide potential window, for example, cycling between +0.8V and -1.8V for 10-20 cycles or until the voltammogram becomes stable.
This process reductively and oxidatively removes any remaining trace impurities and prepares the surface for consistent performance.
Validating Your Electrode's Performance
You must verify that the pre-treatment was successful. A visual check is not enough.
The Visual Check
The electrode surface should appear as a flawless, black mirror. Any haziness or visible scratches indicate the polishing was incomplete or poorly executed.
The Electrochemical Test
The definitive test is to run a cyclic voltammogram using a well-behaved, reversible redox couple. Potassium ferricyanide ([Fe(CN)₆]³⁻/⁴⁻) in a KCl electrolyte is the industry standard.
For a properly prepared GCE, the separation between the anodic and cathodic peak potentials (ΔEₚ) should be very close to the theoretical value of 59/n mV (where n is the number of electrons, so ~59 mV for ferricyanide). A large peak separation (>70-80 mV) indicates a sluggish, poorly activated surface that requires re-polishing.
Understanding the Pitfalls and Trade-offs
Proper care extends the life of your electrode and ensures data integrity.
The Risk of Over-Polishing
Mechanical polishing is an abrasive process. While essential, performing an aggressive polish before every single experiment can wear down the electrode over time. For routine measurements of the same system, a simple rinse and electrochemical re-activation may be sufficient.
The Danger of Contamination
The GCE surface is prone to contamination from the moment you finish cleaning it. Handle the electrode carefully, avoiding contact with your fingers. Ensure all glassware is impeccably clean and use high-purity solvents and reagents.
The Brittleness of Glassy Carbon
Glassy carbon is a brittle material. Handle it with care to avoid dropping it or knocking the tip against a hard surface, which can cause chips or fractures that are impossible to polish out.
Operating Within Safe Limits
Never expose the electrode to high temperatures, strong acids, or strong alkalis for extended periods. Always operate within the potential window of your solvent and electrolyte to avoid damaging the electrode surface.
Making the Right Choice for Your Goal
Apply the correct level of treatment based on your immediate need.
- If your primary focus is preparing a new or heavily fouled electrode: Perform the full three-step protocol: sequential polishing (0.3 µm -> 0.05 µm), sonication, and full electrochemical activation.
- If your primary focus is running routine daily experiments: A brief polish with 0.05 µm alumina followed by rinsing and a few activation cycles is often sufficient.
- If your primary focus is short-term storage (overnight): After rinsing, you can store the electrode tip immersed in DI water or a 1:1 nitric acid solution (rinse thoroughly before next use).
- If your primary focus is long-term storage: Rinse the electrode with DI water, then ethanol, allow it to air dry completely, and store it in its original box in a clean, dry environment.
A properly maintained electrode is the foundation of reproducible and trustworthy electrochemical data.
Summary Table:
| Pre-treatment Step | Purpose | Key Details |
|---|---|---|
| Mechanical Polishing | Remove contaminants & expose fresh surface | Use alumina slurry (e.g., 0.05 µm) for a mirror finish |
| Rinsing & Sonication | Remove polishing residues | Rinse with DI water, sonicate in water/ethanol |
| Electrochemical Activation | Micro-clean & activate the surface | Cycle potential in supporting electrolyte (e.g., 10-20 cycles) |
| Performance Validation | Confirm a clean, active surface | Test with a reversible redox couple (e.g., ferricyanide; ΔEp ~59 mV) |
Achieve peak performance and extend the life of your glassy carbon electrodes with KINTEK.
Proper electrode pre-treatment is the foundation of reliable electrochemical analysis. KINTEK specializes in providing the high-quality lab equipment and consumables you need for consistent results, including:
- High-purity alumina polishing powders and slurries
- Precision polishing cloths and accessories
- Ultrasonic cleaning baths
- High-purity solvents and electrolytes
Our products are trusted by laboratories worldwide for their quality and reliability, helping researchers like you eliminate surface contamination variables and focus on discovery.
Ready to optimize your electrode preparation protocol? Contact our experts today to discuss your specific application needs and ensure your lab is equipped for success.
Visual Guide
Related Products
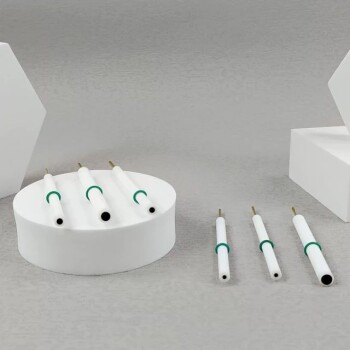
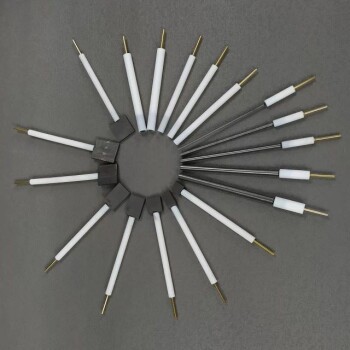
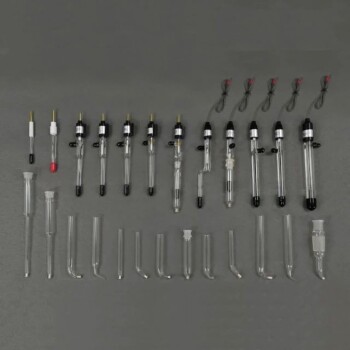
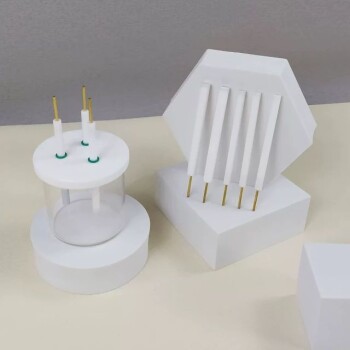
- Glassy Carbon Electrochemical Electrode
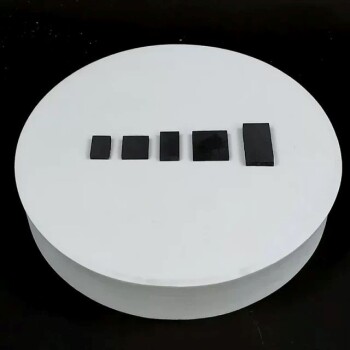
- Glassy Carbon Sheet RVC for Electrochemical Experiments
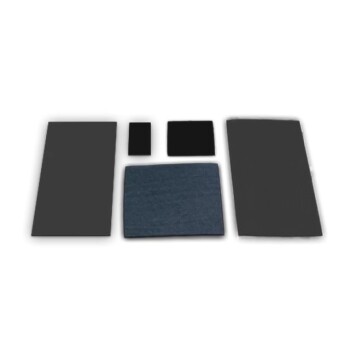
- Conductive Carbon Cloth Carbon Paper Carbon Felt for Electrodes and Batteries
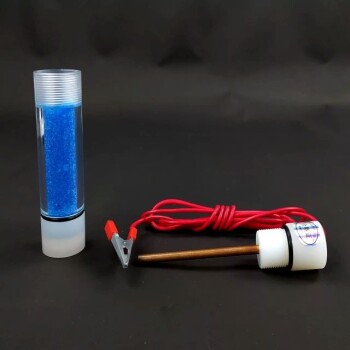
- Copper Sulfate Reference Electrode for Laboratory Use
- Graphite Disc Rod and Sheet Electrode Electrochemical Graphite Electrode
People Also Ask
- What characteristics make glassy carbon electrodes suitable as anodes? Ideal for Pure Molten Salt Electrolysis
- Why is glassy carbon selected for mediator-assisted indirect oxidation of glycerol? The Key to Unbiased Research
- Why is a glassy carbon electrode used as a substrate? The Key to Accurate Platinum Stability Testing
- Why is a Glassy Carbon Electrode used as a substrate for paracetamol biomimetic sensors? Expert Substrate Insights
- What are the primary physicochemical reasons for selecting a carbon electrode as the anode in aluminum recovery? 5 Keys