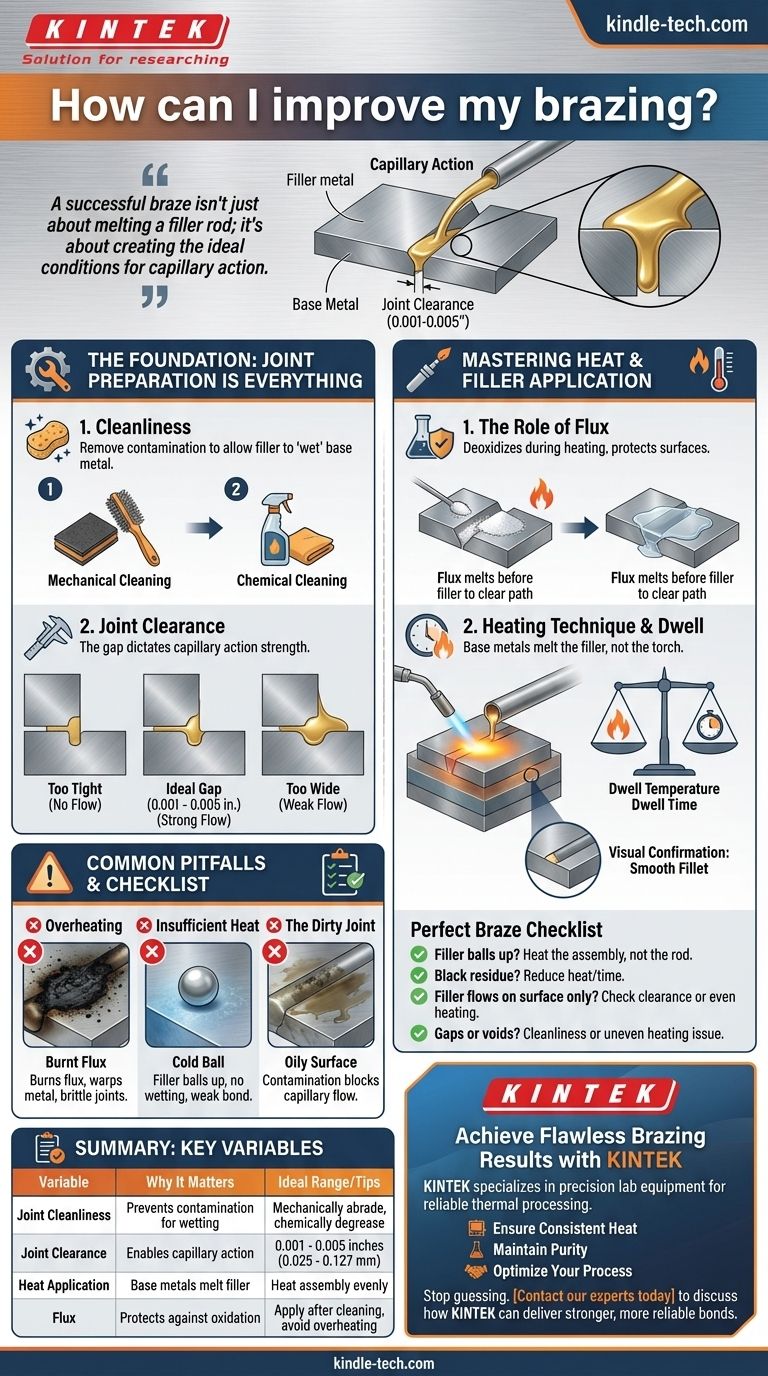
Improving your brazing comes down to controlling a few key variables. While the essential parameters of dwell temperature and time are critical, they are only part of the equation. To truly master brazing, you must also perfect joint preparation, including cleanliness and clearance, and apply heat strategically to let capillary action do its work.
A successful braze isn't just about melting a filler rod; it's about creating the ideal conditions for capillary action. This means the joint must be impeccably clean, have the correct gap, and be heated evenly to pull the molten filler metal into the joint, forming a complete and strong bond.
The Foundation: Why Joint Preparation is Everything
Many brazing failures are traced back to poor preparation long before a torch is ever lit. If the filler metal has nowhere to go or its path is blocked, no amount of heat will fix the joint.
The Critical Role of Cleanliness
The primary enemy of a good braze is contamination. Oxides, oils, and dirt create a barrier that prevents the filler metal from "wetting" the base metal surfaces and bonding with them.
Cleaning is a two-step process. First is mechanical cleaning (using an abrasive cloth, wire brush, or file) to remove heavy oxides and create a fresh surface. This is followed by chemical cleaning (using a degreaser) to remove any oils or grease.
Understanding Joint Clearance (The Gap)
Brazing relies on capillary action, the force that pulls a liquid into a narrow space. The gap between the two parts you are joining—the joint clearance—is therefore one of the most critical factors.
If the gap is too tight, there is no room for the filler metal to flow in. If the gap is too wide, capillary action will be too weak to draw the filler in and fill the joint completely.
For most common filler metals, the ideal clearance is between 0.001 and 0.005 inches (0.025 - 0.127 mm). This narrow gap is what creates the strong capillary pull needed for a successful joint.
The Purpose of Flux
Flux is a chemical agent that acts as a deoxidizer during the heating process. Even after you've cleaned your parts, heating them will cause new oxides to form instantly.
Flux melts before the filler metal, spreading over the joint area. It dissolves any newly formed oxides and protects the surfaces from further oxidation, clearing the path for the filler metal to flow freely. Remember, flux assists cleaning; it does not replace it.
Mastering Heat and Filler Application
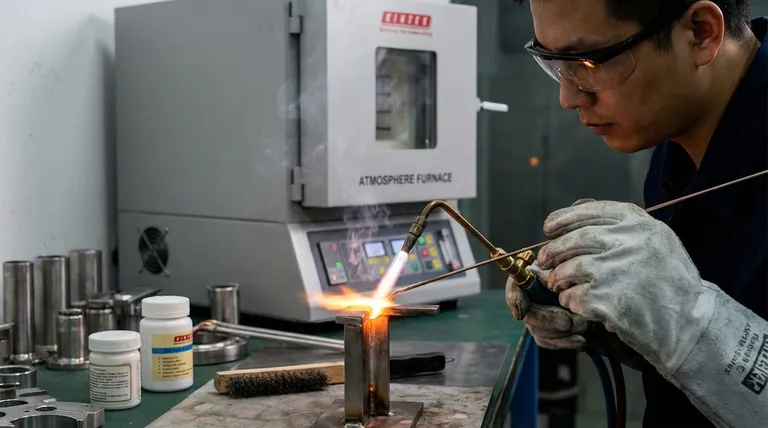
With a clean, properly gapped joint, your focus shifts to heat control. The goal is to make the base metals—not the torch flame—melt the filler metal.
The "Dwell Temperature and Time" Principle
The dwell temperature is the point at which the base metals are hot enough to melt the filler metal upon contact. The dwell time is how long you maintain this heat to allow the filler to flow and completely fill the joint.
This is a delicate balance. Too little heat and the filler won't flow. Too much heat for too long and you risk damaging the parts or burning the flux.
Heating Technique: Base Metals First
A common mistake is to heat the filler rod directly with the torch. This will melt the filler, but it will likely just drip onto a cold base metal surface without bonding.
The correct method is to heat the base metals evenly. Focus the torch on the assembly, particularly on the thicker or more massive part, until it reaches the brazing temperature. Then, simply touch the filler rod to the hot joint. The heat of the base metals should melt it instantly, pulling it into the gap via capillary action.
Observing the Flow
As the filler metal melts, you should see it quickly disappear into the joint. A properly heated and prepared joint will draw the filler through to the other side, often creating a small, neat fillet. This is the visual confirmation of a successful braze.
Understanding Common Pitfalls and Failures
Diagnosing a failed braze almost always leads back to a fundamental principle that was missed.
Overheating: The Silent Killer
Applying too much heat is just as bad as too little. Overheating burns the flux, turning it black and rendering it useless as a cleaning agent. This stops the filler flow dead in its tracks. It can also warp the base metals or create brittle alloy layers in the joint, severely weakening it.
Insufficient Heat: The Cold Joint
If the base metals are not hot enough, the filler metal will fail to "wet" the surface. It will tend to ball up or form a thick, pasty blob on the outside of the joint without penetrating it. This creates a superficial bond with virtually no strength.
The Dirty Joint: The Most Common Failure
If you've applied enough heat but the filler metal still refuses to flow into the joint, the cause is almost certainly contamination. An invisible layer of oxide or oil is blocking the capillary path. There is no fix for this other than to stop, clean the parts thoroughly, re-flux, and start again.
A Checklist for a Perfect Braze
Use this list to diagnose issues and guide your process.
- If your filler metal balls up and won't flow: Your base metal is likely not hot enough, or the joint is contaminated. Focus on heating the joint assembly, not the filler rod.
- If you see black, flaky residue: You have overheated the joint and burned the flux. Reduce your heating time or use a lower flame setting.
- If the filler flows on the surface but not into the joint: Your joint clearance is likely incorrect (too tight or too loose), or you are not heating the entire assembly evenly.
- If you have gaps or voids in the final joint: This indicates a cleanliness issue or uneven heating prevented the filler from reaching all areas through capillary action.
Mastering these fundamentals will transform your brazing from a game of chance into a reliable, repeatable engineering process.
Summary Table:
| Key Variable | Why It Matters | Ideal Range/Tips |
|---|---|---|
| Joint Cleanliness | Prevents contamination; allows filler metal to 'wet' the base metal. | Mechanically abrade, then chemically degrease. |
| Joint Clearance | Enables capillary action to pull filler metal into the joint. | 0.001 - 0.005 inches (0.025 - 0.127 mm). |
| Heat Application | Base metals must melt the filler, not the torch. | Heat the assembly evenly, focusing on thicker sections. |
| Flux | Protects against oxidation during heating; dissolves new oxides. | Apply after cleaning; avoid overheating to prevent burning. |
Achieve Flawless Brazing Results with KINTEK
Struggling with inconsistent joints or filler metal that won't flow? The quality of your brazing is directly linked to your process control and equipment. KINTEK specializes in precision lab equipment and consumables that support reliable thermal processing.
We provide the tools and expertise to help you:
- Ensure Consistent Heat: Our furnaces and heating systems offer precise temperature control for uniform results.
- Maintain Purity: High-quality fluxes and cleaning agents prevent contamination for perfect wetting.
- Optimize Your Process: Get expert advice tailored to your specific materials and joint designs.
Stop guessing and start mastering your brazing applications. Contact our experts today to discuss how KINTEK's solutions can enhance your laboratory's capabilities and deliver stronger, more reliable bonds.
Visual Guide
Related Products
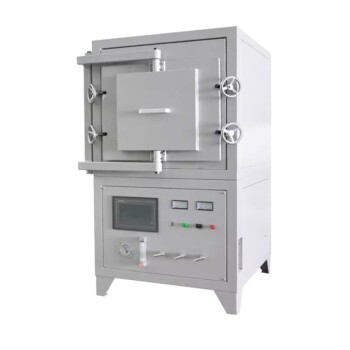
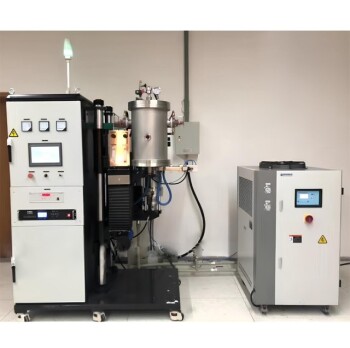
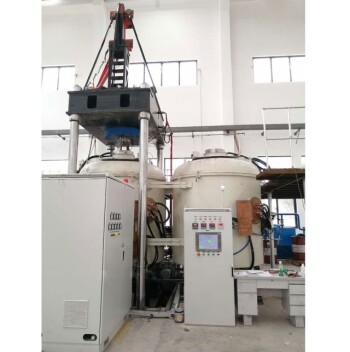
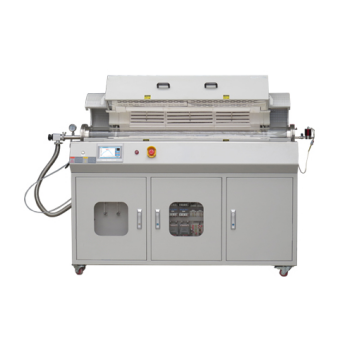
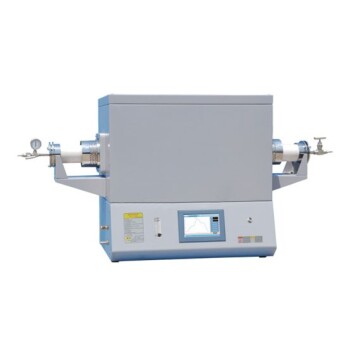
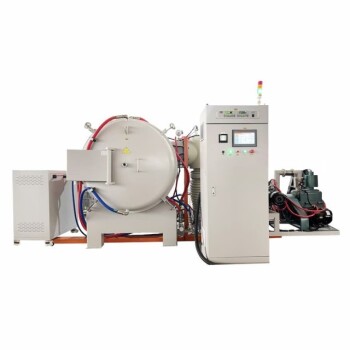
- 1200℃ Controlled Atmosphere Furnace Nitrogen Inert Atmosphere Furnace
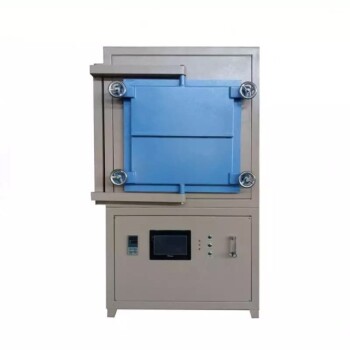
- 1400℃ Controlled Atmosphere Furnace with Nitrogen and Inert Atmosphere
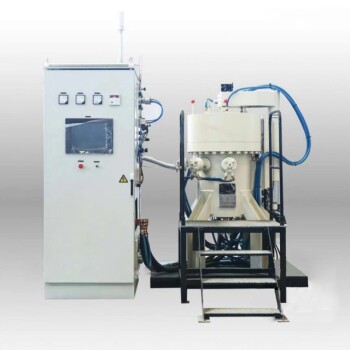
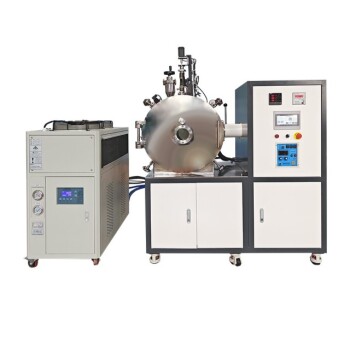
- Vacuum Heat Treat and Sintering Furnace with 9MPa Air Pressure
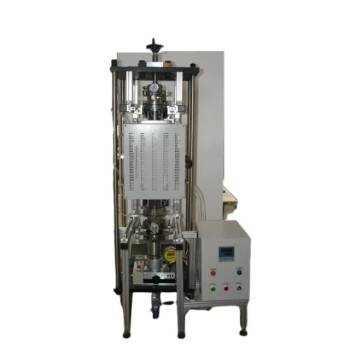
- Vacuum Hot Press Furnace Heated Vacuum Press Machine Tube Furnace
- Graphite Vacuum Continuous Graphitization Furnace
People Also Ask
- How do you make an inert atmosphere? Master Safe, Pure Processes with Inerting
- Why nitrogen is used in furnace? A Cost-Effective Shield for High-Temperature Processes
- What gases are used in inert atmospheres? Choose the Right Gas for Non-Reactive Environments
- What is meant by inert atmosphere? A Guide to Preventing Oxidation & Ensuring Safety
- What is an example of an inert atmosphere? Discover the Best Gas for Your Process