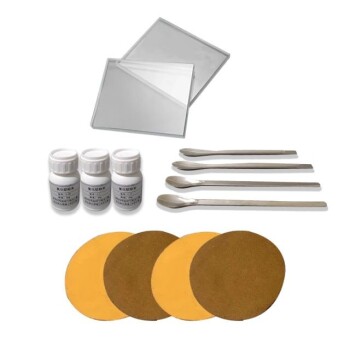
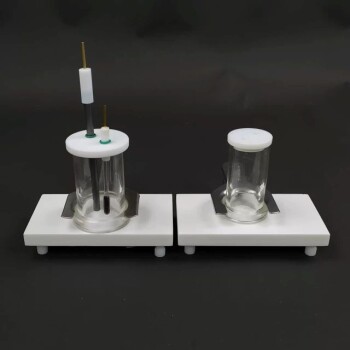
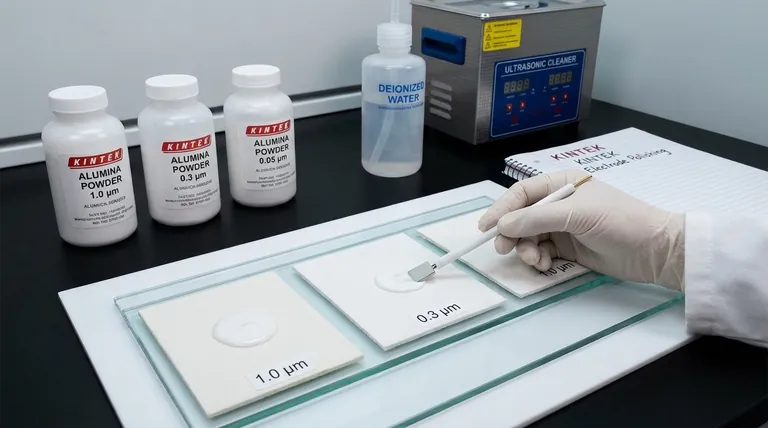
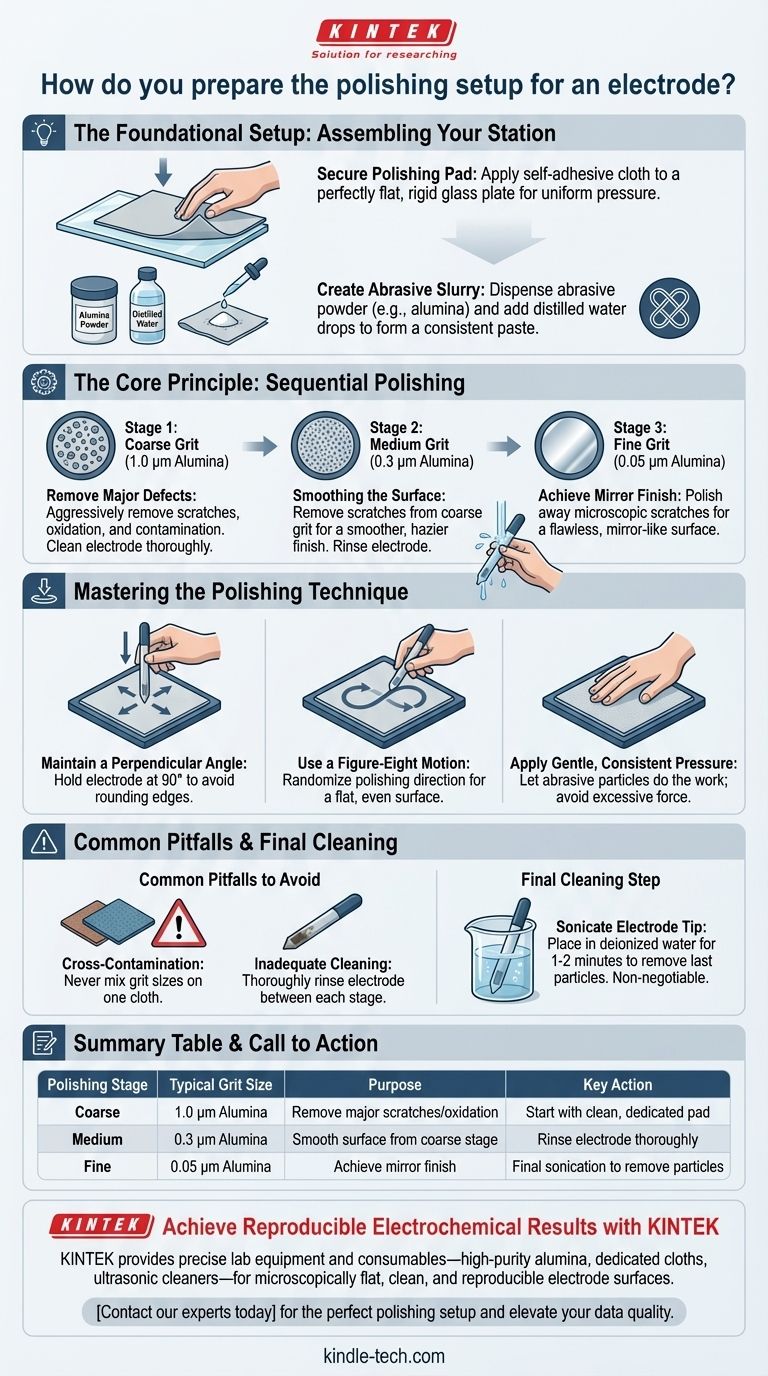
To prepare an electrode polishing setup, you secure a polishing cloth to a flat glass base, dispense a small amount of abrasive powder onto the cloth, and add a few drops of distilled water to create a paste-like slurry. This process is then repeated on separate cloths for progressively finer abrasive grits to achieve a clean, mirror-finish surface.
The true goal of electrode polishing is not simply to create a shine, but to achieve a microscopically flat, clean, and reproducible surface. This meticulous, multi-stage process is the absolute foundation for acquiring accurate and reliable electrochemical data.
The Foundational Setup: Assembling Your Station
A proper setup is simple but requires attention to detail. Each component serves a critical purpose in achieving a scientifically valid surface.
Securing the Polishing Pad
The polishing cloth, which has a self-adhesive backing, must be applied to a perfectly flat and rigid surface, typically a glass plate. This ensures uniform pressure and prevents the electrode from rocking, which would round its edges.
Choosing Your Abrasive
The most common abrasives are alumina (aluminum oxide) or diamond powders. These come in various particle sizes, or grits, measured in micrometers (μm) or nanometers (nm).
Creating the Abrasive Slurry
Dispense a small amount of a single-grit powder onto its dedicated cloth. Add a few drops of high-purity distilled or deionized water and mix to form a thin, consistent paste. This slurry acts as both the cutting agent and a lubricant.
The Core Principle: Sequential Polishing
You do not use all the grits at once. The fundamental technique is to move from a larger grit size (coarse) to a smaller grit size (fine) in distinct stages, cleaning the electrode thoroughly between each stage.
Stage 1: Removing Major Defects (Coarse Grit)
Begin with a larger grit, such as 1.0 μm alumina, on its own dedicated pad. This initial step is designed to aggressively remove any significant scratches, surface oxidation, or contamination from previous experiments.
Stage 2: Smoothing the Surface (Medium Grit)
After thoroughly rinsing the electrode, move to a separate pad with a finer abrasive, like 0.3 μm alumina. This stage removes the smaller scratches created by the coarser 1.0 μm grit, creating a much smoother, hazier finish.
Stage 3: Achieving the Mirror Finish (Fine Grit)
The final step uses the finest grit, typically 0.05 μm (or 50 nm) alumina, on a third, pristine pad. This polishes away the microscopic scratches from the previous stage, resulting in a flawless, mirror-like surface.
Mastering the Polishing Technique
How you move the electrode is just as important as the materials you use. Consistency is key.
Maintain a Perpendicular Angle
The electrode must be held perfectly perpendicular (90°) to the polishing pad at all times. Angling the electrode will round its edges, changing the defined surface area and leading to inaccurate current density calculations.
Use a Figure-Eight Motion
Move the electrode across the slurry in a smooth figure-eight pattern. This motion randomizes the polishing direction, preventing the formation of grooves and ensuring an exceptionally flat and even surface.
Apply Gentle, Consistent Pressure
Press down lightly. The goal is to let the abrasive particles do the work. Excessive pressure can gouge the electrode surface or embed abrasive particles deep into the material, making them impossible to remove.
Common Pitfalls to Avoid
Mistakes in the polishing process are the most common source of failed or non-reproducible electrochemical experiments.
The Critical Risk of Cross-Contamination
Never use more than one grit size on a single polishing cloth. Even one particle of a coarser grit will ruin the finish of a finer stage. Use separate, clearly labeled pads for each abrasive size.
Inadequate Cleaning Between Stages
After each polishing stage, the electrode surface and body must be thoroughly rinsed with deionized water. This removes all abrasive particles from the previous, coarser stage before you move to the next.
Forgetting the Final Cleaning Step
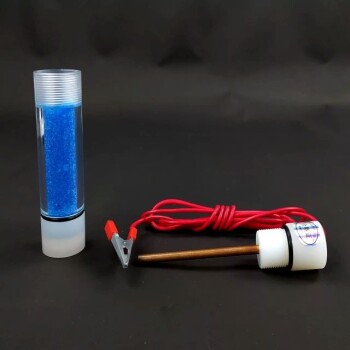
Simply rinsing the electrode after the final polish is not enough. To remove the last tightly-adhered abrasive particles, sonicate the electrode tip in a beaker of deionized water for 1-2 minutes. This is a non-negotiable step for high-quality results.
Making the Right Choice for Your Goal
Your polishing strategy depends on the state of your electrode and your experimental needs.
- If your primary focus is a routine daily refresh: You can likely skip the coarser grits and polish only on the final, 0.05 µm pad to quickly restore the mirror finish.
- If you are preparing a new or visibly damaged electrode: You must begin with the coarsest grit (e.g., 1.0 µm) and perform the full, sequential polishing procedure to establish a pristine surface.
- If you are getting inconsistent or drifting results in your experiments: The most likely culprit is either cross-contamination between grits or inadequate final cleaning. Re-polish the electrode, paying extreme attention to cleanliness.
A meticulously prepared electrode is the foundation of trustworthy electrochemical measurement.
Summary Table:
| Polishing Stage | Typical Grit Size | Purpose | Key Action |
|---|---|---|---|
| Coarse | 1.0 µm Alumina | Remove major scratches/oxidation | Start with clean, dedicated pad |
| Medium | 0.3 µm Alumina | Smooth surface from coarse stage | Rinse electrode thoroughly before moving on |
| Fine | 0.05 µm Alumina | Achieve mirror finish | Final sonication to remove particles |
Achieve Reproducible Electrochemical Results with KINTEK
Consistent, high-quality electrode polishing is the foundation of reliable electrochemistry. KINTEK specializes in providing the precise lab equipment and consumables—including high-purity alumina powders, dedicated polishing cloths, and ultrasonic cleaners—that your laboratory needs to ensure every electrode surface is microscopically flat, clean, and reproducible.
Stop guessing and start measuring with confidence. Contact our experts today to find the perfect polishing setup for your specific application and elevate the quality of your data.
Visual Guide
Related Products
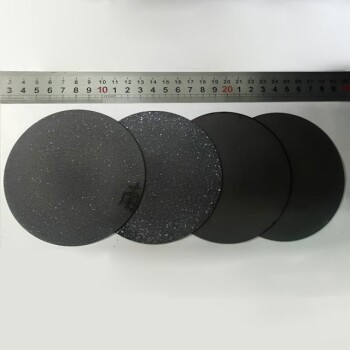
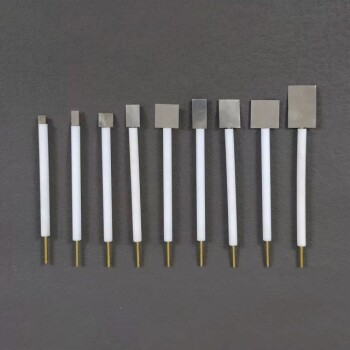
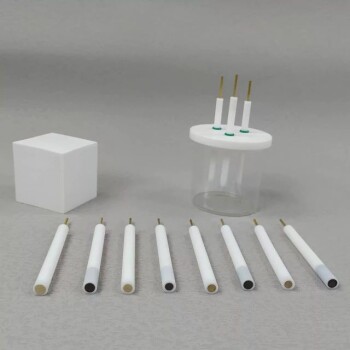
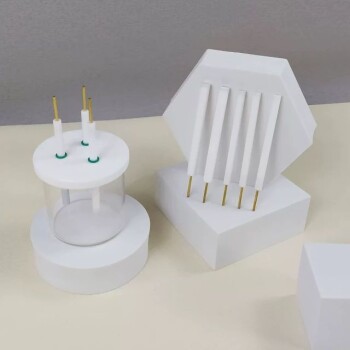
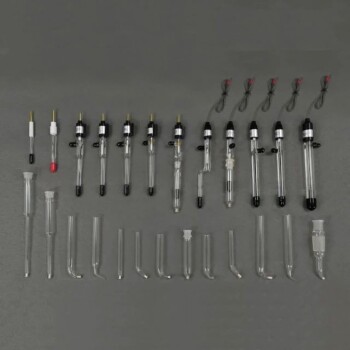
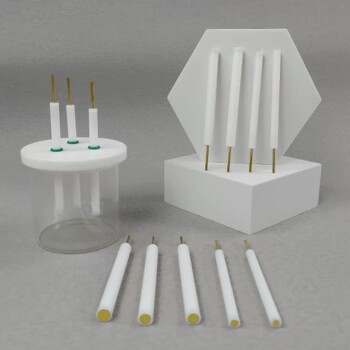
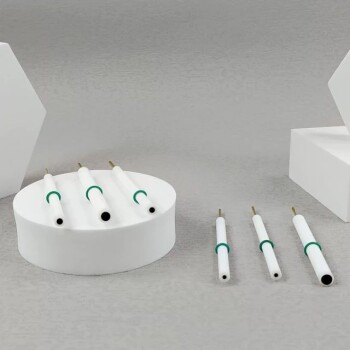
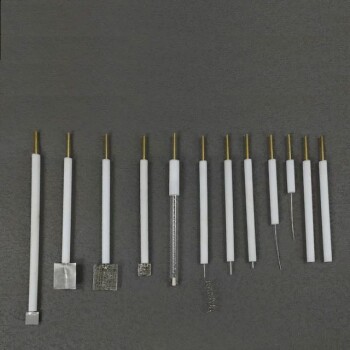
- Electrode Polishing Material for Electrochemical Experiments
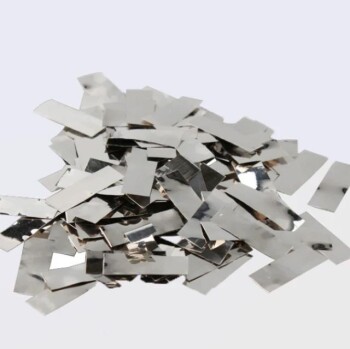
- Graphite Disc Rod and Sheet Electrode Electrochemical Graphite Electrode
- Gold Electrochemical Sheet Electrode Gold Electrode
- Laboratory CVD Boron Doped Diamond Materials
- Platinum Sheet Electrode for Laboratory and Industrial Applications
People Also Ask
- What is the general procedure and what precautions should be taken during the polishing process? Achieve a Flawless Electrode Finish
- How is a polished electrode tested for quality? Validate Performance with Cyclic Voltammetry
- What is the purpose of using electrolytic polishing on copper foils? Optimize Your CVD Graphene & hBN Growth Surface
- What are the examples of electrode materials? From Platinum to Graphite for Your Application
- What is the correct technique for polishing an electrode? Master the Steps for Reliable Electrochemical Data