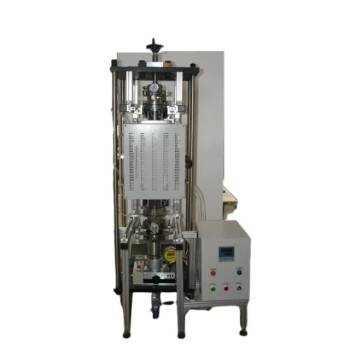
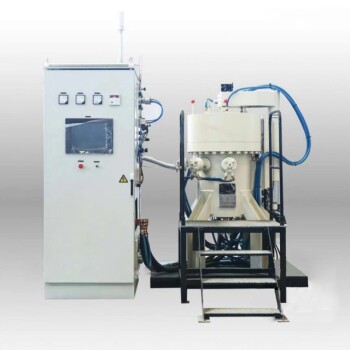
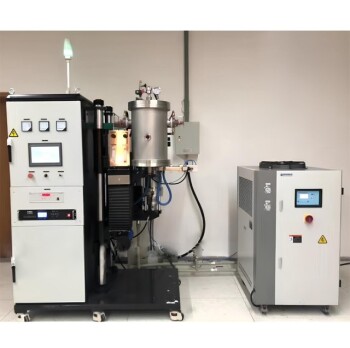
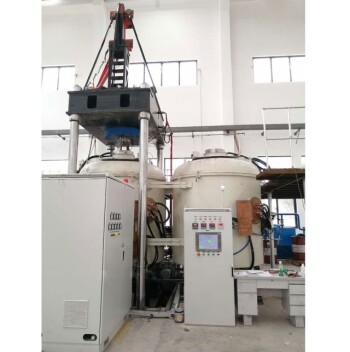
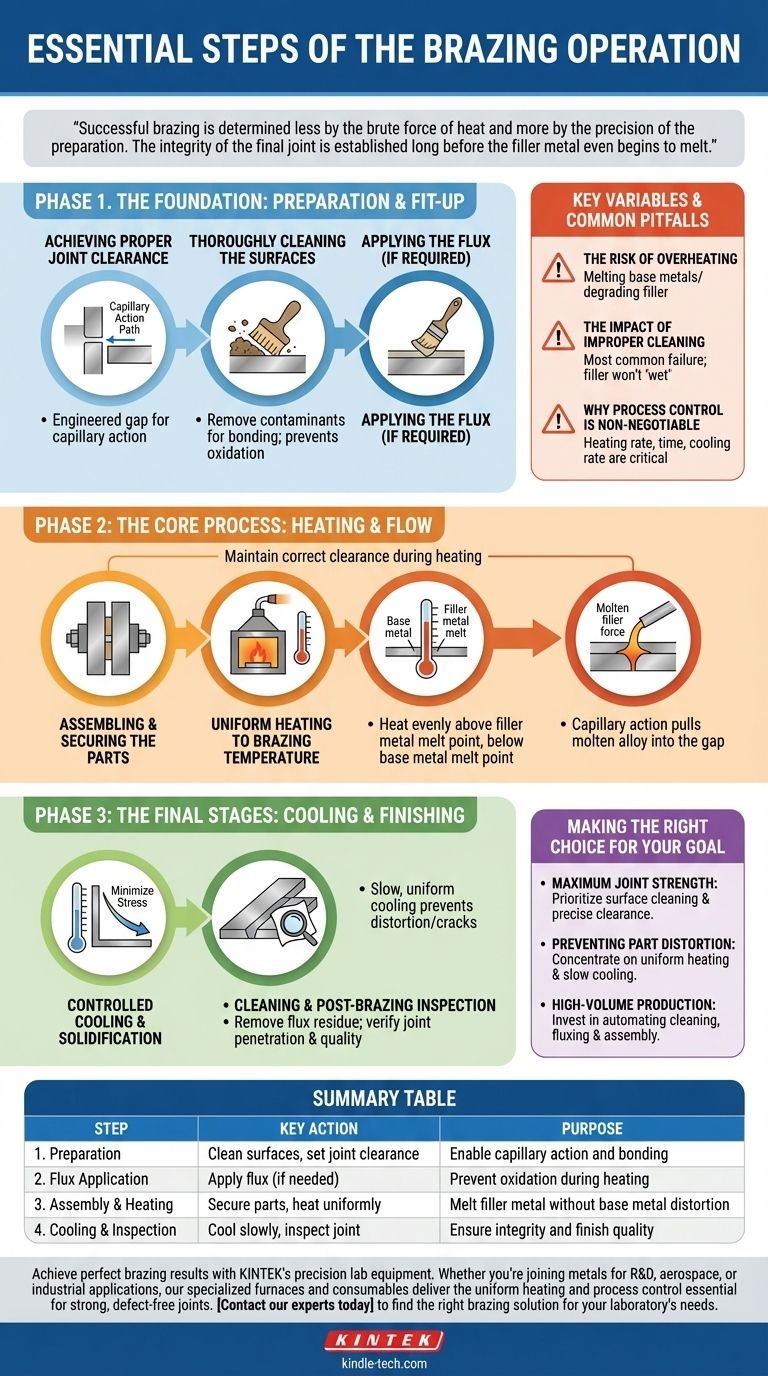
At its core, brazing is a multi-stage process that involves preparing two closely-fitted metal surfaces, applying a filler metal, heating the assembly to melt the filler metal (but not the base metals), and allowing it to be drawn into the joint through capillary action before cooling. The essential operational steps are meticulous cleaning, applying flux, assembling the parts, uniform heating, controlled cooling, and final inspection.
Successful brazing is determined less by the brute force of heat and more by the precision of the preparation. The integrity of the final joint is established long before the filler metal even begins to melt.
The Foundation: Preparation and Fit-Up
The vast majority of brazing failures can be traced back to inadequate preparation. These initial steps create the necessary conditions for a strong, permanent bond.
Achieving Proper Joint Clearance
The gap between the two metal surfaces being joined is critical. This clearance must be tight enough to allow capillary action to draw the molten filler metal completely through the joint.
This gap is not arbitrary; it is precisely engineered based on the base metals, filler metal, and thermal expansion characteristics involved.
Thoroughly Cleaning the Surfaces
All contaminants, especially oils, greases, and oxides, must be completely removed from the surfaces to be joined. The presence of any foreign material will prevent the filler metal from wetting and bonding with the base metals.
This step can involve chemical cleaning, like using an alkali to remove an aluminum oxide film, or mechanical methods like wire brushing or grinding.
Applying the Flux (If Required)
For many types of brazing, a flux is applied to the joint area before heating. Its primary purpose is to shield the surfaces from oxidation during the heating cycle.
As the temperature rises, the flux melts and dissolves any remaining surface oxides, creating a chemically clean surface for the molten filler metal to bond with. In vacuum brazing, the controlled atmosphere serves this protective function, making flux unnecessary.
The Core Process: Heating and Flow
This is the phase where the metallurgical bond is created. The goal is to melt the filler metal and have it flow uniformly throughout the entire joint.
Assembling and Securing the Parts
Once cleaned and fluxed, the components are carefully assembled and secured. They must be held firmly in their final position throughout the heating and cooling cycle to maintain the correct joint clearance.
Uniform Heating to Brazing Temperature
The entire assembly is heated evenly until it reaches a temperature that is above the melting point of the filler metal but below the melting point of the base metals.
For example, in aluminum brazing, the flux might melt between 565-572°C, with the filler metal melting shortly after at 577-600°C. Heating too quickly or unevenly can cause distortion and an incomplete joint.
Drawing the Filler Metal into the Joint
Once the filler metal melts, the force of capillary action pulls it into the narrow gap between the base metals. This is why proper cleaning and clearance are so critical—they create the ideal path for the molten alloy to flow.
The Final Stages: Cooling and Finishing
The process is not complete until the part has been safely returned to room temperature and verified to meet quality standards.
Controlled Cooling and Solidification
The assembly must be cooled slowly and uniformly. This minimizes internal thermal stresses that could crack the joint or distort the part as it solidifies and contracts.
Cleaning and Post-Brazing Inspection
After cooling, any remaining flux residue must be removed, as it can be corrosive. The completed joint is then thoroughly inspected for quality, ensuring the filler metal has fully penetrated the joint and there are no voids or defects.
Depending on the application, further post-brazing treatments like machining or surface finishing may be required.
Key Variables and Common Pitfalls
While the steps are straightforward, success depends on controlling several critical factors. Mismanaging any of these can lead to a failed joint.
The Risk of Overheating
Heating the assembly too far above the filler metal's melting point can damage or melt the base metals. It can also degrade the properties of the filler metal, resulting in a weak and brittle joint.
The Impact of Improper Cleaning
This is the single most common cause of brazing failure. If surfaces are not perfectly clean, the filler metal will not "wet" the base metal, meaning it will ball up instead of flowing, creating voids and preventing a bond from forming.
Why Process Control is Non-Negotiable
Factors like the heating rate, holding time at temperature, and cooling rate are not suggestions—they are critical process parameters. They must be optimized for the specific alloys, part geometry, and furnace being used to achieve consistent, high-quality results.
Making the Right Choice for Your Goal
The emphasis you place on each step depends on your desired outcome.
- If your primary focus is maximum joint strength: Prioritize meticulous surface cleaning and achieving the precise, engineered joint clearance to ensure complete capillary fill.
- If your primary focus is preventing part distortion: Concentrate on uniform heating and a slow, controlled cooling cycle to minimize internal thermal stress.
- If your primary focus is high-volume production: Invest in automating the cleaning, fluxing, and assembly steps to ensure absolute consistency from one part to the next.
Ultimately, successful brazing is a system where each step directly enables the success of the next.
Summary Table:
| Step | Key Action | Purpose |
|---|---|---|
| 1. Preparation | Clean surfaces, set joint clearance | Enable capillary action and bonding |
| 2. Flux Application | Apply flux (if needed) | Prevent oxidation during heating |
| 3. Assembly & Heating | Secure parts, heat uniformly | Melt filler metal without base metal distortion |
| 4. Cooling & Inspection | Cool slowly, inspect joint | Ensure integrity and finish quality |
Achieve perfect brazing results with KINTEK's precision lab equipment. Whether you're joining metals for R&D, aerospace, or industrial applications, our specialized furnaces and consumables deliver the uniform heating and process control essential for strong, defect-free joints. Contact our experts today to find the right brazing solution for your laboratory's needs.
Visual Guide
Related Products
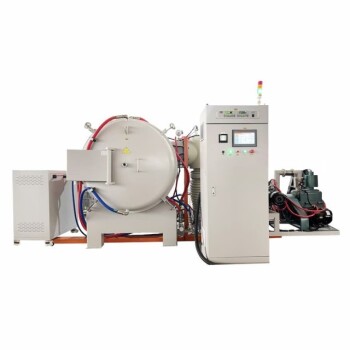
- Vacuum Heat Treat Sintering Brazing Furnace
- Molybdenum Vacuum Heat Treat Furnace
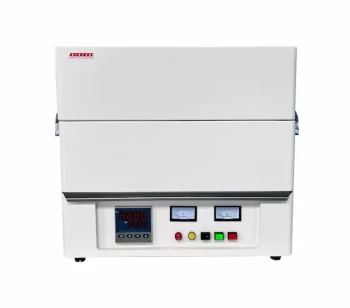
- 1400℃ Laboratory High Temperature Tube Furnace with Alumina Tube
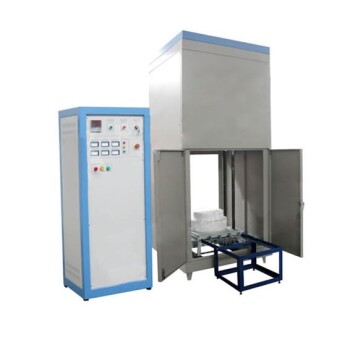
- Laboratory Muffle Oven Furnace Bottom Lifting Muffle Furnace
- Laboratory High Pressure Vacuum Tube Furnace
People Also Ask
- Why is a high vacuum required for Mo2Ga2C sintering? Ensure Maximum Phase Purity and Density
- What is the principle of vacuum furnace? Achieve Purity and Precision in Material Processing
- What is three step sintering process? A Guide to Blending, Compacting, and Heating
- What are the advantages of using a vacuum drying oven? Preserve Structural Integrity of Single-Atom Catalysts
- What is sintering with hydrogen? Achieve Superior Strength and Purity in Metal Parts
- Why do copper and graphite green bodies require long-term heating? Ensure Structural Integrity During Sintering
- What is the best method of quenching? Choose the Right Quenchant for Maximum Hardness & Integrity
- What is conduction in vacuum? Understanding Heat Transfer in the Absence of Matter
