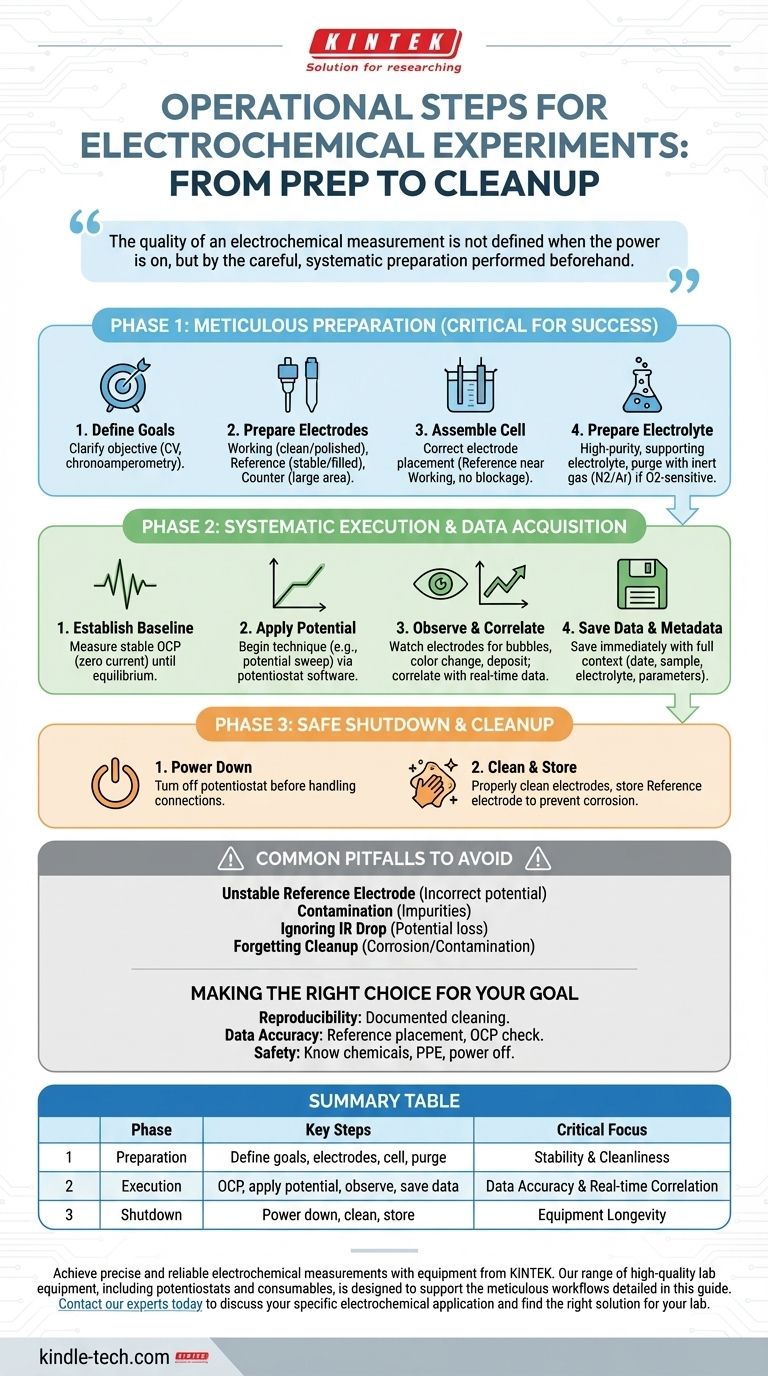
Executing an electrochemical experiment involves three core phases: meticulous preparation of your system, the systematic application of electrical stimulus and data acquisition, and a safe shutdown and cleanup. While the active experiment involves applying voltage and observing, the success and validity of your results are almost entirely determined by the rigor of your setup.
The quality of an electrochemical measurement is not defined when the power is on, but by the careful, systematic preparation performed beforehand. Overlooking setup and system validation is the most common source of unreliable data.
Phase 1: Meticulous Preparation
Before any electricity is applied, you must build a clean, stable, and well-defined electrochemical environment. This phase is the most critical for achieving reproducible and accurate results.
Define Your Experimental Goals
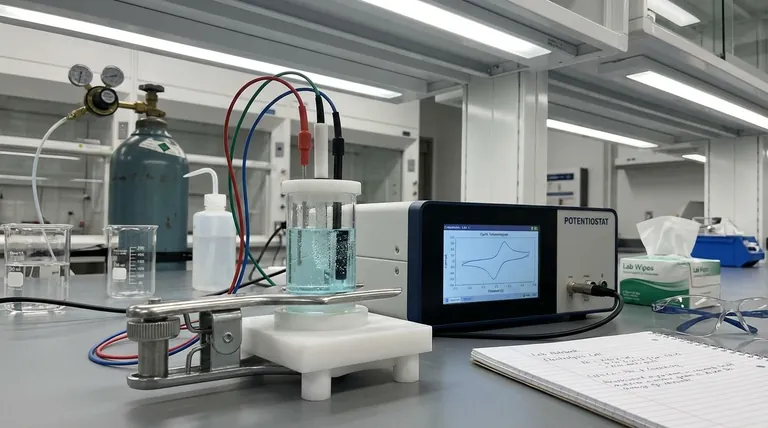
First, clarify the objective. Are you running a Cyclic Voltammogram (CV) to study redox behavior, or chronoamperometry to measure current over time at a fixed potential? Your goal dictates the exact parameters you will program into the potentiostat software.
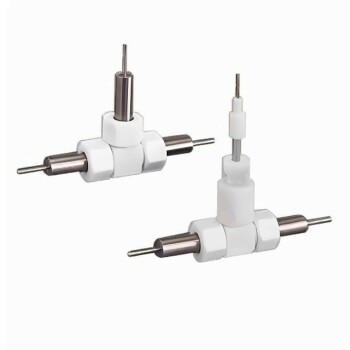
Prepare Your Electrodes
Your electrodes are the heart of the experiment. An improperly prepared electrode guarantees a failed experiment.
- Working Electrode: This surface must be impeccably clean and polished to a mirror finish (if applicable) to ensure a known surface area and uniform activity.
- Reference Electrode: Check the filling solution level and ensure there are no air bubbles or salt crystallization. An unstable reference electrode will invalidate every measurement you take.
- Counter (or Auxiliary) Electrode: Ensure it is clean. Its surface area should typically be much larger than the working electrode to not limit the reaction.
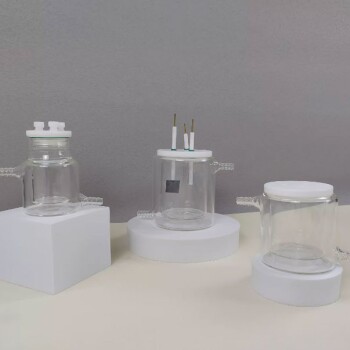
Assemble the Electrochemical Cell
Arrange the electrodes correctly within the cell. The reference electrode tip should be placed close to the working electrode to minimize uncompensated resistance (IR drop), but not so close that it blocks the current path.
Prepare and Purge the Electrolyte
The electrolyte must be prepared with high-purity solvents and salts. A supporting electrolyte is almost always used to ensure conductivity.
If your reaction is sensitive to oxygen, you must purge the solution by bubbling an inert gas (like nitrogen or argon) through it for 15-30 minutes before the experiment begins.
Phase 2: Systematic Execution & Data Acquisition
With a properly prepared system, you can now move to running the experiment and collecting data.
Establish a Stable Baseline
Before applying any experimental potential, measure the Open Circuit Potential (OCP). This is the natural potential difference between the working electrode and the reference electrode at rest (zero current). Monitor it until it becomes stable; a drifting OCP indicates your system is not yet at equilibrium.
Apply the Potential and Record Data
This is the active part of the experiment. Using your potentiostat software, begin the defined technique (e.g., start the potential sweep for a CV).
The reference to "gradually increase the voltage" applies to simple DC power supplies. For modern potentiostats, the software controls the precise potential ramp or step according to your pre-defined parameters.
Observe and Correlate
Actively watch the electrodes during the run. Are bubbles forming (gas evolution)? Is a new material depositing on the surface? Does the solution change color? Correlate these physical observations with the electrochemical data being plotted on your screen in real-time.
Save Data with Complete Metadata
When the run is complete, save your data file immediately. Crucially, your filename or an associated logbook entry should include all essential metadata: date, sample identity, electrolyte composition, electrode type, and the experimental parameters used. Data without context is useless.
Common Pitfalls to Avoid
Trusting your data requires being aware of common error sources that can invalidate your experiment.
An Unstable Reference Electrode
This is the most frequent and damaging problem. If your reference electrode's potential drifts, every potential you apply and measure is incorrect. Always check its condition before use.
Contamination
Electrochemistry is highly sensitive to impurities. A fingerprint on an electrode, a dirty glass cell, or impure solvent can introduce unwanted electrochemical signals, ruining your measurement.
Ignoring IR Drop
In solutions with low conductivity or at high currents, you can lose a significant amount of applied potential across the solution itself (the "IR drop"). This means the potential your electrode actually experiences is different from the one you applied, skewing your results.
Forgetting Post-Experiment Cleanup
Leaving electrodes sitting in solution after an experiment can lead to corrosion or contamination. Proper cleanup and storage, especially for the reference electrode, are essential for longevity and future experimental success.
Making the Right Choice for Your Goal
Your operational focus should shift depending on what you need to achieve.
- If your primary focus is reproducibility: Concentrate on a documented, repeatable electrode polishing and cleaning procedure. Consistency here is paramount.
- If your primary focus is data accuracy: Pay close attention to the placement of the reference electrode and perform an OCP measurement to ensure system stability before starting.
- If your primary focus is safety: Always know the chemicals you are working with, wear appropriate personal protective equipment (PPE), and turn the potentiostat off before handling the electrode connections.
Ultimately, a successful electrochemical experiment is a systematic process where meticulous preparation is valued more than the final act of data collection.
Summary Table:
| Phase | Key Steps | Critical Focus |
|---|---|---|
| 1. Preparation | Define goals, prepare electrodes, assemble cell, purge electrolyte | System stability and cleanliness |
| 2. Execution | Measure OCP, apply potential, observe, save data with metadata | Data accuracy and real-time correlation |
| 3. Shutdown & Cleanup | Safely power down, clean and store electrodes | Equipment longevity and future reproducibility |
Achieve precise and reliable electrochemical measurements with equipment from KINTEK.
Our range of high-quality lab equipment, including potentiostats and consumables, is designed to support the meticulous workflows detailed in this guide. Whether your focus is on reproducibility, data accuracy, or safety, KINTEK provides the reliable tools you need for your laboratory.
Contact our experts today to discuss your specific electrochemical application and find the right solution for your lab.
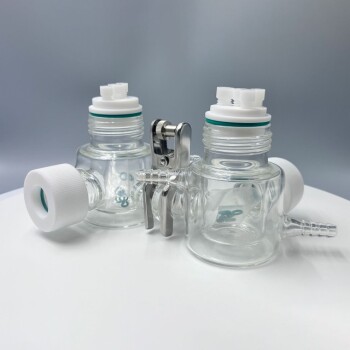
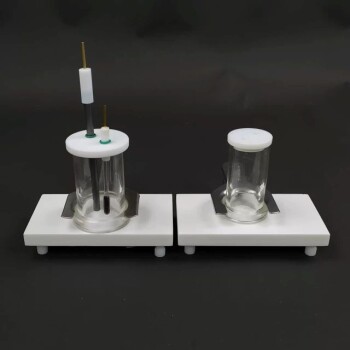
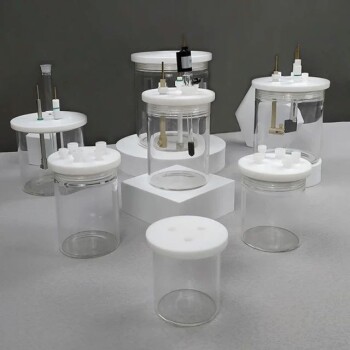
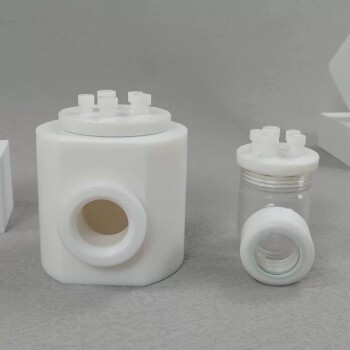
Visual Guide
Related Products
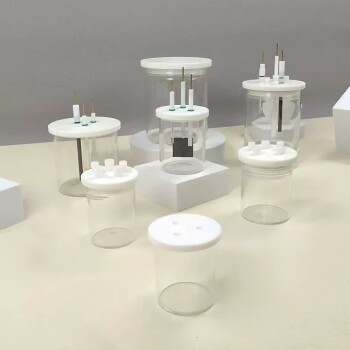
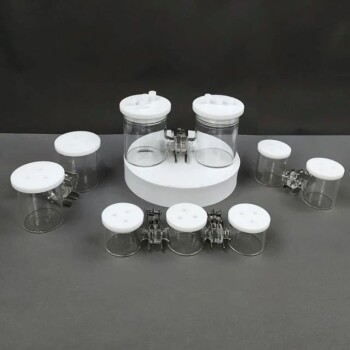
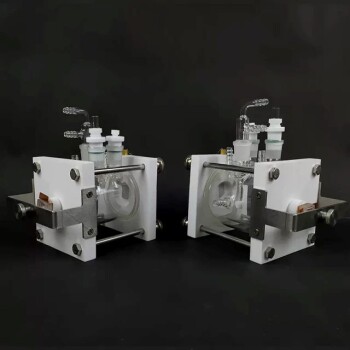
- H-Type Double-Layer Optical Electrolytic Electrochemical Cell with Water Bath
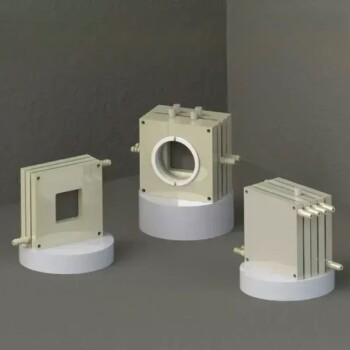
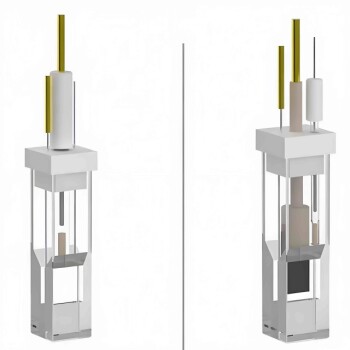
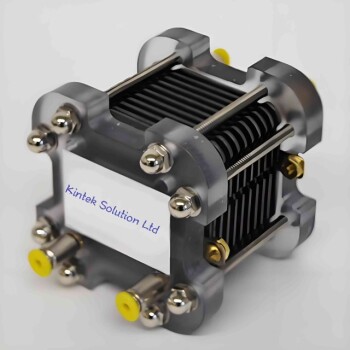
- Electrolytic Electrochemical Cell for Coating Evaluation
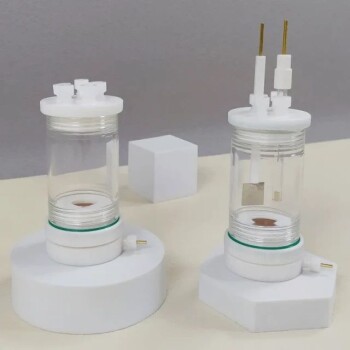
- PTFE Electrolytic Cell Electrochemical Cell Corrosion-Resistant Sealed and Non-Sealed
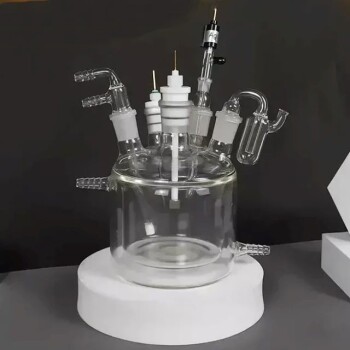
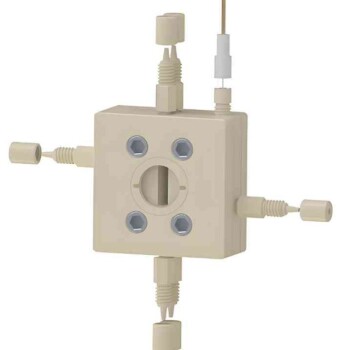
- Electrolytic Electrochemical Cell with Five-Port
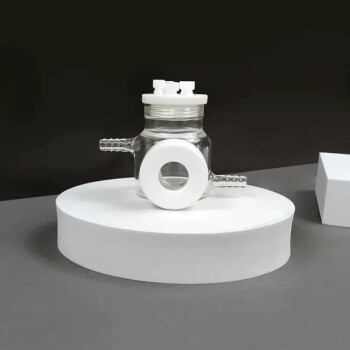
- Side Window Optical Electrolytic Electrochemical Cell
People Also Ask
- What is the purpose of the double-layer structure in the H-type electrolytic cell? Achieve Precise Thermal Control
- How should the H-type electrolytic cell be cleaned after use? Expert Maintenance for Pure Electrochemical Results
- What checks should be performed before using an H-type electrolytic cell? Ensure Experiment Safety and Data Accuracy
- What is the overall structure of the H-type double-layer optical water bath electrolytic cell? Precision Design for Controlled Experiments
- How should the H-type electrolytic cell be connected? Expert Setup Guide for Precise Electrochemical Experiments