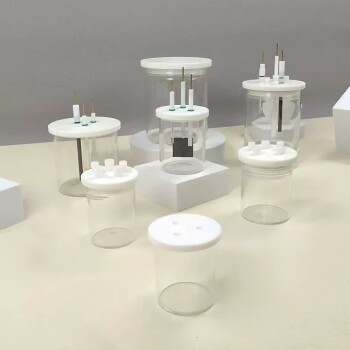
To correctly install components in an H-type electrolytic cell, you must prioritize the pre-hydration of the ion-exchange membrane and the secure, verified placement of cleaned electrodes. The procedure requires soaking the membrane in electrolyte prior to installation to ensure it is fully wetted and pliable, while electrodes must be tightly connected in their designated chambers—typically separating the working and counter electrodes—to guarantee a reliable electrical circuit.
Core Takeaway The integrity of your experimental data relies on the physical condition of the ion-exchange membrane and the stability of your electrical connections. Installing a dry membrane invites structural damage and poor ion transport, while loose electrode connections introduce noise and resistance that will invalidate your results.
Preparing and Installing the Ion-Exchange Membrane
The Critical Pre-Soaking Step
Before attempting installation, you must soak the ion-exchange membrane in the electrolyte.
This process ensures the membrane is fully wetted before it undergoes mechanical stress. A pre-wetted membrane is more flexible, which facilitates smooth installation and significantly reduces the risk of tearing or cracking during assembly.
Correct Positioning and Lubrication
Ensure the membrane is oriented correctly between the chambers to facilitate proper ion transport relative to your specific reaction.
To further ease the installation process and prevent friction damage, you may apply a small amount of electrolyte or lubricant to the membrane surfaces or sealing points. This ensures a proper seal without subjecting the delicate material to excessive force.
Electrode Configuration and Connection
Chamber Assignment
Placement must follow your specific experimental design.
Typically, the working electrode is placed in the anode chamber and the counter electrode in the cathode chamber (or vice versa, depending on the reaction mode). The reference electrode should be inserted into the chamber required by your electrochemical monitoring needs.
Mechanical and Electrical Integrity
Electrodes must be cleaned prior to installation to remove oxides or contaminants that could alter conductivity.
During installation, ensure a tight and reliable connection at the terminal points. Loose connections are a primary source of experimental error. However, handle the electrodes with care to avoid bending or physical damage to the active surface areas.
Common Pitfalls and Trade-offs
Membrane Hydration vs. Speed
A common mistake is rushing the installation by skipping the pre-soak step.
While installing a dry membrane is faster, it creates a high risk of microscopic damage and ensures sub-optimal ion transport at the start of the experiment. Always trade the extra time for the assurance of a fully wetted membrane.
Connection Tightness vs. Component Stress
You must balance the need for a tight electrical connection with the fragility of the equipment.
Overtightening connections can strip terminals or stress the glass reaction vessel, while under-tightening leads to resistance and heat. Focus on firm, secure contact without excessive force. Furthermore, always verify polarity; reversing positive and negative terminals will fundamentally alter the reaction and potentially ruin the electrodes.
Making the Right Choice for Your Goal
To ensure safety and data integrity, tailor your final checks to your specific objectives:
- If your primary focus is Data Accuracy: Ensure the membrane was soaked until fully saturated and that electrodes were polished and calibrated before insertion.
- If your primary focus is Equipment Longevity: Prioritize gentle handling during insertion and strictly follow the shutdown procedure—turning off the power supply before the water bath—to prevent thermal shock or electrical surges.
Treat the membrane and electrodes not just as parts, but as the active sensors of your experiment; their physical condition directly dictates the quality of your results.
Summary Table:
| Step | Component | Action | Critical Benefit |
|---|---|---|---|
| 1 | Ion-Exchange Membrane | Pre-soak in electrolyte | Prevents tearing and ensures optimal ion transport |
| 2 | Membrane Seal | Apply electrolyte/lubricant | Facilitates smooth installation and airtight sealing |
| 3 | Electrodes | Clean and polish surfaces | Removes oxides to ensure maximum conductivity |
| 4 | Chamber Placement | Assign Working/Counter/Reference | Establishes the correct reaction path and monitoring |
| 5 | Electrical Leads | Secure firm connections | Eliminates noise and resistance in experimental data |
Precision in setup leads to precision in results. KINTEK provides a comprehensive suite of high-performance electrolytic cells and electrodes, alongside advanced battery research tools and cooling solutions designed for rigorous laboratory standards. Whether you are scaling up chemical synthesis or conducting sensitive electrochemical analysis, our expert-grade consumables and equipment ensure maximum reliability. Contact KINTEK today to equip your lab with the industry's best H-type cells and technical support!
Related Products
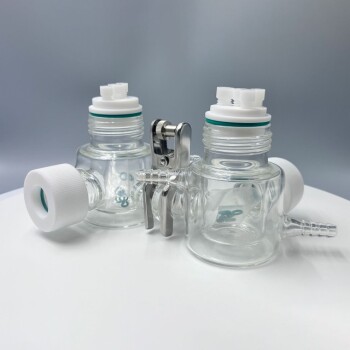
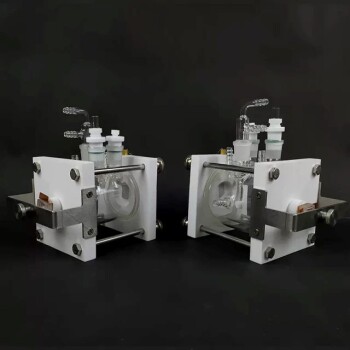
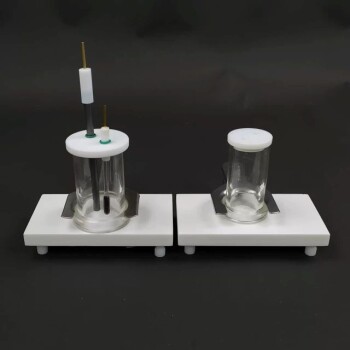
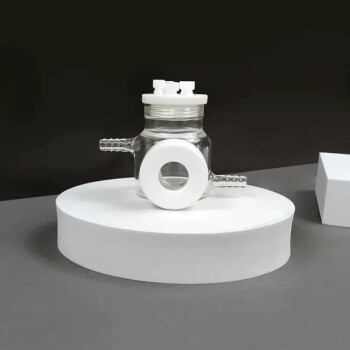
- H-Type Double-Layer Optical Electrolytic Electrochemical Cell with Water Bath
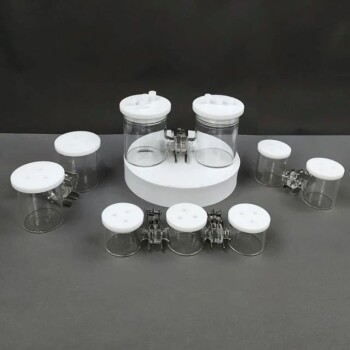
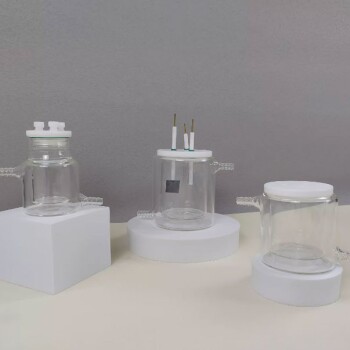
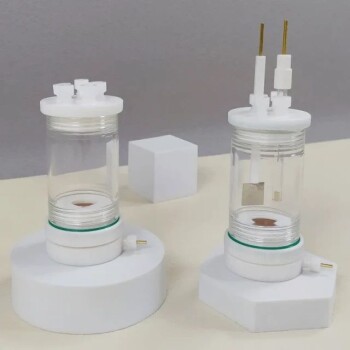
- H Type Electrolytic Cell Triple Electrochemical Cell
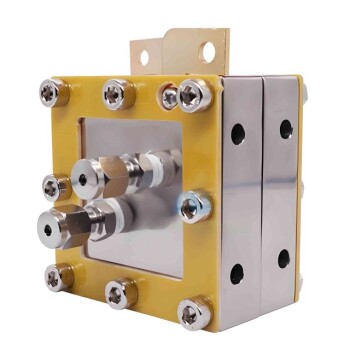
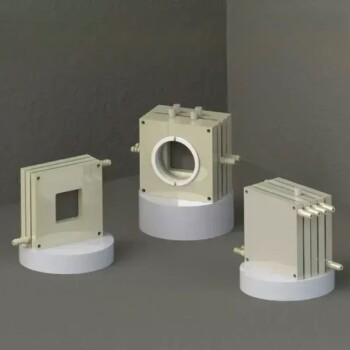
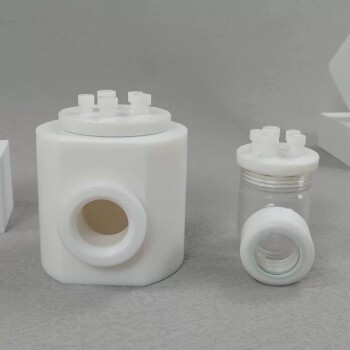
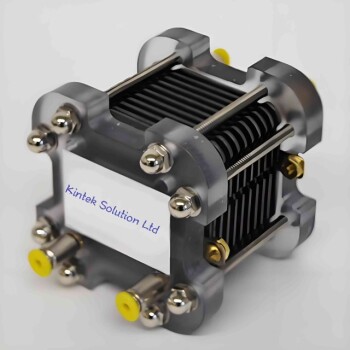
- Customizable PEM Electrolysis Cells for Diverse Research Applications
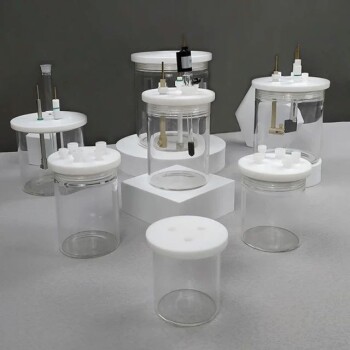
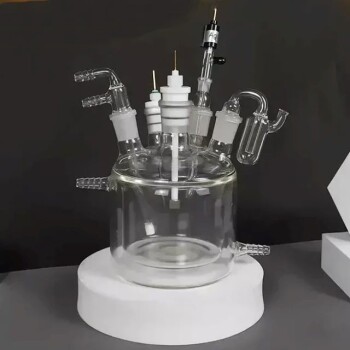
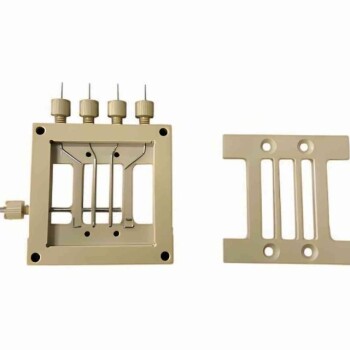
- Electrolytic Electrochemical Cell with Five-Port
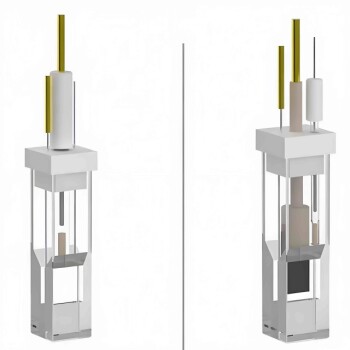
- Super Sealed Electrolytic Electrochemical Cell
People Also Ask
- What is important regarding temperature control for the H-type electrolytic cell? Ensure Precision and Data Integrity
- What is the purpose of the double-layer structure in the H-type electrolytic cell? Achieve Precise Thermal Control
- How should the H-type electrolytic cell be connected? Expert Setup Guide for Precise Electrochemical Experiments
- What checks should be performed before using an H-type electrolytic cell? Ensure Experiment Safety and Data Accuracy
- What checks should be performed on the H-type electrolytic cell before use? Ensure Accurate Electrochemical Data