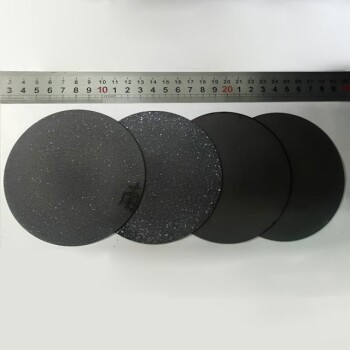
To restore a scratched disk electrode, you must employ a sequential polishing process using descending alumina powder sizes. You should begin with coarse 1.0 µm powder to remove the physical damage, then progress through 0.5 µm and 0.3 µm steps, concluding with a final 0.05 µm mirror finish.
The presence of physical scratches requires a coarse-to-fine restoration workflow rather than the standard single-step polish. Success depends not just on the particle sequence, but on rigorous inspection and cleaning between each step to ensure the surface remains flat and uncontaminated.
The Correct Polishing Sequence
Step 1: Coarse Polishing
If scratches are visible, standard fine polishing will not suffice. You must start with 1.0 µm alumina powder.
This coarser grit is designed to grind down the surface layer, effectively removing the depth of the scratch.
Step 2: Intermediate Smoothing
Once the deep scratches are removed, you must smooth the surface texture. Proceed to polish with 0.5 µm alumina powder.
Follow this immediately with 0.3 µm alumina powder. These intermediate steps bridge the gap between the coarse grind and the final finish.
Step 3: The Final Mirror Finish
The last step is the standard maintenance polish used for daily cleaning. Use 0.05 µm alumina powder to achieve a mirror-like surface.
This step ensures the electrode is electrochemically active and free of micro-abrasions.
Execution and Technique
Preparing the Surface
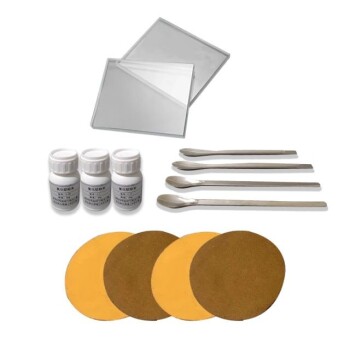
Adhere a suede polishing cloth to your polishing plate. Apply the specific alumina powder grit for your current step and moisten it with distilled water to form a paste.
Proper Motion and Orientation
Hold the electrode strictly perpendicular to the polishing pad. This vertical orientation is critical to maintaining the geometric integrity of the disk.
Polish the electrode using a figure-eight, circular, or linear motion.
Cleaning Between Steps
After completing a specific grit size (e.g., moving from 1.0 µm to 0.5 µm), you must thoroughly clean the electrode. Use ethanol or deionized water to remove all residual polishing paste.
Common Pitfalls to Avoid
Risk of Cross-Contamination
Never use a fine-grit cloth with coarse-grit residue. If you carry 1.0 µm particles onto a cloth designated for 0.05 µm, you will introduce new scratches rather than removing them.
Compromising Electrode Geometry
The most common error is failing to hold the electrode perpendicular to the pad. If you polish at an angle, you will round the edges of the disk.
This alters the active surface area, which leads to inaccurate experimental data.
Making the Right Choice for Your Goal
- If your primary focus is repairing scratches: Execute the full sequence (1.0 µm $\rightarrow$ 0.5 µm $\rightarrow$ 0.3 µm $\rightarrow$ 0.05 µm) to resurface the material.
- If your primary focus is routine maintenance: Skip the coarser grits and use only the 0.05 µm alumina powder to clean the surface.
Treat the polishing process as a precision restoration, where patience and cleanliness are just as important as the materials you use.
Summary Table:
| Polishing Phase | Alumina Grit Size | Purpose | Key Technique |
|---|---|---|---|
| Coarse | 1.0 µm | Remove physical scratches and damage | Hold electrode strictly perpendicular |
| Intermediate | 0.5 µm & 0.3 µm | Smooth surface texture and bridge grit gap | Thoroughly clean with ethanol between steps |
| Final | 0.05 µm | Achieve a mirror-like, active surface | Use designated fine-grit suede cloth |
| Maintenance | 0.05 µm Only | Routine cleaning of unscratched electrodes | Ensure no cross-contamination from coarse grit |
Enhance Your Electrochemical Precision with KINTEK
Don't let surface imperfections compromise your research data. KINTEK specializes in high-performance laboratory equipment and consumables designed for the most demanding scientific applications. Whether you are maintaining electrolytic cells and electrodes, conducting battery research, or utilizing our advanced high-temperature furnaces and reactors, we provide the precision tools you need for success.
From premium polishing powders to essential laboratory ceramics and PTFE products, KINTEK is your partner in achieving consistent, reliable results. Contact us today to explore our comprehensive range of consumables and equipment tailored for your laboratory's needs.
Related Products
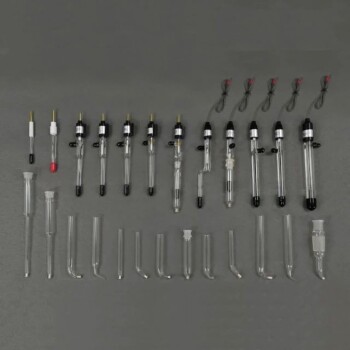
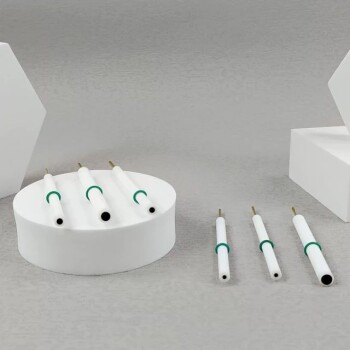
- RRDE rotating disk (ring disk) electrode / compatible with PINE, Japanese ALS, Swiss Metrohm glassy carbon platinum
- Rotating Platinum Disk Electrode for Electrochemical Applications
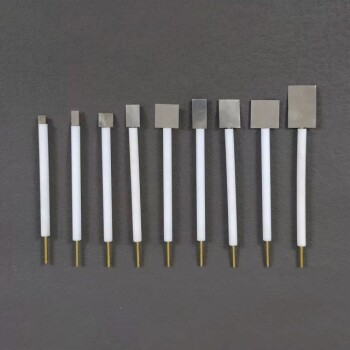
- Metal Disc Electrode Electrochemical Electrode
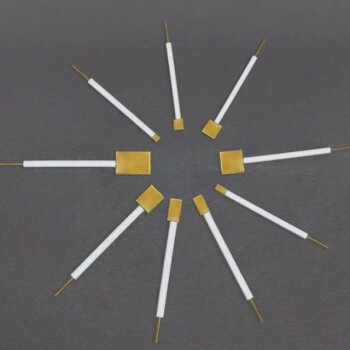
- Gold Disc Electrode
- Graphite Disc Rod and Sheet Electrode Electrochemical Graphite Electrode
People Also Ask
- What is the rotating ring disk electrode method? Unlock Real-Time Reaction Analysis
- Why is a Rotating Disk Electrode (RDE) system necessary for testing IrO2/ATO catalysts? Get Accurate OER Kinetic Data
- What role does the RRDE play in catalyst evaluation for H2O2 synthesis? Enhance Selectivity and Kinetic Precision
- What is the difference between ring disk electrode and rotating disk electrode? Unlock Deeper Electrochemical Insights
- Why Use a Three-Electrode RDE System for PEM Catalyst Screening? Master Intrinsic Kinetic Activity Analysis