Effective electrode maintenance is a precise sequence of mechanical polishing, electrochemical validation, and solvent cleaning. To achieve a pristine surface, you must polish the electrode using progressively finer powders (down to 50nm), verify its performance via cyclic voltammetry to ensure peak separation is within 80mV, and briefly sonicate it in ethanol and water to remove residual debris.
Core Takeaway Achieving reproducible electrochemical data requires a chemically active and physically smooth surface. The gold standard for validation is a peak potential separation of ≤80mV in potassium ferricyanide; without meeting this metric, any subsequent experimental data or modifications may be compromised.
Mechanical Surface Preparation
Setting up the Polishing Station
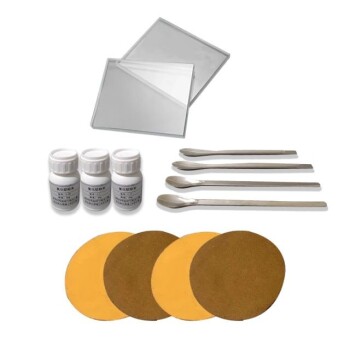
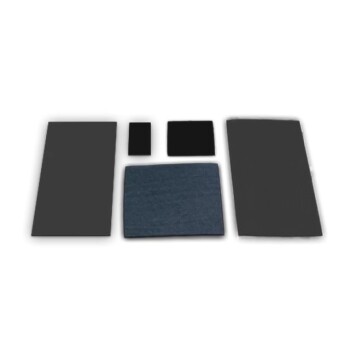
Begin by removing the backing from your polishing cloth. Adhere it firmly to a glass polishing base to ensure a perfectly flat surface.
Apply polishing powders sequentially, starting from coarser grades (e.g., 1.0 µm) down to finer grades (e.g., 0.5 µm, 0.3 µm, 50 nm). Wet the powder with distilled water and mix it directly on the cloth to form a consistent paste.
The Polishing Technique
Hold the electrode perpendicular to the polishing pad. Any deviation from a 90-degree angle will create a slanted surface, altering the active surface area.
Polish the surface using a controlled motion. You may use a figure-eight, clockwise/counter-clockwise circular, or back-and-forth linear pattern.
Once the polishing cycle is complete, rinse the electrode surface thoroughly with distilled water to remove the abrasive paste.
Validation via Electrochemical Testing
Standard Test Protocol
You cannot rely on visual inspection alone. You must test the electrode using an electrochemical workstation.
Perform cyclic voltammetry (CV) using a standard potassium ferricyanide solution. This redox probe is sensitive to surface electron transfer rates, making it an ideal diagnostic tool.
Interpreting the Results
Analyze the resulting voltammogram. The key metric here is the peak potential separation.
If the separation is within 80mV, the electrode surface is clean, active, and acceptable for use. If it exceeds this limit, the electrode requires further polishing.
Final Cleaning and Modification
Ultrasonic Cleaning
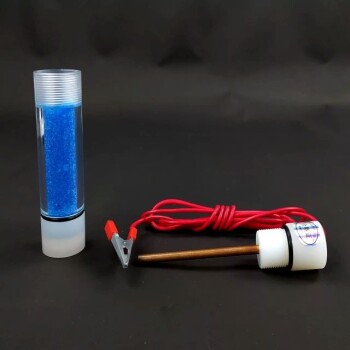
After testing, you must remove any adsorbed chemical species. Prepare two beakers: one with anhydrous ethanol and one with deionized water.
Place the electrode into the ethanol beaker and sonicate. Repeat the process in the deionized water beaker.
Duration Constraints
Precision is vital here. Sonicate for no more than 10 seconds in each solution. Excessive sonication can physically damage the electrode seal or the conductive material.
Drying and Staging
Remove the electrode and blow it dry using a clean gas source (e.g., nitrogen or air).
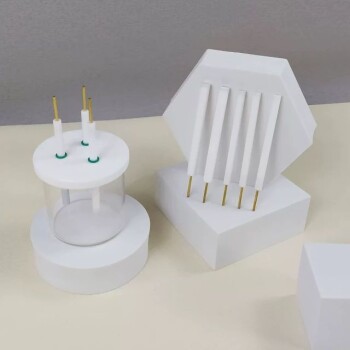
If you intend to modify the surface immediately, place the electrode upside down on an electrode stand. This position is optimal for drop-coating procedures.
Common Pitfalls to Avoid
Avoiding "Over-Polishing" Habits
While thoroughness is good, technique is better. Applying too much pressure during the mechanical polishing phase can grind away the electrode material too quickly. Focus on the perpendicular angle rather than downward force.
The Risks of Prolonged Sonication
It is tempting to sonicate longer to ensure cleanliness, but this is a trade-off you should avoid. Exceeding the 10-second limit can loosen the electrode material from its casing, permanently ruining the hardware.
Making the Right Choice for Your Goal
- If your primary focus is Data Reproducibility: rigorous adherence to the 80mV peak separation metric is non-negotiable before every experiment.
- If your primary focus is Electrode Longevity: Strictly limit your ultrasonic cleaning duration to 10 seconds maximum to preserve structural integrity.
Treat the polishing and cleaning process not as a chore, but as the primary calibration step that defines the quality of your entire experiment.
Summary Table:
| Stage | Action | Key Specification |
|---|---|---|
| Polishing | Sequential powder grades | 1.0 µm → 0.5 µm → 0.3 µm → 50 nm |
| Validation | Cyclic Voltammetry (CV) | Peak separation ≤ 80mV |
| Cleaning | Sonication (Ethanol/Water) | Maximum 10 seconds per solvent |
| Drying | Nitrogen or Clean Air | Blow dry to prevent water spots |
Elevate Your Electrochemistry with KINTEK
Reliable research starts with high-performance hardware and meticulous maintenance. KINTEK specializes in precision laboratory equipment and consumables designed for demanding research environments. Whether you are conducting advanced battery research or fundamental redox studies, our high-quality electrolytic cells and electrodes ensure the stability and reproducibility your data requires.
From high-temperature furnaces and vacuum systems to essential consumables like PTFE products and ceramics, we provide the tools that drive discovery. Contact us today to discuss how our comprehensive range of laboratory solutions can optimize your experimental workflow!
Related Products
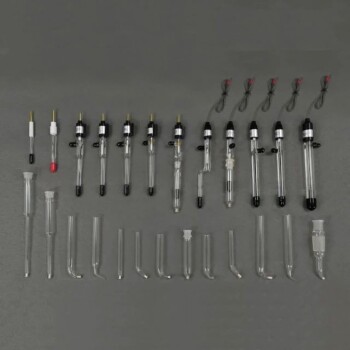
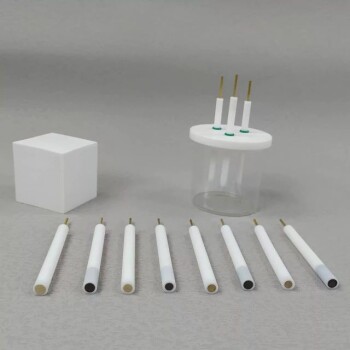
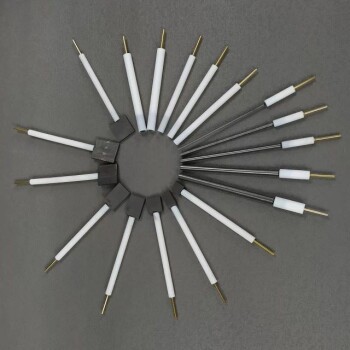
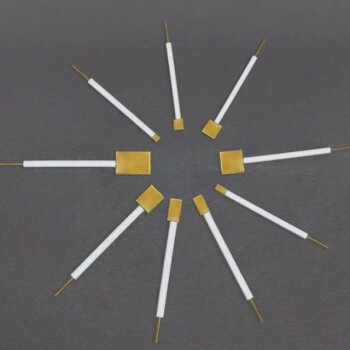
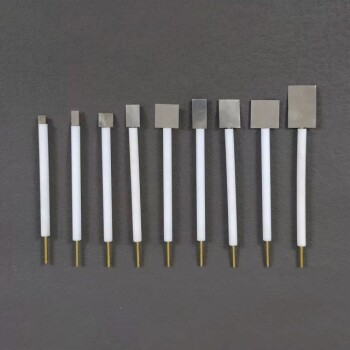
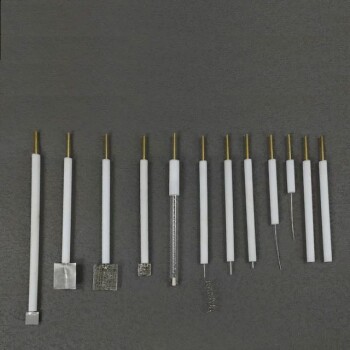
- Reference Electrode Calomel Silver Chloride Mercury Sulfate for Laboratory Use
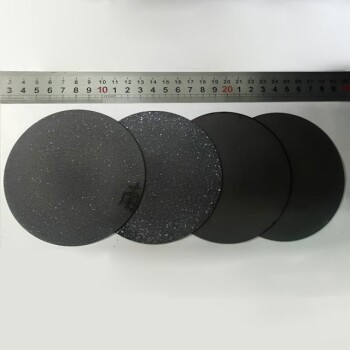
- Metal Disc Electrode Electrochemical Electrode
- RRDE rotating disk (ring disk) electrode / compatible with PINE, Japanese ALS, Swiss Metrohm glassy carbon platinum
- Rotating Platinum Disk Electrode for Electrochemical Applications
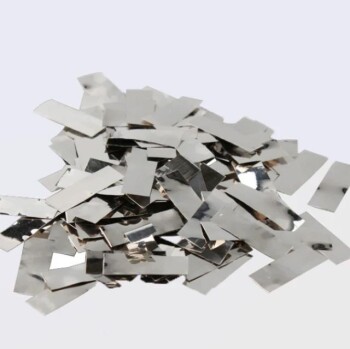
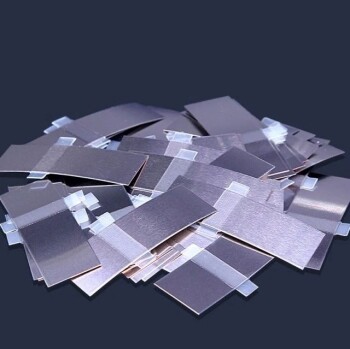
- Platinum Sheet Electrode for Battery Lab Applications
People Also Ask
- Which type of electrode can be used as a reference point? Select the Right One for Accurate Measurements
- Why is the selection of a high-quality reference electrode critical in the electrochemical synthesis? | KINTEK
- What is the recommended maintenance for the filling solution of a reference electrode? A Guide to Stable & Accurate Readings
- What is the purpose of the reference electrode? Achieve Stable & Accurate Electrochemical Measurements
- What is the reference electrode in potentiometry? The Key to Stable & Accurate Measurements