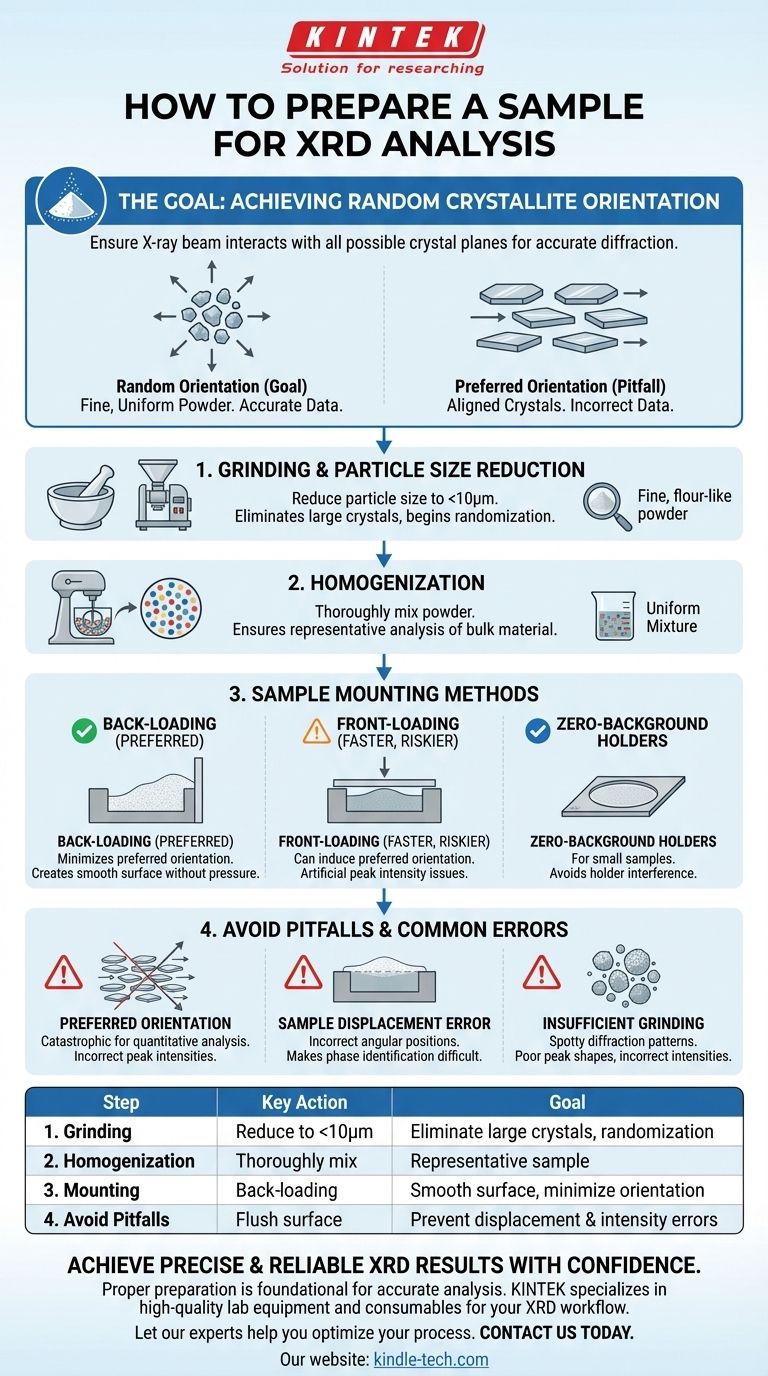
To properly prepare a sample for X-ray Diffraction (XRD) analysis, the primary goal is to produce a fine, uniform powder with randomly oriented crystallites. This ensures that the X-ray beam interacts with all possible crystal planes, producing an accurate diffraction pattern. It is critical to distinguish this from X-ray Fluorescence (XRF), which measures elemental composition and has different sample preparation requirements.
The core principle of XRD sample preparation is to eliminate "preferred orientation"—the tendency for crystals to align in a specific direction. Achieving a fine, randomly oriented powder is the most critical step for obtaining high-quality, reliable data on your material's crystal structure and phase.
The Goal: Achieving Random Crystallite Orientation
XRD works by measuring how X-rays diffract off the lattice planes within a crystal structure. For the instrument to "see" all possible planes and measure them accurately, the tiny crystals (crystallites) in your sample must be pointing in every possible direction.
Why Grinding is the First Step
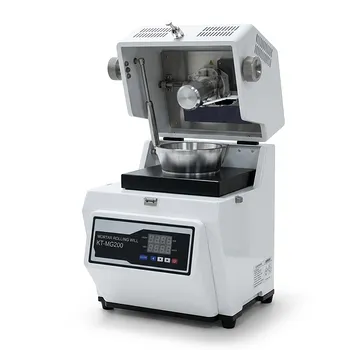
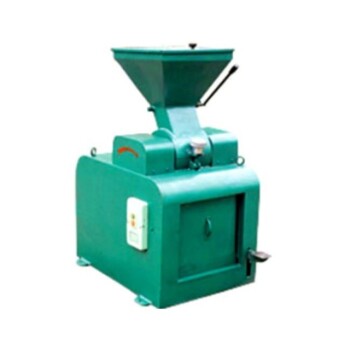
The initial and most important step is to reduce the particle size of your sample. This is typically done with a mortar and pestle, either manually or with an automated milling machine.
Grinding accomplishes two things: it breaks down large crystals and helps to randomize their orientation. The target is typically a fine, flour-like powder with a particle size of less than 10 micrometers (µm).
The Purpose of Homogenization
After grinding, the sample must be thoroughly mixed to ensure it is homogeneous. This guarantees that the portion of the sample being analyzed by the X-ray beam is representative of the entire bulk material.
Without proper homogenization, you might unknowingly analyze a section that is richer in one phase than another, leading to incorrect quantitative results.
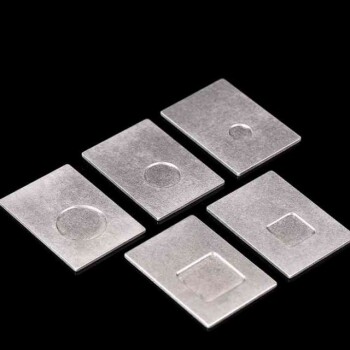
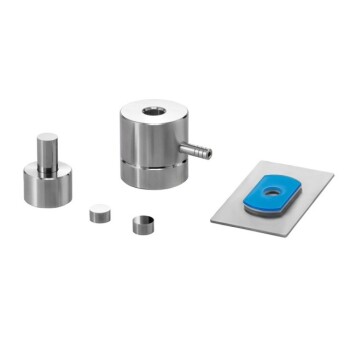
Standard XRD Sample Loading Methods
Once you have a fine powder, you must mount it correctly in a sample holder. The method you choose directly impacts the potential for introducing preferred orientation.
The Back-Loading Method
This is the preferred method for minimizing preferred orientation. The powder is loaded into the back of the sample holder cavity and pressed against a flat surface (like a glass slide) as the holder is filled.
The surface being analyzed is the one that was pressed against the flat plate. This creates a smooth plane without applying pressure that would align plate-like or needle-shaped crystals.
The Front-Loading Method
This is a faster but riskier method. Powder is placed into the top of the sample holder and smoothed flat with a straight edge, like a glass slide.
The downward pressure from the slide can easily induce preferred orientation, especially for materials with non-equiaxed crystal shapes (e.g., clays, micas). This can cause certain diffraction peaks to appear artificially strong while others are weakened or absent.
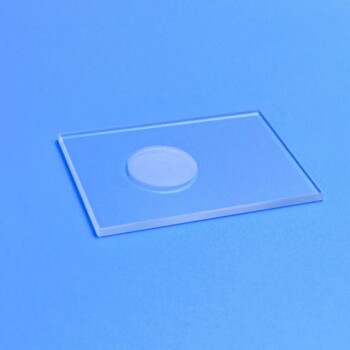
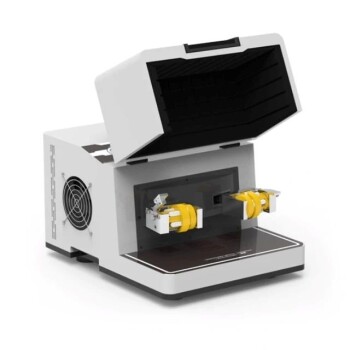
Zero-Background Holders
For very small sample quantities, a zero-background (or zero-diffraction) sample holder is used. These are typically made from a single crystal of silicon cut along a plane that will not produce diffraction peaks in the common angular range.
A thin layer of your sample is dispersed onto the surface, often using a liquid like ethanol to help it adhere as the liquid evaporates.
Understanding the Trade-offs and Pitfalls
Poor sample preparation is the leading cause of inaccurate XRD results. Understanding the common errors is key to avoiding them.
Pitfall #1: Preferred Orientation
This is the most significant source of error. If crystals are aligned, the intensity of corresponding diffraction peaks will be incorrect. This is catastrophic for quantitative phase analysis, where peak intensities are used to determine the amount of each phase present.
Pitfall #2: Sample Displacement Error
The surface of your powder must be perfectly flush with the surface of the sample holder.
If the sample surface is too high or too low relative to the holder, the diffraction peaks will be shifted to incorrect angular positions. This makes phase identification difficult and unit cell calculations inaccurate.
Pitfall #3: Insufficient Grinding
If particles are too large, the X-ray beam will not interact with enough crystallites to get a statistically representative signal. This results in a "grainy" or "spotty" diffraction pattern with poor peak shapes and incorrect intensities.
Making the Right Choice for Your Goal
Your preparation method should match the objective of your analysis. The more sensitive your measurement, the more critical your preparation becomes.
- If your primary focus is routine phase identification: The front-loading method may be sufficient, but always be aware of the risk of preferred orientation affecting peak intensities.
- If your primary focus is quantitative analysis or crystal structure refinement: The back-loading method is essential to ensure peak intensities are as accurate as possible.
- If your primary focus is analyzing a very small amount of material: A zero-background holder is the necessary choice to avoid interference from the sample holder itself.
Ultimately, mastering sample preparation is the key to transforming XRD from a simple measurement into a powerful analytical tool.
Summary Table:
| Step | Key Action | Goal |
|---|---|---|
| 1. Grinding | Reduce particle size to <10µm | Eliminate large crystals and begin randomization |
| 2. Homogenization | Thoroughly mix the powder | Ensure the analyzed portion is representative |
| 3. Mounting | Use back-loading (preferred) or front-loading method | Create a smooth surface and minimize preferred orientation |
| 4. Avoid Pitfalls | Ensure sample is flush with holder, avoid over-pressing | Prevent sample displacement and intensity errors |
Achieve precise and reliable XRD results with confidence. Proper sample preparation is the foundation of accurate crystal structure and phase analysis. KINTEK specializes in providing high-quality lab equipment and consumables essential for your XRD workflow, from milling tools to sample holders.
Let our experts help you optimize your process. Contact us today to discuss your specific laboratory needs and ensure your analyses are built on a solid foundation.
Visual Guide
Related Products
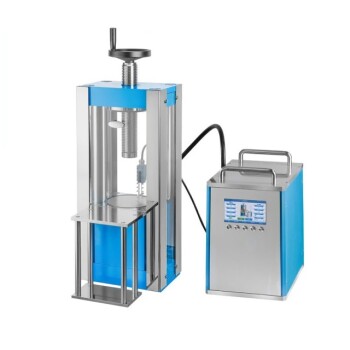
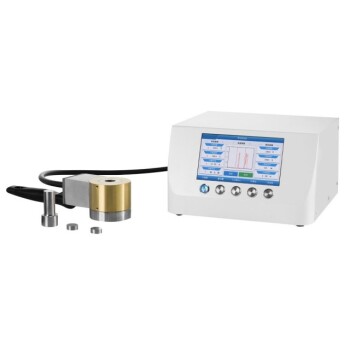
- Customizable XRD Sample Holders for Diverse Research Applications
- XRD Sample Holder X-ray Diffractometer Powder Slide
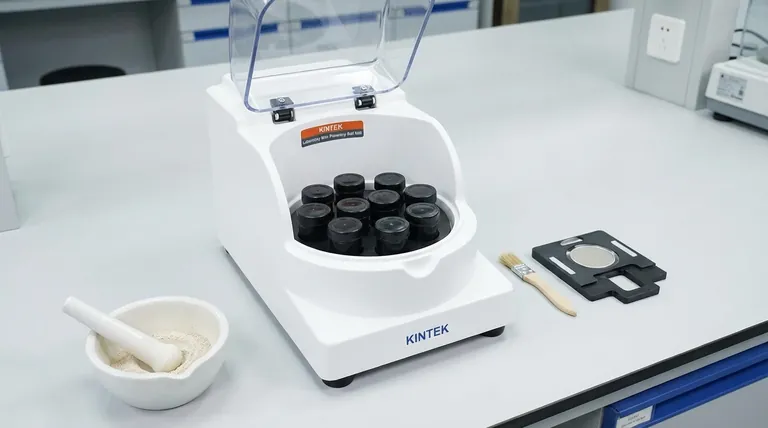
- Laboratory Micro Horizontal Jar Mill for Precision Sample Preparation in Research and Analysis
- Laboratory Grinding Mill Mortar Grinder for Sample Preparation
- Vacuum Cold Mounting Machine for Sample Preparation
People Also Ask
- What are the general operating procedures for using a sample holder during experiments? Ensure Sample Integrity and Accurate Results
- What is the typical function of the sample holder in an electrochemical experiment? It's the Active Working Electrode
- How should a sample holder be cleaned and inspected before use? Ensure Reliable Lab Results
- What does regular inspection of a sample holder involve for maintenance? A Guide to Protecting Your Data and Equipment
- What is the cleaning and storage procedure for a sample holder after use? A Guide to Preventing Contamination & Damage