To braze successfully, you must apply enough heat to raise the entire joint assembly above the melting point (liquidus) of your chosen filler metal, but you must remain below the melting point of the base metals you are joining. This "brazing temperature" is not a universal value; it is determined entirely by the specific materials involved in your application.
The core challenge of brazing is not simply reaching a target temperature, but managing the entire thermal cycle. True success lies in controlling the rate of heating, the duration at temperature (soak time), and the cooling rate to ensure complete filler metal flow without damaging the parent materials.
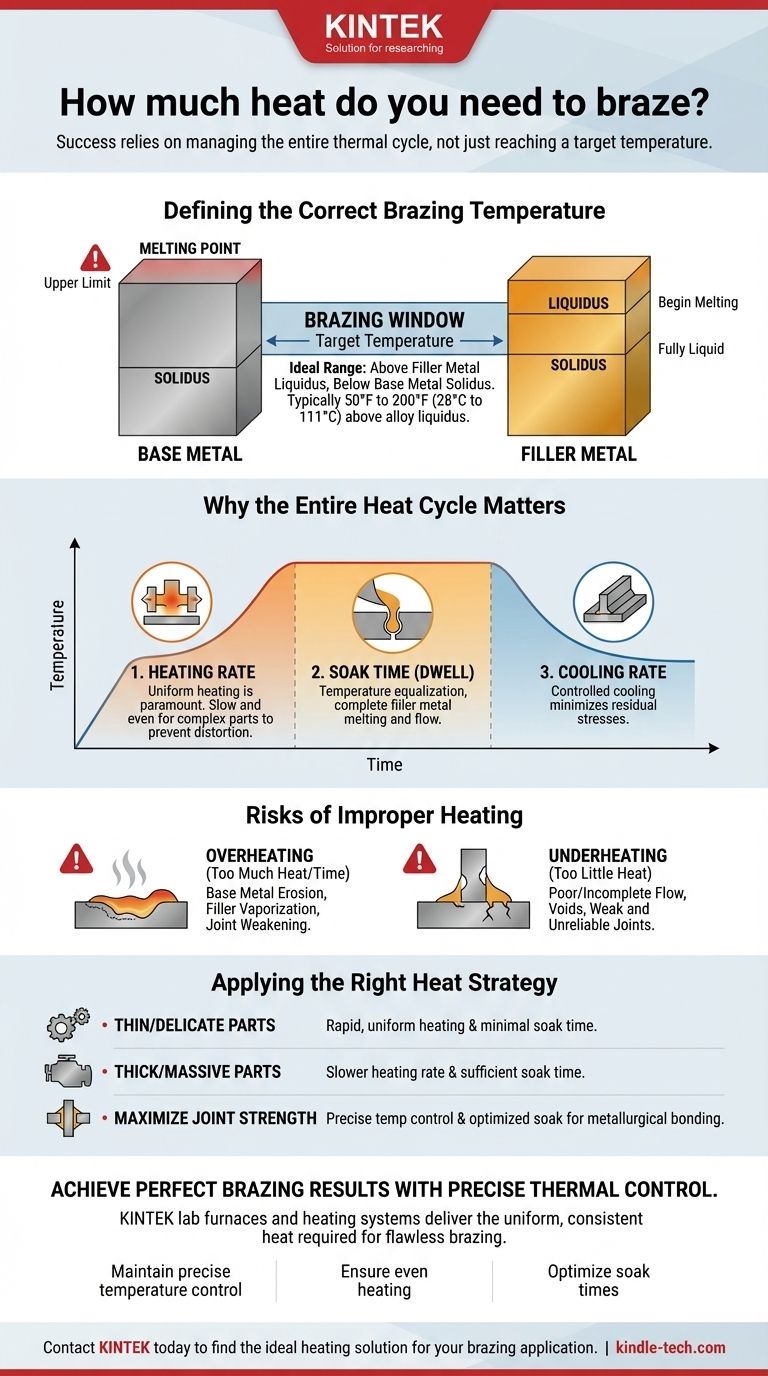
Defining the Correct Brazing Temperature
The amount of heat required is dictated by a specific temperature range, often called the "brazing window." This window is defined by the properties of both your filler metal and the base metals being joined.
The Role of the Filler Metal
Every brazing filler metal has a solidus temperature (where it begins to melt) and a liquidus temperature (where it becomes fully liquid).
For a strong joint, the brazing process must be conducted at a temperature above the filler metal's liquidus temperature. This ensures the alloy is fully molten and can flow freely into the joint via capillary action.
The Constraint of the Base Metal
The upper limit of your heating is the solidus temperature of the base metals. Heating the assembly to or beyond this point will cause the parent materials to melt, distort, or collapse, resulting in component failure.
Your target brazing temperature must always be safely below the melting point of the weakest base metal in the assembly.
The "Brazing Window"
The ideal brazing temperature exists in the window between the filler metal's liquidus and the base metal's solidus. Most filler metal manufacturers recommend a specific brazing temperature range, which is typically 50°F to 200°F (28°C to 111°C) above the alloy's liquidus temperature to ensure complete flow.
Why the Entire Heat Cycle Matters
Thinking only about a peak temperature is a common mistake. The total heat energy applied over time—the thermal profile—is what truly governs the quality of the joint.
Heating Rate
The speed at which you heat the parts is critical. Uniform heating is paramount. If one part of the assembly heats faster than another, it can cause thermal expansion mismatches, leading to distortion or warping.
A slow and even heating rate is generally preferred for massive or complex parts to ensure the entire joint area reaches the brazing temperature at the same time.
Soak Time (Dwell Time)
Once the assembly reaches the target brazing temperature, it is often held at that temperature for a specific period. This is known as the soak time or dwell time.
This period allows the temperature to equalize throughout the entire mass of the joint, ensures the filler metal melts completely, and provides time for it to flow fully into the capillary gap.
Cooling Rate
After the soak, the cooling rate also affects the final properties of the joint. A controlled cooling rate helps minimize residual stresses in the joint, which is especially important for parts made of different materials or those intended for high-stress service.
Understanding the Trade-offs: Risks of Improper Heating
The balance between time and temperature is critical. Deviating from the ideal thermal cycle introduces significant risks that can lead to joint failure.
The Danger of Too Much Heat (Overheating)
Applying too much heat—either by exceeding the recommended temperature or by soaking for too long—can be destructive.
This can cause base metal erosion, where the molten filler alloy begins to dissolve the parent material, weakening the joint. It can also cause certain elements within the filler metal (like zinc or cadmium) to vaporize, changing the alloy's chemistry and performance.
The Problem with Too Little Heat (Underheating)
Insufficient heat is just as problematic. If the assembly does not fully reach the required temperature, the filler metal will not become fully liquid.
This leads to poor or incomplete flow, creating voids and gaps within the joint. The resulting connection will be weak and unreliable, and it will almost certainly fail under load.
The Impact of Dwell Time
As noted, the balance is key. A proper dwell time ensures the filler metal flows completely, reducing scrap. However, an excessively long dwell time has the same negative effects as general overheating, leading to metallurgical degradation of the joint.
Applying the Right Heat Strategy for Your Project
Your heating strategy should adapt to the specific geometry and material of your components.
- If your primary focus is joining thin or delicate parts: Emphasize rapid, uniform heating and a minimal soak time to prevent distortion and burn-through.
- If your primary focus is joining thick, massive parts: Stress the need for a slower heating rate and a sufficient soak time to ensure the core of the joint reaches the full brazing temperature.
- If your primary focus is maximizing joint strength: Highlight the importance of precise temperature control within the recommended brazing window and optimizing the soak time for complete metallurgical bonding.
Mastering heat control is the defining skill in producing consistent, high-quality brazed joints.
Summary Table:
| Brazing Factor | Key Consideration |
|---|---|
| Target Temperature | Must be above filler metal liquidus, but below base metal solidus. |
| Heating Rate | Must be uniform to prevent distortion; slower for complex parts. |
| Soak Time | Allows for temperature equalization and complete filler metal flow. |
| Cooling Rate | Controlled cooling minimizes residual stresses in the joint. |
| Risks of Overheating | Base metal erosion, filler metal vaporization, joint weakening. |
| Risks of Underheating | Incomplete filler flow, voids, weak and unreliable joints. |
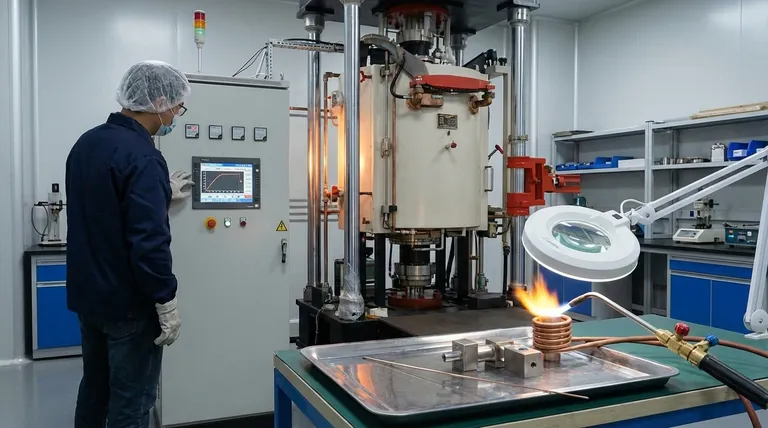
Achieve perfect brazing results with precise thermal control.
Whether you are joining delicate, thin parts or thick, massive components, the right equipment is essential for managing the brazing thermal cycle. KINTEK specializes in high-quality lab furnaces and heating systems that deliver the uniform, consistent heat required for flawless brazing.
Our solutions help you:
- Maintain precise temperature control within the brazing window.
- Ensure even heating to prevent distortion and warping.
- Optimize soak times for complete filler metal flow and strong metallurgical bonds.
Don't let improper heating compromise your joints. Contact KINTEK today to find the ideal heating solution for your brazing application.
Visual Guide