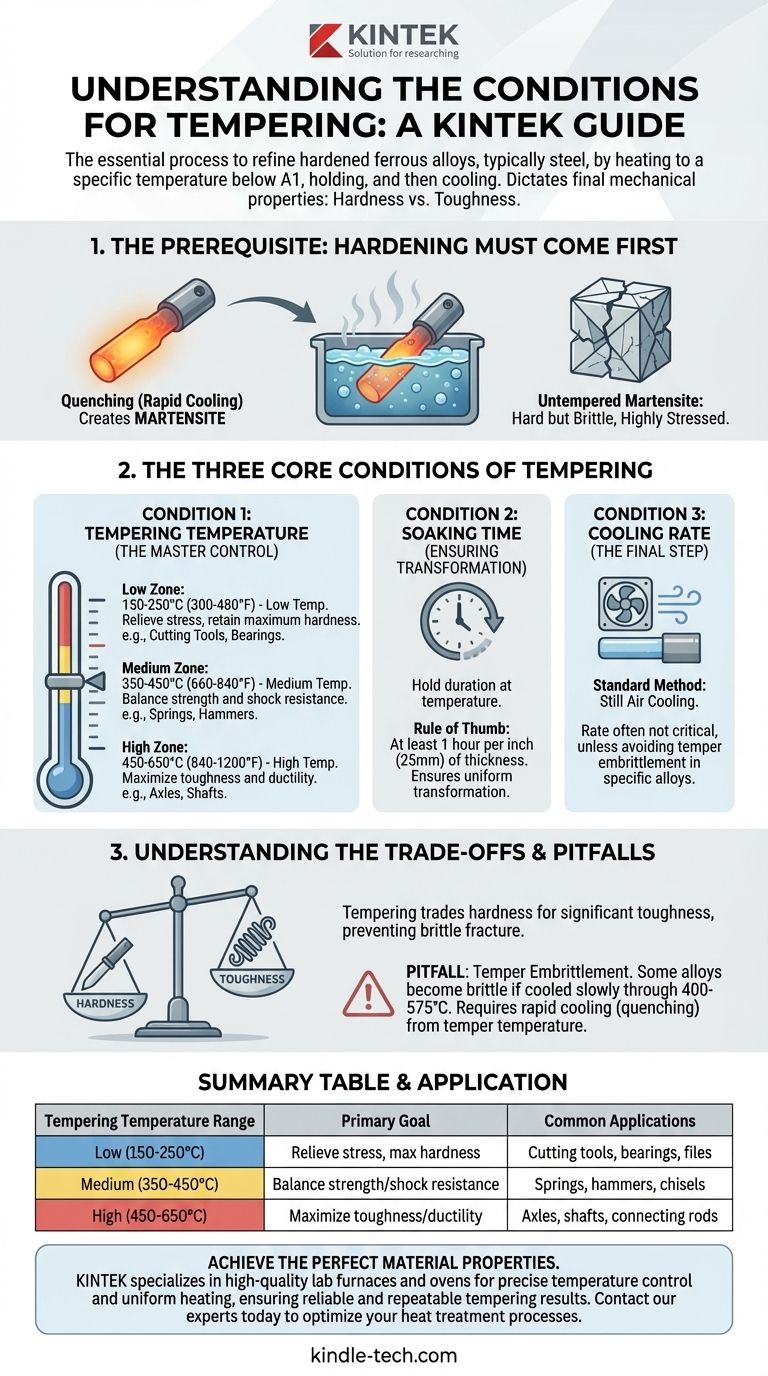
The essential conditions for tempering are straightforward: the process requires a previously hardened ferrous alloy, typically steel, which is then heated to a specific temperature below its lower critical point (A1). This temperature, which generally ranges from 150°C to 650°C (300°F to 1200°F), is held for a set duration before the part is cooled. These three variables—the initial state, the temperature, and the time—dictate the final mechanical properties of the material.
Tempering is not an isolated process; it is the second step in a sequence that begins with hardening. The core principle is the controlled sacrifice of hardness to gain a crucial increase in toughness, and the tempering temperature is the primary dial used to control this trade-off.
The Prerequisite: Why Hardening Must Come First
Before you can temper a steel part, it must be put into an ideal starting state. This state is achieved through a process called quenching.
The Role of Quenching
Quenching involves heating the steel to a high temperature where its crystal structure changes (austenitizing), then cooling it very rapidly in a medium like water, oil, or air.
This rapid cooling traps the carbon atoms within the steel's iron crystal lattice. This process intentionally creates a very hard, strong, and highly strained microstructure.
Creating the Martensite Structure
The result of successful quenching is a microstructure known as martensite. While martensite is extremely hard and wear-resistant, it is also very brittle and filled with internal stresses.
An untempered, martensitic part is often too brittle for practical use; a sharp impact could cause it to shatter like glass. Tempering is the necessary post-treatment to refine this structure.
The Three Core Conditions of Tempering
Once a part has been fully hardened, the tempering process is governed by three key parameters. Of these, temperature has the most significant impact.
Condition 1: Tempering Temperature (The Master Control)
The temperature to which the hardened part is reheated is the most critical factor in tempering. It directly controls the final balance between hardness and toughness.
-
Low-Temperature Tempering (150-250°C / 300-480°F): This range relieves the internal stresses from quenching with only a minor reduction in hardness. The primary goal is to add just enough toughness to make the part usable while retaining maximum hardness. This is common for cutting tools, files, and bearings.
-
Medium-Temperature Tempering (350-450°C / 660-840°F): In this range, hardness and strength are further reduced, but toughness and ductility increase significantly. This produces a material that can withstand shock and repeated loading, making it ideal for springs, hammers, and structural components.
-
High-Temperature Tempering (450-650°C / 840-1200°F): This process, often called "tempering and drawing," results in the lowest hardness and strength but provides the highest ductility and toughness. It's used for components that must endure high impacts and stress, such as axles, shafts, and connecting rods.
Condition 2: Soaking Time (Ensuring Transformation)
Soaking time refers to the duration the part is held at the target tempering temperature. This allows the heat to penetrate the part fully and gives the microstructure time to transform uniformly.
A common rule of thumb is to hold the part at temperature for at least one hour for every inch (25mm) of cross-sectional thickness. Insufficient time can result in an incomplete transformation and inconsistent properties.
Condition 3: Cooling Rate (The Final Step)
For most carbon and low-alloy steels, the rate of cooling after tempering is not critical. Cooling in still air is the standard and safest method.
The internal structure is already set by the temperature and time, so a rapid cool is unnecessary and could introduce new stresses.
Understanding the Trade-offs and Pitfalls
Tempering is fundamentally an act of compromise. You are trading one desirable property (hardness) to gain another (toughness). Understanding this balance is key to producing a successful part.
The Problem of Untempered Martensite
As mentioned, fresh martensite from quenching is hard but fragile. The internal stresses are so high that some high-carbon steels can crack spontaneously after quenching if not tempered promptly.
How Tempering Balances the Equation
Heating the martensite allows the trapped carbon atoms to diffuse and form tiny, well-distributed carbide particles within the iron matrix. This process relieves the internal stress and allows the structure to "relax," which dramatically increases its ability to absorb energy and resist fracture.
The Pitfall of Temper Embrittlement
Certain alloy steels can become brittle if they are cooled too slowly after tempering or if they are tempered within a specific temperature range (approximately 400-575°C or 750-1070°F).
This phenomenon, known as temper embrittlement, is a critical consideration for specific alloys. In these cases, quenching the part in water or oil from the tempering temperature may be required to avoid this brittle zone.
Matching the Conditions to Your Goal
The correct tempering conditions are entirely dependent on the intended application of the final component.
- If your primary focus is maximum hardness and wear resistance (e.g., cutting tools, razor blades): Use a low-temperature temper to relieve stress while preserving as much of the original quenched hardness as possible.
- If your primary focus is a balance of strength and shock resistance (e.g., springs, chisels, hammerheads): Use a medium-temperature temper to gain significant toughness without sacrificing too much strength.
- If your primary focus is maximum toughness and ductility (e.g., shafts, bolts, structural steel): Use a high-temperature temper to create a component that can deform and absorb significant energy before fracturing.
By mastering these conditions, you gain precise control over the final performance of the steel.
Summary Table:
| Tempering Temperature Range | Primary Goal | Common Applications |
|---|---|---|
| Low (150-250°C / 300-480°F) | Relieve stress, retain maximum hardness | Cutting tools, bearings, files |
| Medium (350-450°C / 660-840°F) | Balance strength and shock resistance | Springs, hammers, chisels |
| High (450-650°C / 840-1200°F) | Maximize toughness and ductility | Axles, shafts, connecting rods |
Achieve the perfect material properties for your lab or workshop.
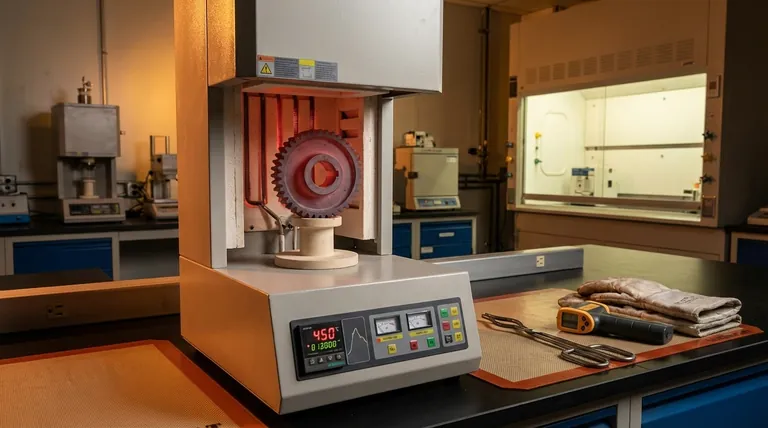
Mastering the precise conditions for tempering is critical for developing components with the exact hardness, strength, and toughness you need. Whether you're working on high-wear tools or impact-resistant structural parts, the right heat treatment equipment is essential.
KINTEK specializes in high-quality lab furnaces and ovens designed for precise temperature control and uniform heating, ensuring reliable and repeatable tempering results for your R&D or production needs.
Contact our experts today to discuss how our equipment can help you optimize your heat treatment processes and achieve superior material performance.
Visual Guide