When operating an acrylic electrolytic cell, your most critical consideration is the management of electric current. You must control the current according to the cell's design specifications and the electrode's load capacity. Exceeding these limits generates excessive heat, which can cause localized temperature spikes that permanently damage or warp the acrylic body, compromising the integrity of your experiment and your equipment.
The core challenge of using an acrylic cell is balancing its excellent optical clarity and workability against its inherent thermal limitations. Your operational current is therefore dictated not just by your electrochemical goals, but by the physical heat tolerance of the acrylic material itself.
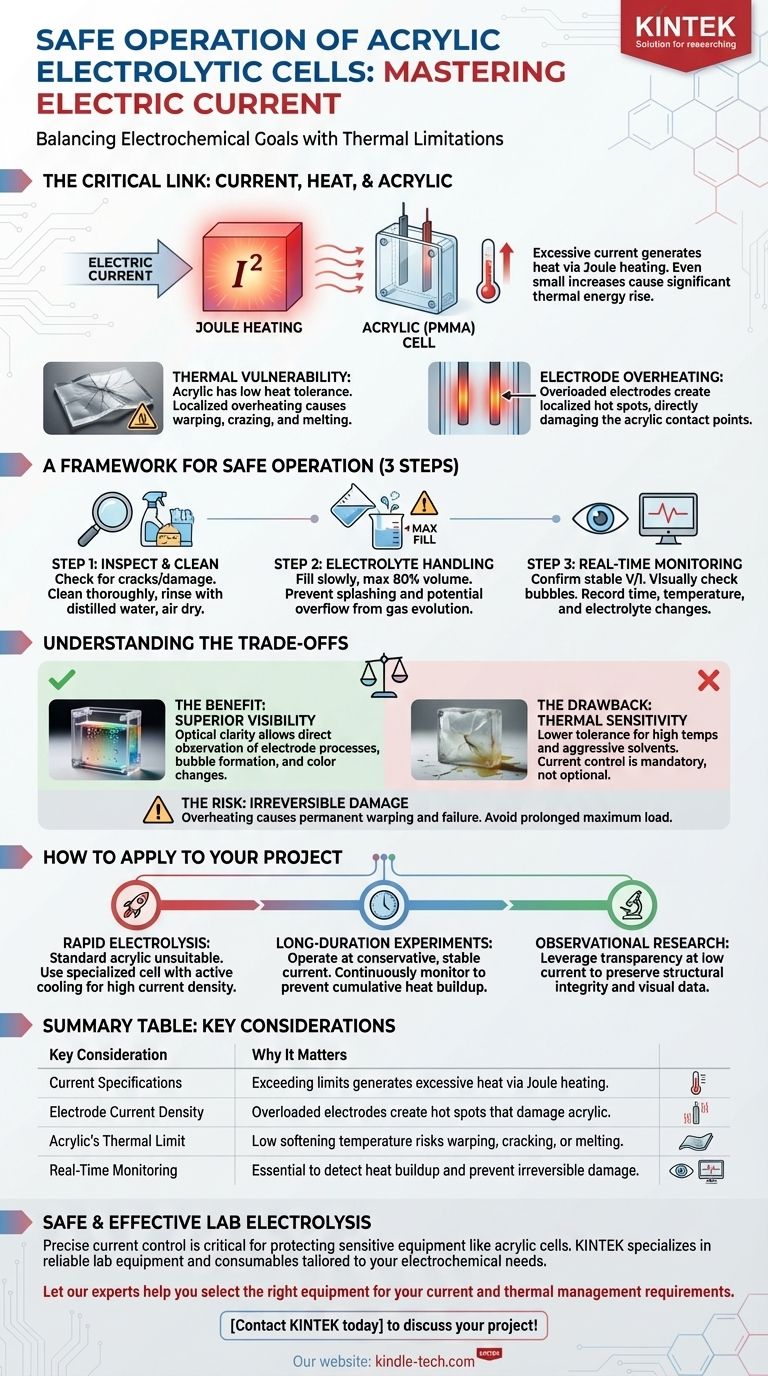
The Critical Link Between Current, Heat, and Acrylic
To use an acrylic cell effectively, you must understand the relationship between electrical energy and thermal stress. The current you apply is the direct source of heat that can potentially damage the cell.
How Current Generates Heat
Every electrolytic process involves passing current through an electrolyte, which has a certain electrical resistance. This process, known as Joule heating, generates thermal energy. The amount of heat produced is directly proportional to the square of the current, meaning even a small increase in current can cause a significant rise in heat generation.
The Thermal Limitations of Acrylic
Acrylic (PMMA) is chosen for its transparency and ease of fabrication, but it is not as thermally robust as glass. It has a relatively low softening temperature. If a localized area on the cell wall becomes too hot, the material can warp, craze (form micro-cracks), or even melt, leading to leaks and catastrophic failure.
Electrode Overheating as a Failure Point
The electrodes themselves have a maximum current density they can handle. Pushing too much current through them will cause the electrodes to overheat. This heat is then transferred directly by conduction to the acrylic parts holding them in place, creating a concentrated hot spot and a primary point of failure.
A Framework for Safe Operation
A disciplined, step-by-step approach is essential for protecting your equipment and ensuring reliable experimental outcomes.
Step 1: Pre-Use Inspection and Cleaning
Before every use, meticulously inspect the cell body for any pre-existing cracks, damage, or signs of stress. Clean the cell thoroughly with a compatible solvent to remove grease or impurities, followed by a rinse with distilled water, and let it air dry.
Step 2: Proper Electrolyte Handling
Slowly pour the prepared electrolyte into the cell. As a rule, do not fill the cell beyond 80% of its total volume. This precaution prevents splashing during setup or potential overflow from gas evolution during the experiment.
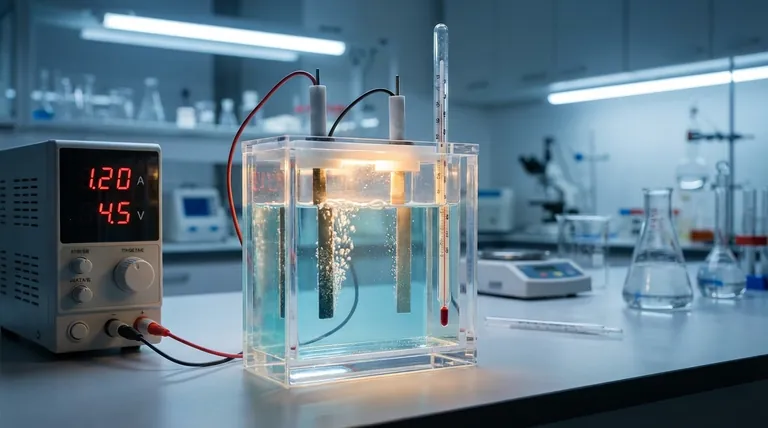
Step 3: Diligent Real-Time Monitoring
Once the power supply is connected, confirm that the current and voltage are stable. Visually monitor the electrodes for normal gas bubble formation. Throughout the experiment, it is crucial to record the electrolysis time, temperature, and any changes in the electrolyte's condition.
Understanding the Trade-offs
Choosing an acrylic cell over other materials involves a clear set of benefits and drawbacks. Understanding these is key to using the equipment correctly.
The Benefit: Superior Visibility
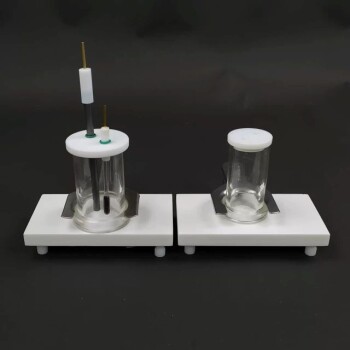
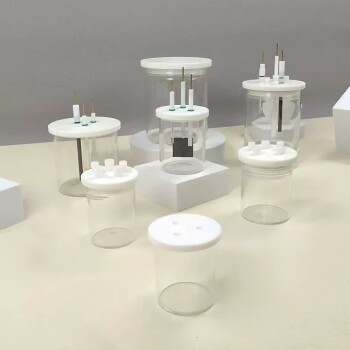
The primary advantage of acrylic is its optical clarity. It allows you to directly observe processes occurring at the electrodes, such as bubble formation, color changes, or deposition, which is impossible with opaque materials.
The Drawback: Thermal and Chemical Sensitivity
This clarity comes at a cost. Acrylic has a lower tolerance for high temperatures and aggressive chemical solvents compared to materials like glass or PTFE. This sensitivity is precisely why current control is not just a recommendation, but a mandatory operational constraint.
The Risk: Irreversible Damage
Overheating an acrylic cell can cause permanent damage that renders it useless. Unlike a simple blown fuse, thermal warping or cracking is irreversible. Avoiding prolonged operation at maximum load is critical for the longevity of the cell.
How to Apply This to Your Project
Your experimental goal should dictate your approach to current management.
- If your primary focus is rapid electrolysis: A standard acrylic cell is likely unsuitable. You must use a cell specifically designed for high current density, likely incorporating active cooling mechanisms.
- If your primary focus is a long-duration experiment: Operate at a conservative, stable current well below the maximum rating. Continuously monitor the cell temperature to prevent slow, cumulative heat buildup over time.
- If your primary focus is observational research: Leverage the acrylic's transparency by operating at a low current. This ensures the cell remains structurally sound and optically clear, preserving the integrity of your visual data.
By respecting the material's thermal limits, you ensure the safety of your lab, the longevity of your equipment, and the reliability of your results.
Summary Table:
| Key Consideration | Why It Matters |
|---|---|
| Current Specifications | Exceeding limits generates excessive heat via Joule heating. |
| Electrode Current Density | Overloaded electrodes create hot spots that damage acrylic. |
| Acrylic's Thermal Limit | Low softening temperature risks warping, cracking, or melting. |
| Real-Time Monitoring | Essential to detect heat buildup and prevent irreversible damage. |
Ensure your lab's electrolysis experiments are safe and effective. The precise control of electric current is critical for protecting sensitive equipment like acrylic cells. KINTEK specializes in providing reliable lab equipment and consumables tailored to your specific electrochemical needs.
Let our experts help you select the right equipment for your current and thermal management requirements.
Contact KINTEK today to discuss your project and ensure the longevity of your lab investments!
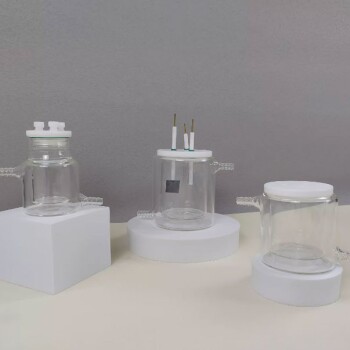
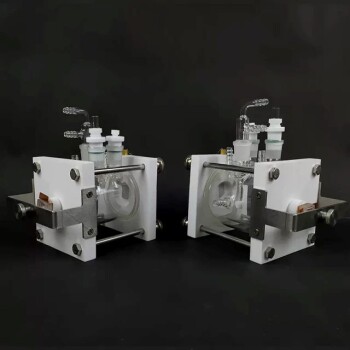
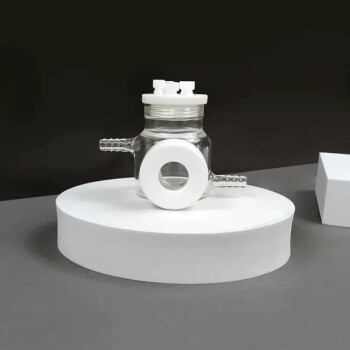
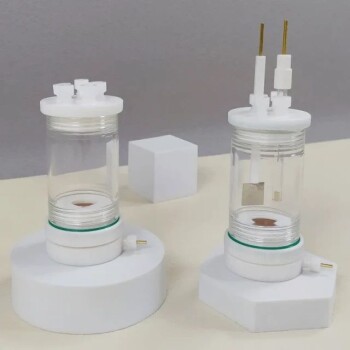
Visual Guide
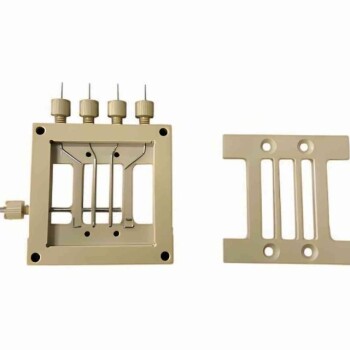
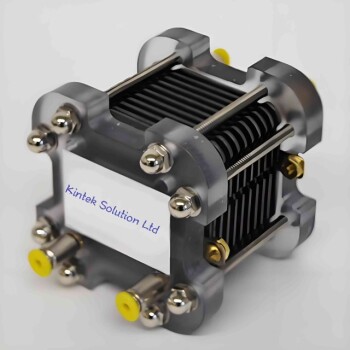
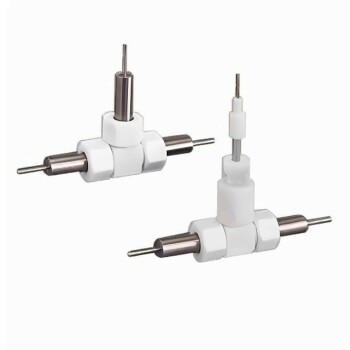
Related Products
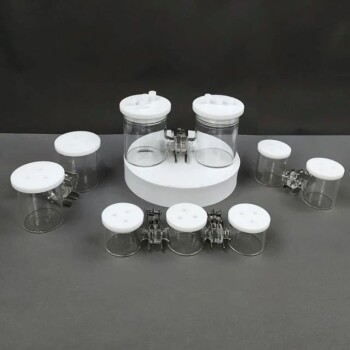
- PTFE Electrolytic Cell Electrochemical Cell Corrosion-Resistant Sealed and Non-Sealed
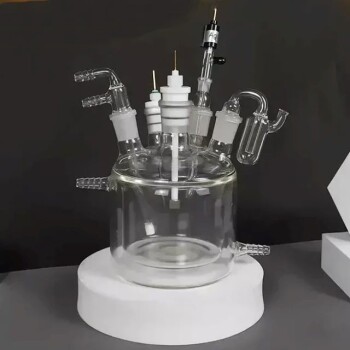
- Electrolytic Electrochemical Cell for Coating Evaluation
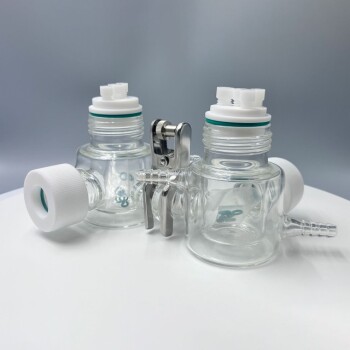
- Super Sealed Electrolytic Electrochemical Cell
- Electrolytic Electrochemical Cell with Five-Port
- Customizable PEM Electrolysis Cells for Diverse Research Applications
People Also Ask
- How should an all-PTFE electrolytic cell be stored after use? Expert Maintenance Tips for Long-Lasting Performance
- What is the proper method for cleaning the surface of an all-PTFE electrolytic cell? Ensure Accurate Results with a Pristine Surface
- What are the standard opening specifications for all-PTFE electrolytic cells? A Guide to Sealed vs. Non-Sealed Ports
- How does the design of an electrochemical electrolytic cell influence the coating uniformity? Optimize Your Catalysts
- What safety precautions should be taken during an experiment with the electrolytic cell? A Guide to Preventing Shocks, Burns, and Fires