Achieving a pristine electrode surface requires strict adherence to specific mechanical movements to ensure uniform abrasion. The recommended polishing motions are tracing a figure-eight pattern, moving in a back-and-forth linear pattern (left to right), or utilizing a clockwise or counter-clockwise circular pattern.
Core Takeaway While the specific geometry of the motion can vary between figure-eight, linear, or circular, the critical success factor is consistency. You must apply these motions while holding the electrode strictly perpendicular to the pad to prevent deformation of the active surface area.
Recommended Polishing Patterns
Figure-Eight Pattern
This is often considered the gold standard for manual polishing. By tracing a figure-eight, you ensure that the abrasive direction changes constantly relative to the electrode surface.
This randomizes the scratches, preventing the formation of deep, unidirectional grooves that can affect electrochemical diffusion profiles.
Linear Motion
You may also employ a simple back-and-forth linear motion. This typically involves moving the electrode left and right across the polishing pad.
While effective, you must ensure you do not inadvertently apply uneven pressure at the turning points of the motion, which could bevel the edges of the electrode material.
Circular Motion
The third accepted technique is a circular pattern. You can rotate the electrode in either a clockwise or counter-clockwise direction.
This motion is intuitive and helps maintain steady contact with the polishing paste, ensuring the entire surface is exposed to the abrasive media (such as alumina powder mixed with distilled water).
Critical Technique Factors
Perpendicular Alignment
Regardless of the motion you choose, the physical orientation of the electrode is paramount. You must place the electrode perpendicularly on the polishing pad.
Holding the electrode at an angle will result in a slanted or rounded tip. This changes the geometric surface area, which will directly skew your current density calculations and experimental results.
Preparation and Rinsing
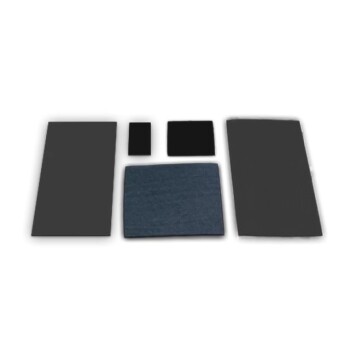
The motion is only effective if the media is prepared correctly. You should apply polishing powder (e.g., 1.0um down to 50nm) to the cloth and mix it with distilled water to form a paste.
After the polishing motion is complete, you must thoroughly rinse the electrode surface with distilled water to remove abrasive residue before moving to the next step or testing.
Common Pitfalls to Avoid
Avoiding Cross-Contamination
Polishing is a sequential process. If you are moving from a coarse grit (e.g., 1.0um) to a fine grit (e.g., 50nm), you must clean the electrode thoroughly between steps.
Carrying coarse particles into a fine polishing step will render the finer polishing motion useless, as the larger particles will continue to scratch the surface.
Over-sonication
Cleaning after polishing often involves sonication in ethanol and deionized water. However, you must limit this to no more than 10 seconds per solution.
Excessive sonication can damage the seal between the electrode material (e.g., glassy carbon) and the insulating sheath, leading to solution leakage and high background currents.
Validating Your Polish
Before proceeding to your actual experiment, you should verify that your polishing motion achieved the desired result.
- If your primary focus is Surface Cleanliness: Ensure you rinse with distilled water and sonicate briefly in ethanol and deionized water to remove all particulate matter.
- If your primary focus is Electrochemical Performance: Test the electrode using cyclic voltammetry in a potassium ferricyanide solution; a peak potential separation within 80mV confirms an acceptable polish.
A consistent polishing motion, validated by standard electrochemical testing, is the foundation of reproducible data.
Summary Table:
| Polishing Pattern | Motion Type | Primary Benefit |
|---|---|---|
| Figure-Eight | Complex Multi-directional | Prevents deep, unidirectional grooves and randomizes scratches |
| Linear | Back-and-forth (Left-Right) | Simple to execute for consistent surface abrasion |
| Circular | Clockwise / Counter-clockwise | Maintains steady contact with abrasive paste for uniform exposure |
| Critical Requirement | Perpendicular Alignment | Prevents surface deformation and maintains geometric surface area |
Precision in electrode preparation is the cornerstone of electrochemical accuracy. At KINTEK, we empower researchers with high-quality electrolytic cells and electrodes, alongside advanced battery research tools and cooling solutions designed for high-stakes laboratory environments. From high-temperature furnaces and hydraulic presses to precision PTFE and ceramic consumables, our portfolio is engineered to support every stage of your workflow. Contact us today to discover how KINTEK’s specialized laboratory equipment and consumables can elevate your research reliability and experimental efficiency.
Related Products
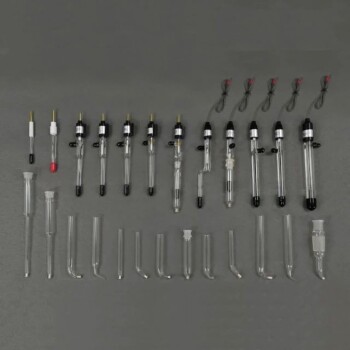
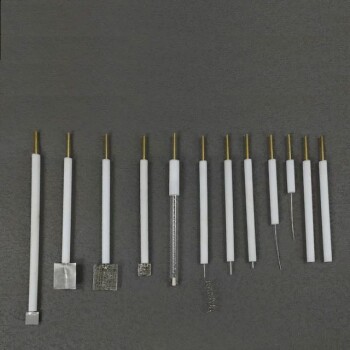
- Reference Electrode Calomel Silver Chloride Mercury Sulfate for Laboratory Use
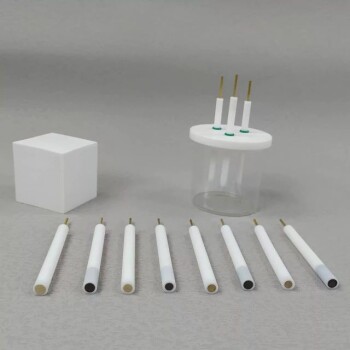
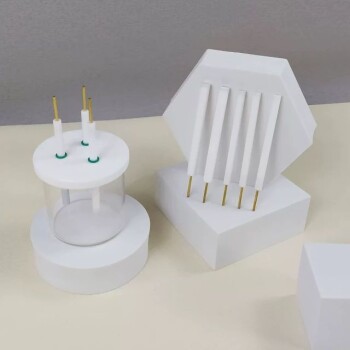
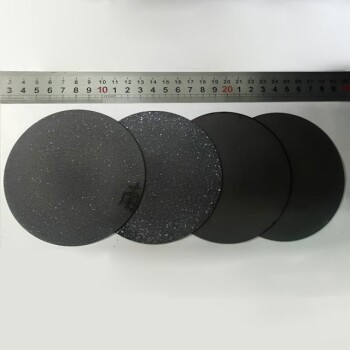
- Metal Disc Electrode Electrochemical Electrode
- RRDE rotating disk (ring disk) electrode / compatible with PINE, Japanese ALS, Swiss Metrohm glassy carbon platinum
- Rotating Platinum Disk Electrode for Electrochemical Applications
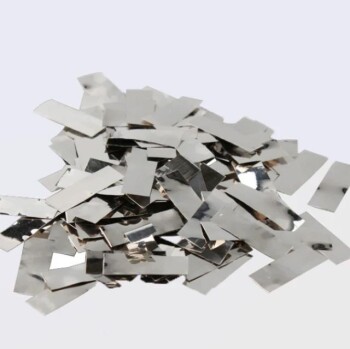
- Platinum Sheet Electrode for Battery Lab Applications
People Also Ask
- What is the recommended maintenance for the filling solution of a reference electrode? A Guide to Stable & Accurate Readings
- How does the selection of reference electrodes correlate with electrolyte pH in HER testing? Ensure Precise Potential
- What is the function of a reference electrode? Master Precision in Three-Electrode Reactor Reconstruction
- What is the reference electrode in potentiometry? The Key to Stable & Accurate Measurements
- Which electrode is used as a reference electrode for measuring half-cell potentials? Understanding the Universal Standard