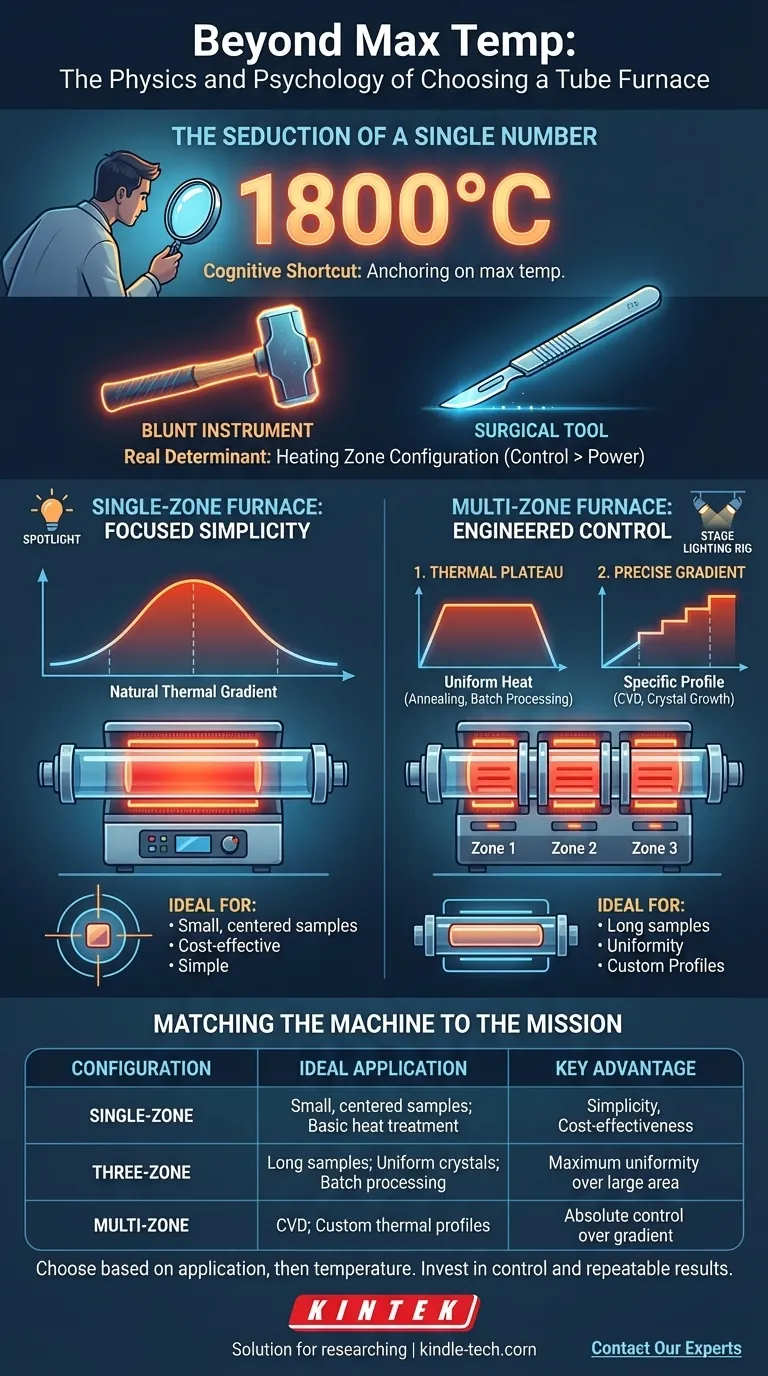
The Seduction of a Single Number
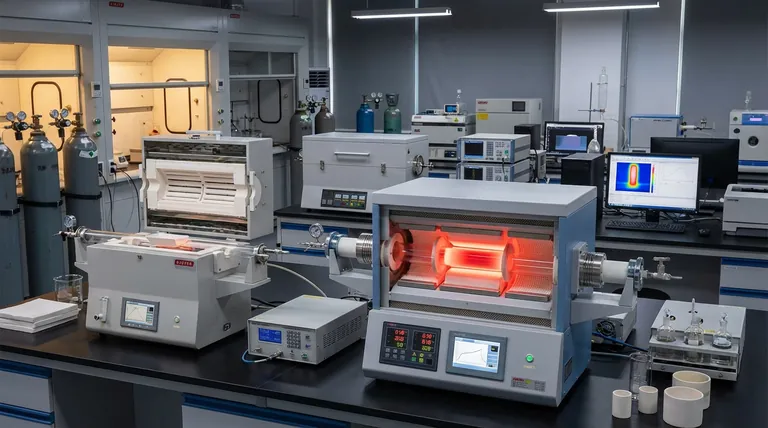
When choosing a tube furnace, the first number we often look for is the maximum temperature. 1200°C, 1600°C, 1800°C—these figures feel concrete, like a measure of power and capability.
This is a cognitive shortcut. We anchor on the most prominent specification, assuming it's the most important. But in the meticulous world of material science, this focus can lead to flawed experiments and wasted time. The real determinant of success is not just how hot you can get, but how well you can control the heat.
The critical, often-overlooked variable is the heating zone configuration. It's the difference between a blunt instrument and a surgical tool.
The Single-Zone Furnace: A Study in Focused Simplicity
A single-zone furnace is an elegant piece of engineering. It has one heating element array creating a single area of maximum heat, usually in the center of the tube. Think of it as a spotlight.
The temperature profile is a predictable curve, peaking in the middle and naturally decaying toward the cooler ends. This isn't a flaw; it's physics.
For heating a small, well-defined sample placed directly in the thermal center, this design is perfect. It's cost-effective, simple to operate, and incredibly reliable for its intended purpose. It does one thing, and it does it exceptionally well.
The Tyranny of an Uncontrolled Gradient
Imagine trying to grow a perfectly uniform single crystal over a length of several centimeters. You run your process in a single-zone furnace. The center of the crystal is flawless, a perfect lattice. But toward the ends, where the temperature dropped off by 20 degrees, imperfections and dislocations appear.
The experiment is a partial failure. The cause wasn't a lack of heat, but a lack of uniformity. The natural thermal gradient, an inherent property of the single-zone design, became the uncontrolled variable that compromised the result.
This is a common story in labs worldwide. The frustration lies not in total failure, but in a result that is almost perfect. It's a systemic problem demanding a systemic solution.
Multi-Zone Furnaces: Engineering Control Over Physics
A multi-zone furnace is the definitive solution to the problem of thermal uniformity and control. By dividing the furnace into two, three, or even more independently controlled heating zones, you move from accepting physics to dictating it.
Think of it as moving from a single spotlight to a full stage lighting rig. Each light can be controlled separately to create a perfectly illuminated surface or a deliberately dramatic effect.
Two Missions of Multi-Zone Control
Multi-zone furnaces are typically used to accomplish one of two critical thermal missions:
-
1. Forging a Flawless Thermal Plateau: To counteract the natural heat loss at the ends of the tube, you can set the outer zones to a slightly higher temperature than the center zone. This creates a remarkably large, flat, and uniform hot zone. This is essential for annealing long components, processing multiple samples simultaneously, or any process where temperature consistency over a distance is paramount.
-
2. Sculpting a Precise Thermal Gradient: Some of the most advanced processes, like chemical vapor deposition (CVD) or directional solidification, don't want a uniform temperature. They require a specific, stable, and repeatable temperature gradient to drive the reaction or crystal growth. A multi-zone furnace is the only tool that allows a researcher to design and execute these precise thermal landscapes.
Matching the Machine to the Mission
The choice between a single-zone and multi-zone furnace isn't about which is "better," but which is the right tool for your specific scientific objective. The decision-making process should be driven by your application, not just the spec sheet.
| Configuration | Ideal Application | Key Advantage |
|---|---|---|
| Single-Zone | Heating small, centered samples; annealing powders; basic heat treatment. | Simplicity, cost-effectiveness, reliability. |
| Three-Zone | Annealing long samples; growing uniform crystals; batch processing. | Maximum thermal uniformity over a large area. |
| Multi-Zone | Chemical Vapor Deposition (CVD); creating custom thermal profiles. | Absolute control over the temperature gradient. |
First, define your uniformity and gradient requirements. This will tell you how many zones you need. Only then should you select the maximum operating temperature—be it 1200°C for general synthesis or 1800°C for advanced ceramics—which is determined by the heating element materials, such as SiC or MoSi2.
Choosing the right furnace is an investment in control, precision, and—most importantly—repeatable results. Navigating these choices between cost, complexity, and capability is where expertise matters. At KINTEK, we specialize in equipping labs not just with hardware, but with the ideal solution for their specific mission. Let us help you select the perfect tool to master your thermal processes. Contact Our Experts
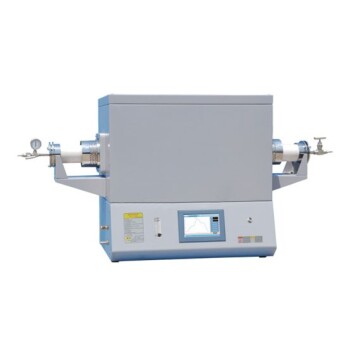
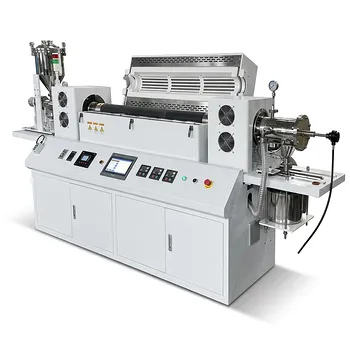
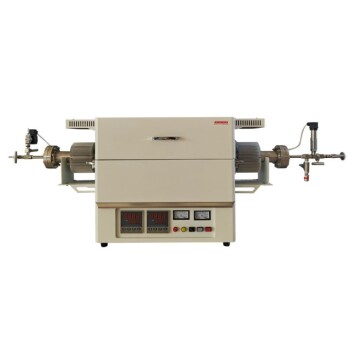
Visual Guide
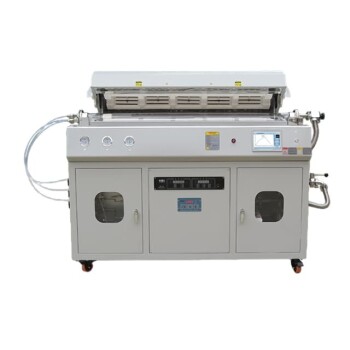
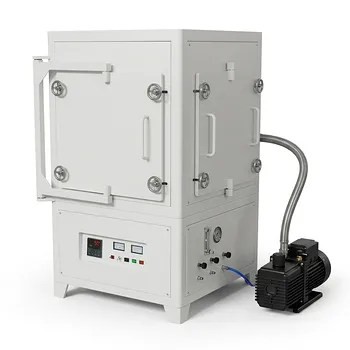
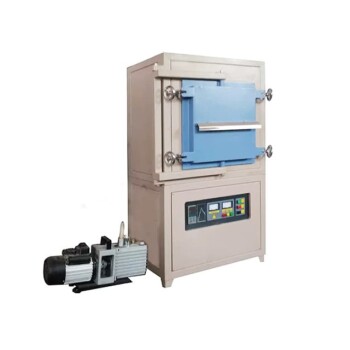
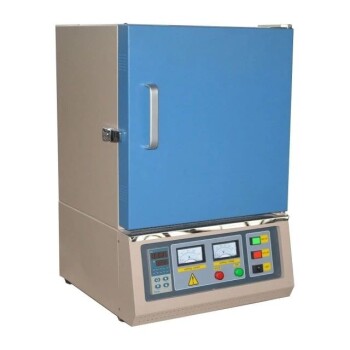
Related Products
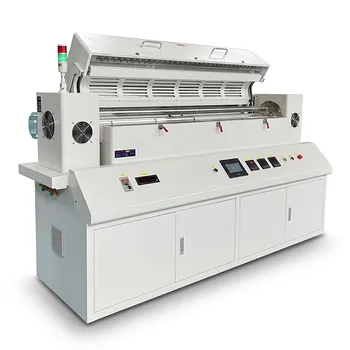
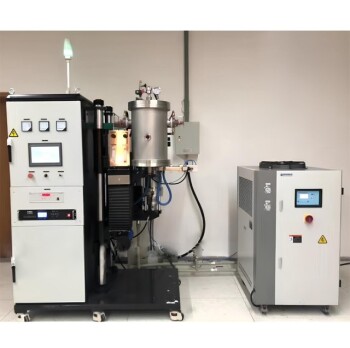
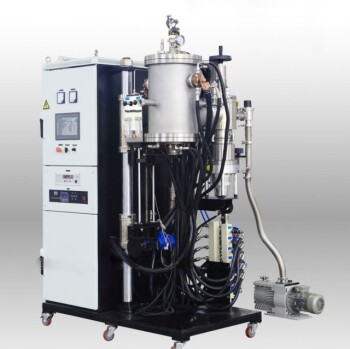
- Rotary Tube Furnace Split Multi Heating Zone Rotating Tube Furnace
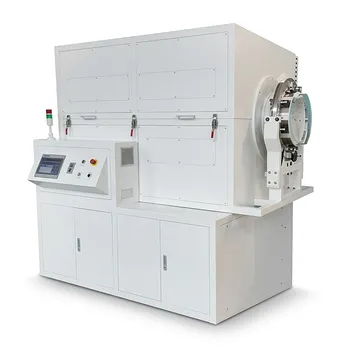
- Laboratory Vacuum Tilt Rotary Tube Furnace Rotating Tube Furnace
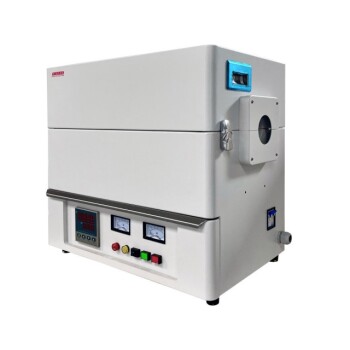
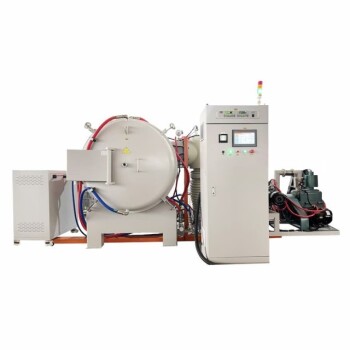
- 1200℃ Split Tube Furnace with Quartz Tube Laboratory Tubular Furnace
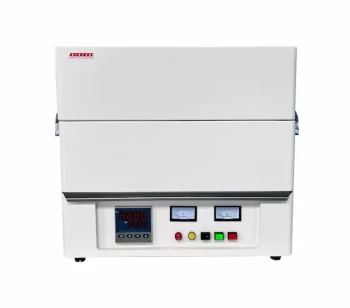
- 1400℃ Laboratory High Temperature Tube Furnace with Alumina Tube
- 1700℃ Laboratory High Temperature Tube Furnace with Alumina Tube
Related Articles
- Exploring the Benefits and Applications of Rotary Furnaces: A Comprehensive Guide
- Rotary Furnaces: A Comprehensive Guide to Advanced Materials Processing
- Unlocking Efficiency: Exploring the Advantages and Applications of Rotary Tube Furnaces
- The Geometry of Heat: Why Motion Matters in Material Synthesis
- Unlocking Efficiency: The Ultimate Guide to Rotary Tube Furnaces