XRF pellet press usually has 3 mold types: boric acid mold, plastic ring mold, steel ring mold.
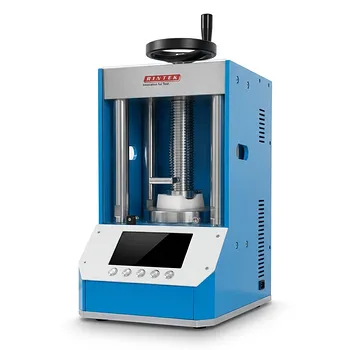
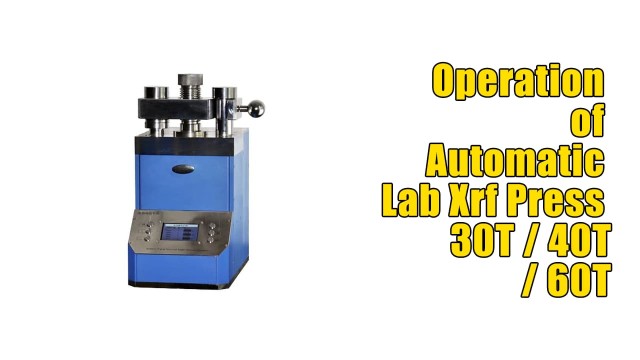
Here we introduce the operation steps of automatic lab xrf pellet press by these kinds of molds to make samples.
Boric acid mold
The principle behind the boric acid substrate wrapping tablet method is as follows:
As external pressure is applied to the boric acid via an indenter through the sample powder, the powder is forced in the direction of the pressure and becomes compacted.
Boric acid is particularly adept at sliding to create both the substrate and the wrapping. Once the wrapping's edges have formed, the sample powder is subject to a greater peripheral pressure than with the plastic ring method.
The efficacy of the external pressure in combining the sample powder depends on several factors, including the size of the powder's particles, the bonding force of the sample powder, and the external pressure. Therefore, the substrate-encapsulated tablet method is better suited for sample powders with poor self-binding properties.
Operating procedure

Step 1: Open the Upper Arms and Remove the Pole on the Mold
Before we begin, ensure that the equipment is turned off and unplugged. First, open the upper arms of the equipment and remove the pole on the mold. This will allow you to access the mold cavity.

Step 2: Put the Funnel and Put the Sample in the Mold Cavity
Now, place the funnel into the mold cavity and carefully put the sample inside. Ensure that the sample is placed securely in the center of the mold cavity.

Step 3: Add Boric Acid Around the Sample
Next, add boric acid around the sample. This will help to prevent any oxidation of the sample during the pressing process.

Step 4: Put up the Upper Press and Turn off the Upper Arm of the Swing Arm
Once the boric acid has been added, put up the upper press and turn off the upper arm of the swing arm. This will ensure that the upper press is properly aligned with the mold cavity.

Step 5: Press the Setting Button to Enter the Pressure Settings Menu
Now, press the setting button to enter the pressure settings menu. This is where you will set the pressure limits and other settings for the pressing process.

Step 6: Press the Increase Number, press the minus button to Set the Pressure Upper Limit Value

Step 7: Click the Settings Menu and Set the Lower Limit Value of the Pressure
Next, click the settings menu again and set the lower limit value of the pressure. This is important to ensure that the pressure remains within a safe range during the pressing process.

Step 8: Set the Value of Pressure Preservation Time
After setting the pressure limits, set the value of pressure preservation time. This is the amount of time the equipment will maintain pressure after the pressing process is complete.

Step 9: Set the Size of the Sample, and Then Press the Setting Button to Return to the Control Interface
Next, set the size of the sample in the settings menu. Once you have done this, press the setting button to return to the control interface.

Step 10: Press the Sample Button, the Device Starts to Automatically Press Pressure
Now, press the sample button to begin the pressing process. The equipment will start to automatically pressurize the sample.

Step 11: After the Sample is Pressurized, Open the Upper Plate of the Rocker
Once the pressing process is complete, open the upper plate of the rocker. This will allow you to remove the sample from the mold cavity.

Step 12: Press the Deeping Button
Now, press the deeping button. This will cause the equipment to push the sample out of the mold cavity.

Step 13: The Device Pushes the Sample from the Mold Cavity
The equipment will now push the sample out of the mold cavity. Be sure to keep your hands clear of the equipment during this process.

Step 14: Take Out the Samples That Are Suppressed for Molding
Finally, take out the sample that has been pressed and molded. Congratulations, you have successfully operated our equipment!
Steel ring mold
The steel ring mold is a type of mold used for tablet pressing that utilizes a stainless steel ring as the support ring for the sample. This type of mold is known for its fast tablet pressing speed and excellent molding effect.
The stainless steel ring used in the steel ring mold provides a sturdy and reliable base for the sample, ensuring that it remains stable and secure during the pressing process. This allows for precise and consistent tablet production, resulting in high-quality tablets that meet the desired specifications.
In addition to its excellent molding effect, the steel ring mold is also known for its durability and longevity. The use of stainless steel ensures that the mold can withstand frequent use and exposure to various elements without rusting or deteriorating.
Operating procedure

Step 1: Prepare the Sample and Steel Ring Mold
Before using the XRF press machine, it is important to prepare the sample and steel ring mold. First, place the sample into the steel ring mold. Make sure that the sample is securely in place and that the steel ring mold is clean and free of debris.

Step 2: Close the Cantilever and Start Pressurizing
Once the sample and steel ring mold are prepared, it is time to operate the XRF press machine. Start by closing the cantilever, which will bring the sample and steel ring mold into position for pressing. Next, start pressurizing the sample by using the pressure control buttons. Make sure to apply enough pressure to form a solid and well-formed sample.

Step 3: Open the Cantilever after Depressurization
After the sample has been sufficiently pressurized, it is time to depressurize and remove the sample. Begin by opening the cantilever, which will release the pressure and allow for the safe removal of the sample.

Step 4: Take Out the Pressed Sample
Finally, carefully take out the pressed sample from the steel ring mold. Make sure to handle the sample with care, as it may still be hot from the pressing process. Once the sample is removed, it is ready for X-ray fluorescence analysis.
Plastic ring mold
Operating procedure

Step 1: Prepare the Sample and Plastic Ring Mold
First, place the sample into the plastic ring mold. Make sure that the sample is securely in place and that the plastic ring mold is clean and free of debris.

Step 2: Close the Cantilever and Start Pressurizing
Once the sample and plastic ring mold are prepared, it is time to operate the lab XRF press machine. Start by closing the cantilever, which will bring the sample and plastic ring mold into position for pressing. Next, start pressurizing the sample by using the pressure control buttons. Make sure to apply enough pressure to form a solid and well-formed sample.

Step 3: Open the Cantilever after Depressurization
After the sample has been sufficiently pressurized, it is time to depressurize and remove the sample. Begin by opening the cantilever, which will release the pressure and allow for the safe removal of the sample.

Step 4: Take Out the Pressed Sample
Once the sample is removed, it is ready for X-ray fluorescence analysis.
Conclusion
By following these simple steps, you can easily operate the lab XRF press machine and prepare samples for X-ray fluorescence analysis. Remember to always follow proper safety protocols and wear appropriate personal protective equipment when operating the lab XRF press machine.
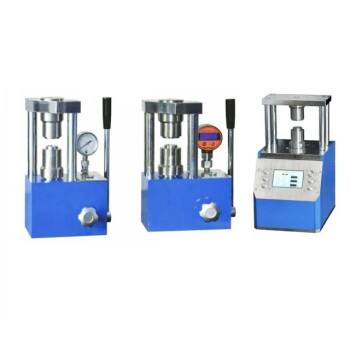
Our XRF press machines are easy to use, with simple and intuitive controls that allow for precise and accurate sample preparation. With a range of models to choose from, we can help you find the perfect XRF press machine to meet your specific needs and requirements.
Related Products
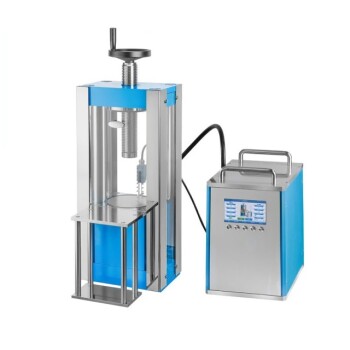
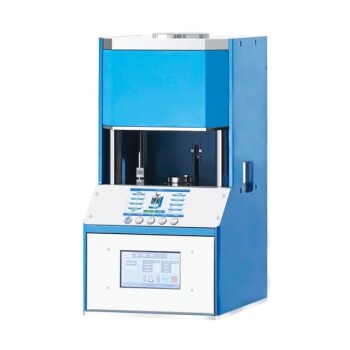
- Automatic Laboratory Hydraulic Press for XRF & KBR Pellet Press
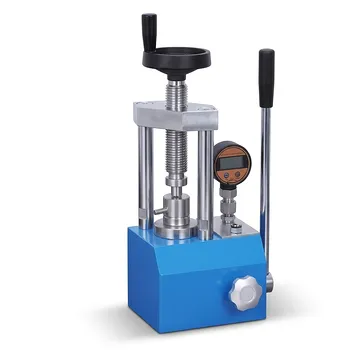
- Automatic Laboratory Hydraulic Pellet Press Machine for Lab Use
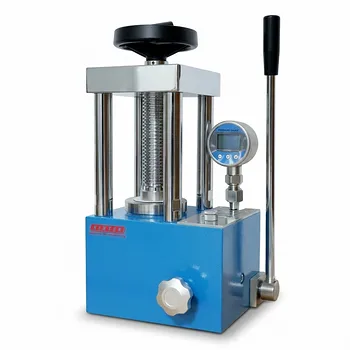
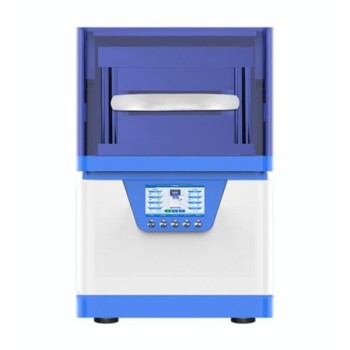
- Laboratory Hydraulic Pellet Press for XRF KBR FTIR Lab Applications
- XRF Boric Acid Lab Powder Pellet Pressing Mold for Laboratory Use
- XRF & KBR steel ring lab Powder Pellet Pressing Mold for FTIR
Related Articles
- Effective Preparation of Samples for XRF Analysis via Pressed Pellets Method
- Automated laboratory XRF and KBR pellet press operating procedures
- Automatic Hydraulic Press: The Ultimate Guide for Efficient Sample Preparation and Industrial Processes
- A Comprehensive Guide on Pressing XRF Pellets Using a KinTek Automatic Hydraulic Press
- Choosing the Right Press for Your Laboratory Needs