To prepare a KBr pellet for FTIR analysis, you must thoroughly mix a small amount of your solid sample with dry, infrared-grade potassium bromide (KBr) powder. This mixture is then ground into a fine, homogenous powder and pressed under high pressure in a die set to form a thin, transparent disc suitable for spectroscopic analysis.
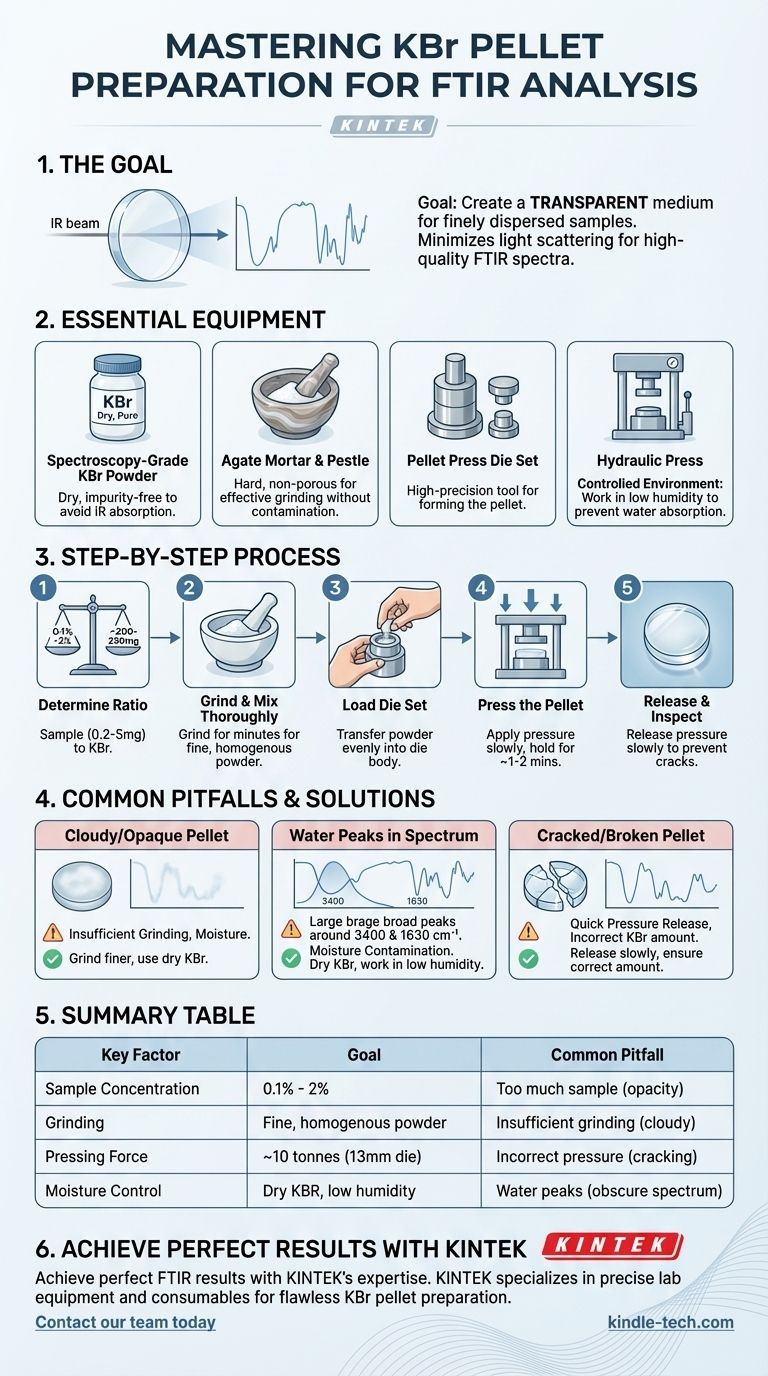
The fundamental goal is not just to make a solid disc, but to create a transparent medium where your sample is finely dispersed. This minimizes light scattering and ensures the infrared beam interacts cleanly with your sample, producing a high-quality spectrum.
Understanding the Core Components
Success in KBr pellet preparation hinges on using the right tools and understanding their purpose.
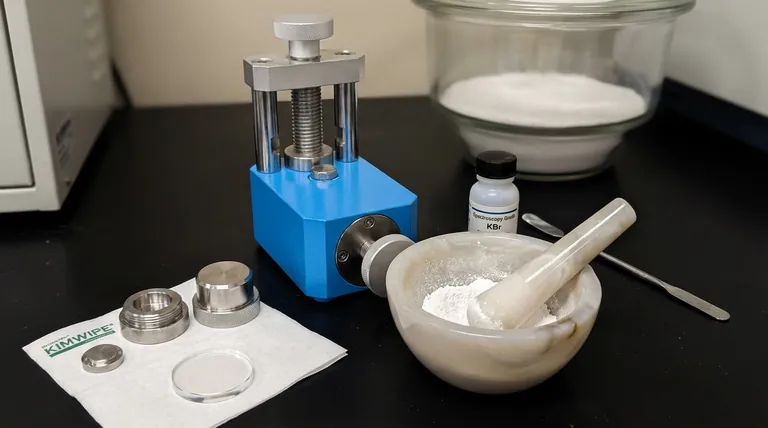
The Essential Equipment
- Potassium Bromide (KBr) Powder: You must use spectroscopy-grade KBr, which is free from impurities that could absorb infrared light. It is also crucial that the KBr is perfectly dry.
- Agate Mortar and Pestle: Agate is a non-porous, hard material that allows for effective grinding without contaminating your sample, unlike a standard ceramic mortar.
- Pellet Press Die Set: This consists of a body, a plunger, and anvils. It's a high-precision tool designed to withstand the high pressures required to form the pellet. A common size is 13 mm in diameter.
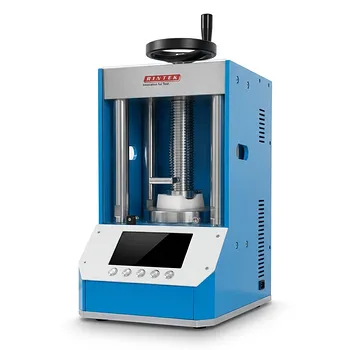
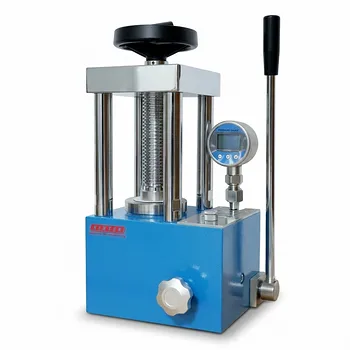
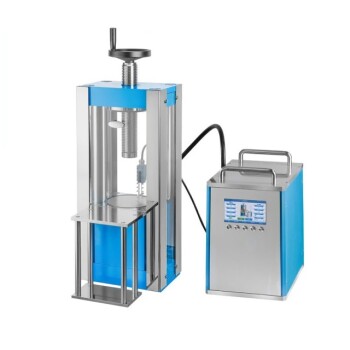
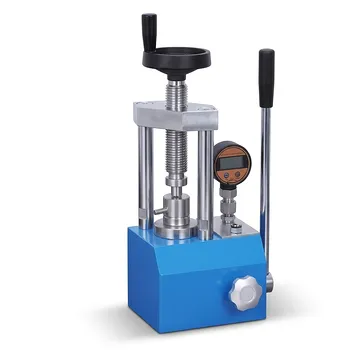
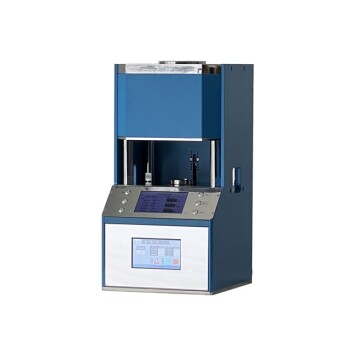
- Hydraulic Press: A laboratory press capable of delivering a controlled force is necessary. A load of around 10 tonnes is a standard benchmark for a 13 mm die.
The Role of a Controlled Environment
KBr is hygroscopic, meaning it readily absorbs moisture from the air. Water has very strong IR absorption bands that can easily obscure important features in your sample's spectrum.
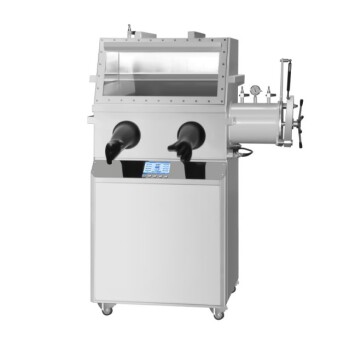
To mitigate this, it's often best to work in a low-humidity environment, such as under an infrared heat lamp, in a desiccator, or inside a glovebox.
The Step-by-Step Preparation Process
Follow these steps carefully to produce a high-quality, transparent pellet.
1. Determine Sample and KBr Ratio
The concentration of your sample in the KBr is critical. A common starting point is a 0.1% to 2% mixture of your sample by weight.
For a standard 13 mm pellet, you will use approximately 200-250 mg of KBr powder. This means you should add roughly 0.2 to 5 mg of your solid sample.
2. Grind and Mix Thoroughly
Add the KBr and your sample to the agate mortar. Grind the mixture with the pestle for several minutes.
The goal is to create an extremely fine, homogenous powder. This reduces particle size, which is the single most important factor in preventing light scattering and creating a transparent pellet.
3. Load the Die Set
Carefully assemble the pellet die, ensuring the anvil surfaces are perfectly clean.
Transfer the powder mixture into the die body, distributing it as evenly as possible across the surface of the bottom anvil.
4. Press the Pellet
Place the loaded die set into the hydraulic press. Apply pressure slowly and steadily until you reach the target load.
For a 13 mm die, a load of approximately 10 tonnes is standard. Hold this pressure for a minute or two to allow the KBr to fuse into a solid, transparent disc.
5. Release and Inspect
Release the pressure slowly to prevent the pellet from cracking. Carefully disassemble the die and extract your finished pellet.
A good pellet will be thin, durable, and glass-like in its transparency.
Common Pitfalls and How to Avoid Them
Achieving a perfect pellet often requires troubleshooting. Understanding why failures occur is key to improving your technique.
Problem: The Pellet is Cloudy or Opaque
This is the most frequent issue. It is almost always caused by one of two things:
- Insufficient Grinding: Large sample particles will scatter the infrared light instead of transmitting it, resulting in a poor spectrum with a sloping baseline.
- Moisture Contamination: Absorbed water can give the pellet a hazy appearance.
Problem: The Spectrum Has a Huge, Broad Peak
If you see a very broad absorption band around 3400 cm⁻¹ and another near 1630 cm⁻¹, your pellet is contaminated with water. You must ensure your KBr powder is properly dried (e.g., in an oven at >100°C) and prepare the pellet in a drier environment.
Problem: The Pellet Cracks or Falls Apart
This can result from releasing the pressure on the press too quickly, which traps air. It can also occur if too little or too much KBr powder was used for the die size, resulting in a pellet that is too thin or too thick.
Making the Right Choice for Your Goal
Evaluate your result to determine the next step.
- If your pellet is perfectly transparent: You have successfully minimized light scattering and can proceed with analysis, expecting a high-quality spectrum.
- If your pellet is cloudy but intact: The primary issue is likely particle size. Your spectrum will be usable but may have a poor baseline; for better results, regrind a new mixture more thoroughly.
- If your spectrum is dominated by water peaks: The data is unreliable. You must dry your KBr and equipment and prepare a new pellet in a low-humidity environment.
Ultimately, mastering this technique is about controlling particle size and eliminating moisture to achieve optimal transparency.
Summary Table:
| Key Factor | Goal | Common Pitfall |
|---|---|---|
| Sample Concentration | 0.1% - 2% by weight | Too much sample causes opacity |
| Grinding | Fine, homogenous powder | Insufficient grinding leads to cloudy pellets |
| Pressing Force | ~10 tonnes for 13mm die | Incorrect pressure causes cracking |
| Moisture Control | Dry KBR, low-humidity environment | Water peaks obscure sample spectrum |
Achieve perfect FTIR results with KINTEK's expertise.
Struggling with cloudy pellets or water-contaminated spectra? KINTEK specializes in the precise lab equipment and consumables you need for flawless KBr pellet preparation. Our spectroscopy-grade KBr powder, durable pellet press die sets, and hydraulic presses are designed to deliver the transparency and consistency your FTIR analysis demands.
Let our experts help you optimize your technique and eliminate common pitfalls. Contact our team today to discuss your specific laboratory needs and discover how KINTEK can enhance your analytical results.
Visual Guide
Related Products
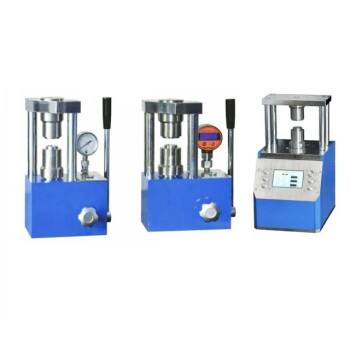
- kbr pellet press 2t
- Laboratory Hydraulic Pellet Press for XRF KBR FTIR Lab Applications
- Automatic Laboratory Hydraulic Press for XRF & KBR Pellet Press
- XRF & KBR steel ring lab Powder Pellet Pressing Mold for FTIR
- XRF & KBR plastic ring lab Powder Pellet Pressing Mold for FTIR
People Also Ask
- Why KBr is used to make the pellet? Achieve High-Quality FTIR Analysis of Solid Samples
- How do you prepare KBr pellet for FTIR? Master the Art of Creating Transparent IR Windows
- What is the detailed procedure for preparing a KBr pellet for analysis? Master the Art of Clear Spectroscopic Pellets
- What measurement methods are commonly used for powder samples in infrared spectroscopy? Optimize Your FTIR Analysis
- Why we use KBr pellets in IR? Unlock Clear Sample Analysis with Infrared-Transparent Matrix