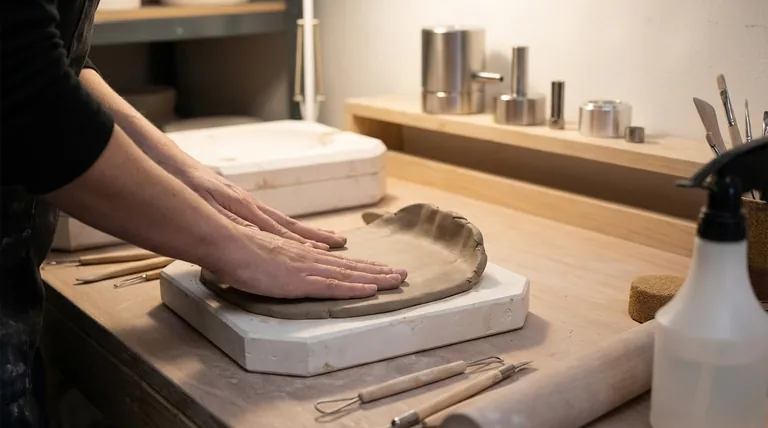
To use a press mold, you first line the mold with a soft slab of clay. You then gently and evenly press the clay into the mold's contours with your hands or a soft tool, allow the clay to firm up as the porous mold draws out moisture, and then detach the shaped piece once it is stiff enough to hold its form.
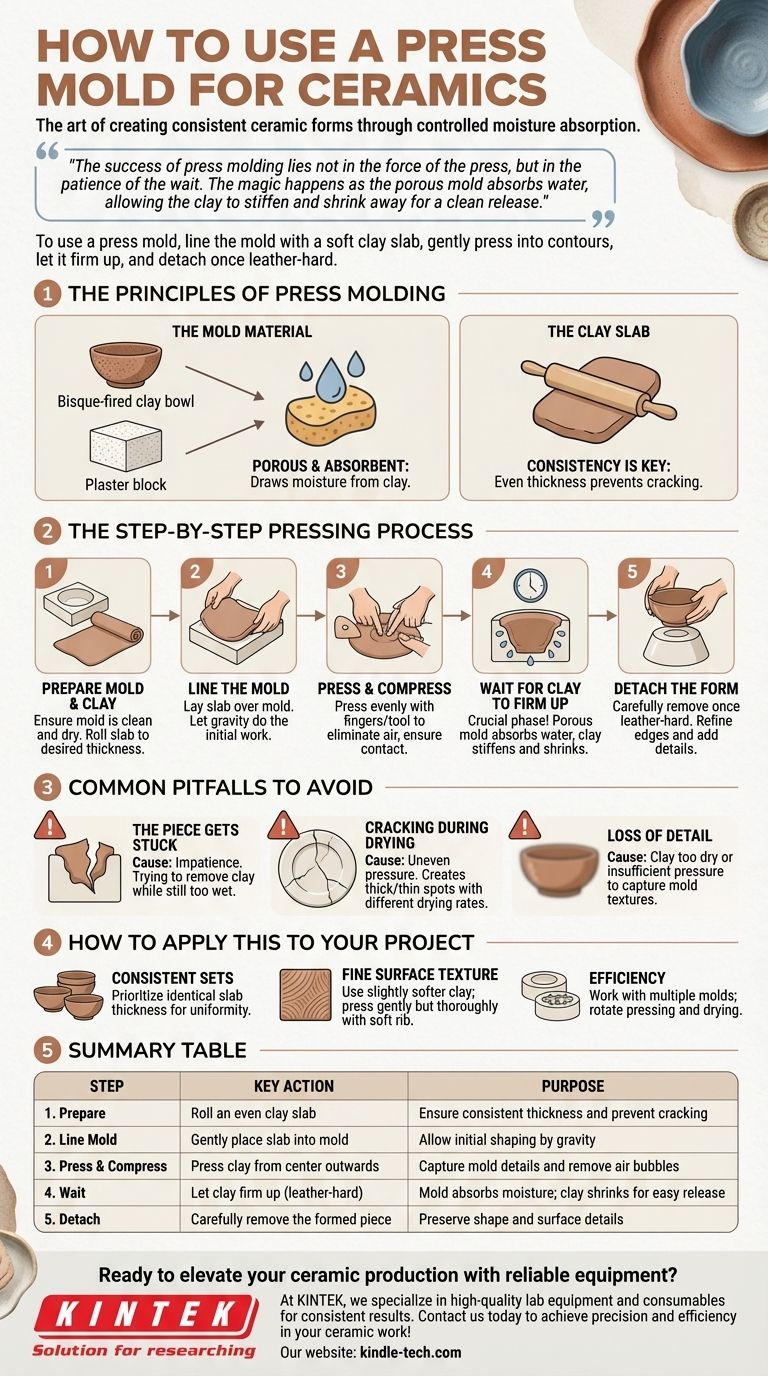
The success of press molding lies not in the force of the press, but in the patience of the wait. The magic happens as the porous mold absorbs water, allowing the clay to stiffen and shrink away for a clean release.
The Principles of Press Molding
A press mold is a beautifully simple tool for creating consistent forms. The process works because of the interaction between two key components: the porous mold and the plastic clay.
The Mold Material
Press molds are typically made from bisque-fired clay or plaster.
Both materials are highly porous. This porosity is critical because it acts like a sponge, drawing moisture out of the fresh clay that is pressed into it.
This process causes the clay to transition from a soft, pliable state to a firmer, self-supporting state known as "leather-hard."
The Clay Slab
The foundation of your piece is a slab of fresh clay rolled to an even thickness.
Consistency is key. An uneven slab will result in a finished piece with weak, thin spots and thick, heavy areas, which can lead to cracking during drying and firing.
The Step-by-Step Pressing Process
Following these steps ensures a clean, successful transfer of shape from the mold to the clay.
Step 1: Prepare the Mold and Clay
First, ensure your mold is clean and dry. Roll out a slab of clay to your desired thickness, making sure it is large enough to cover the entire mold.
Step 2: Line the Mold
Gently lay the clay slab over or into the mold. Let gravity do some of the initial work, allowing the slab to slump into the primary shape.
Step 3: Press and Compress
Using your fingers, a damp sponge, or a soft rubber rib, begin to gently press the clay. Work from the center outwards, ensuring the clay makes firm contact with every detail of the mold.
The goal is to achieve an even thickness throughout the piece and eliminate any trapped air bubbles.
Step 4: Wait for the Clay to Firm Up
This is the most crucial phase. As the porous mold absorbs water, the clay will slowly stiffen and shrink slightly.
This slight shrinkage is what naturally pulls the clay away from the mold's surface, making removal possible without distorting the shape. The timing depends on the clay's wetness and the mold's dryness.
Step 5: Detach the Form
Once the clay is firm enough to handle without losing its shape (leather-hard), you can carefully detach it from the mold. Invert the mold and the piece should release easily.
From here, you can refine the edges, add details, or join it to other components.
Common Pitfalls to Avoid
Understanding the potential issues can save you from frustration and ensure a better outcome.
The Piece Gets Stuck
This is the most common problem and is almost always caused by impatience. If you try to remove the clay while it is still too wet, it will not have shrunk away from the mold and will stick.
Cracking During Drying
If the clay is pressed unevenly, creating thick and thin spots, it will dry and shrink at different rates. This stress is a primary cause of cracks.
Loss of Detail
Using clay that is too dry or not pressing firmly enough can prevent the clay from capturing all the fine details of your mold.
How to Apply This to Your Project
Press molding is a versatile technique suited for various outcomes.
- If your primary focus is creating consistent sets (like plates or bowls): Prioritize rolling slabs of identical thickness to ensure uniformity across all your pieces.
- If your primary focus is capturing fine surface texture: Use a slightly softer clay slab and press gently but thoroughly with a soft rib to ensure the clay picks up every detail.
- If your primary focus is efficiency: Work with multiple molds at once, allowing one piece to firm up while you are pressing clay into another.
Mastering press molding is about developing a feel for the clay and an appreciation for the crucial drying process.
Summary Table:
| Step | Key Action | Purpose |
|---|---|---|
| 1. Prepare | Roll an even clay slab | Ensure consistent thickness and prevent cracking |
| 2. Line Mold | Gently place slab into mold | Allow initial shaping by gravity |
| 3. Press & Compress | Press clay from center outwards | Capture mold details and remove air bubbles |
| 4. Wait | Let clay firm up (leather-hard) | Mold absorbs moisture; clay shrinks for easy release |
| 5. Detach | Carefully remove the formed piece | Preserve shape and surface details |
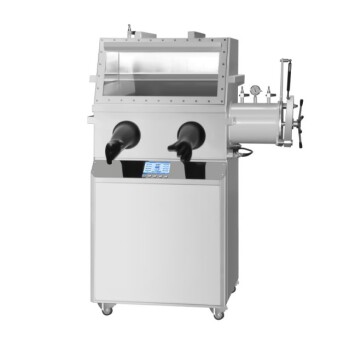
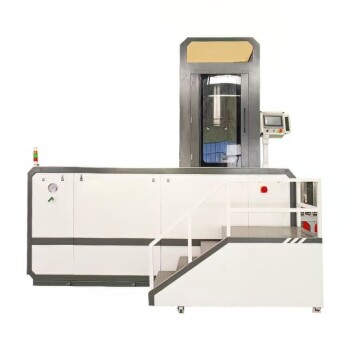
Ready to elevate your ceramic production with reliable equipment? At KINTEK, we specialize in high-quality lab equipment and consumables for consistent results. Whether you're a studio artist or an industrial manufacturer, our solutions support your creative and production needs. Contact us today to discover how we can help you achieve precision and efficiency in your ceramic work!
Visual Guide
Related Products
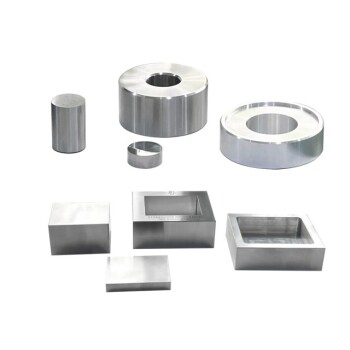
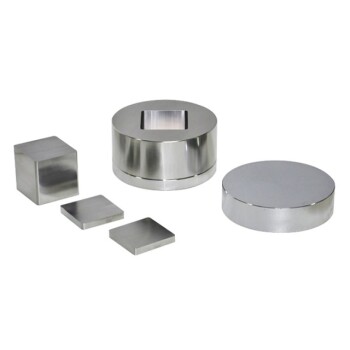
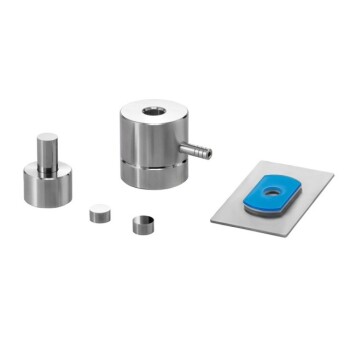
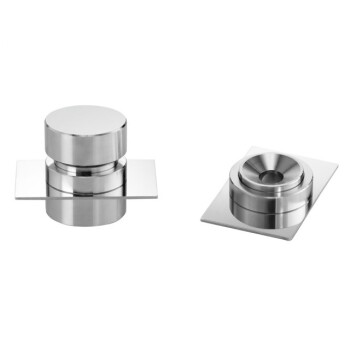
- Special Shape Press Mold for Lab
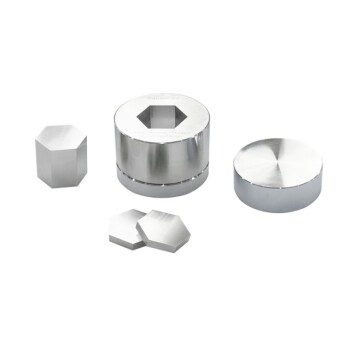
- Polygon Press Mold for Lab
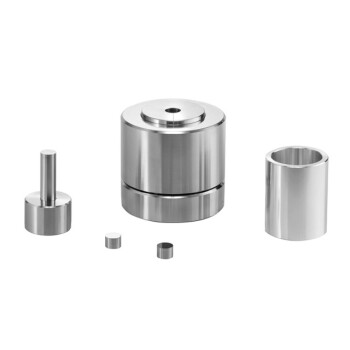
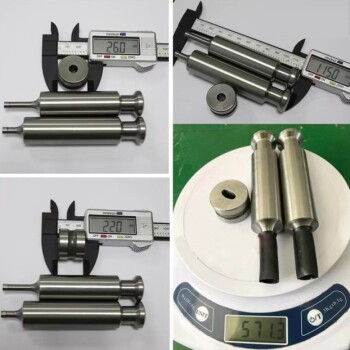
- Assemble Lab Cylindrical Press Mold
- Round Bidirectional Press Mold for Lab
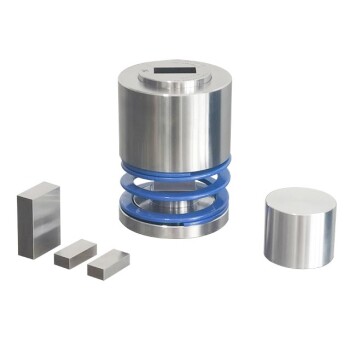
- Cylindrical Press Mold with Scale for Lab
People Also Ask
- What is the lifespan of a mold? It's Immortal Unless You Control Moisture
- What is a press mold used for? Achieve Repeatable Precision and Efficiency
- How to use a press mold in ceramics? A Step-by-Step Guide to Consistent, Repeatable Forms
- What is the press mould method? A Guide to Consistent, Detailed Ceramic Forms
- Is it fitting the mould or mold? A Guide to Correct Spelling by Region