At its most fundamental level, lamination is the process of permanently joining two or more flexible materials, known as "webs" or substrates, into a single composite structure. An adhesive is typically applied to one substrate, which is then pressed firmly against a second substrate to form the bond. The resulting multi-layer material is then finished and wound into a roll for use in applications like packaging or printing.
Lamination is not simply about gluing layers together; it is a precise engineering process designed to create a new, superior material that combines the desired properties—such as strength, barrier protection, or printability—of its individual components.
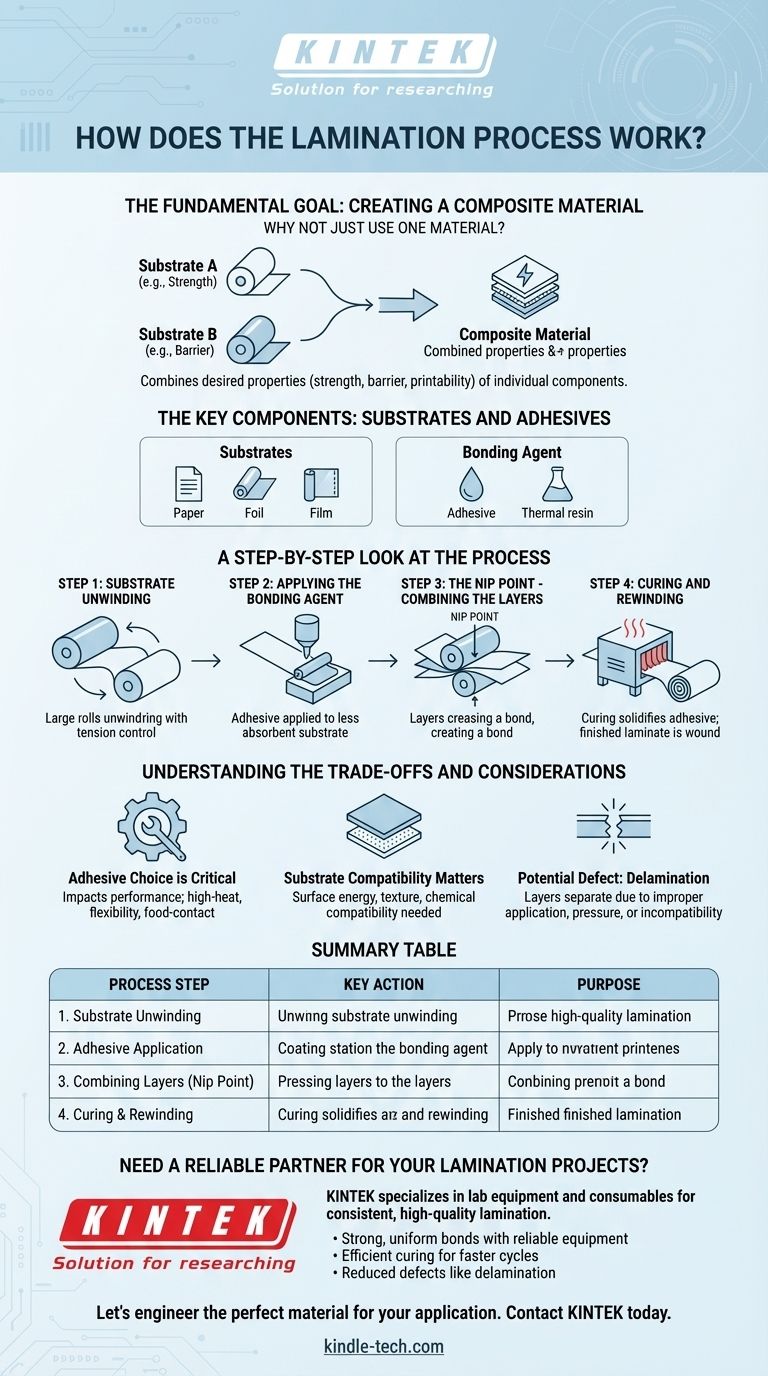
The Fundamental Goal: Creating a Composite Material
Why Not Just Use One Material?
A single material rarely possesses every desired characteristic. For example, a food package may need the oxygen barrier of one plastic, the strength of another, and the print-receptive surface of a third.
Lamination allows us to combine these distinct materials. The final product is a composite that performs better than any single layer could on its own.
The Key Components: Substrates and Adhesives
The process involves two primary elements. Substrates are the individual layers of material being combined, such as paper, foil, or different types of plastic film.
The bonding agent is the substance that holds them together. While this is often a liquid adhesive, it can also be a heat-activated resin in a process called thermal lamination.
A Step-by-Step Look at the Process
Step 1: Substrate Unwinding
The process begins with large rolls of the separate substrate materials mounted on machines. These webs are carefully unwound under precise tension to ensure they feed into the line smoothly and without wrinkles.
Step 2: Applying the Bonding Agent
The first substrate web passes through a coating station. Here, a carefully metered layer of adhesive is applied to its surface.
As a rule, the adhesive is applied to the less absorbent or non-porous substrate. This prevents the adhesive from soaking into the material, which would weaken the final bond and waste adhesive.
Step 3: The Nip Point - Combining the Layers
The adhesive-coated web and the second web are brought together and guided through a set of two pressure rollers. This meeting point is called the "nip."
The high pressure at the nip point ensures intimate contact between the layers, forcing out any trapped air and creating a strong, uniform bond across the entire surface. A blade may be used to scrape off any excess adhesive that squeezes out from the edges.
Step 4: Curing and Rewinding
After being joined, the newly formed laminate may pass through a heated tunnel or drying oven. This step, known as curing, solidifies the adhesive and removes any solvents.
Finally, the finished, multi-layer laminate is wound into a single large roll, ready for slitting, printing, or conversion into its final form, such as a pouch or label.
Understanding the Trade-offs and Considerations
Adhesive Choice is Critical
The type of adhesive used has a massive impact on performance. Some are designed for high-heat applications, others for flexibility, and still others for compliance with food-contact regulations. An incorrect choice can lead to bond failure.
Substrate Compatibility Matters
Not all materials bond well together. Surface energy, texture, and chemical properties must be compatible to achieve a lasting bond. Pre-treating a substrate's surface is sometimes necessary to make it more receptive to the adhesive.
Potential Defect: Delamination
The most common failure in lamination is delamination, where the layers begin to separate. This can be caused by improper adhesive application, insufficient pressure at the nip, or using incompatible substrates. It compromises the material's integrity and protective qualities.
Making the Right Choice for Your Application
Understanding the goal of the final product is key to specifying the correct laminated structure.
- If your primary focus is product protection: Specify a laminate with layers that provide a strong barrier against moisture, oxygen, or light, such as those including foil or specialized films.
- If your primary focus is visual appeal and durability: Choose laminates for their surface finish (gloss or matte) and resistance to scuffs and handling, common for book covers and high-end print.
- If your primary focus is manufacturing efficiency: Discuss bond strength, curing speed, and material costs with your supplier to ensure the laminate meets performance and budget targets.
By viewing lamination as a way to engineer a material from the ground up, you can create a final product that is perfectly suited to its task.
Summary Table:
| Process Step | Key Action | Purpose |
|---|---|---|
| 1. Substrate Unwinding | Unwind rolls of material (webs) | Feed materials into the line smoothly and without wrinkles. |
| 2. Adhesive Application | Apply a metered layer of adhesive | Create the bonding agent, typically on the less absorbent substrate. |
| 3. Combining Layers (Nip Point) | Press webs together through rollers | Ensure intimate contact and a strong, uniform bond across the entire surface. |
| 4. Curing & Rewinding | Pass laminate through a dryer; wind into a roll | Solidify the adhesive and create the finished product ready for conversion. |
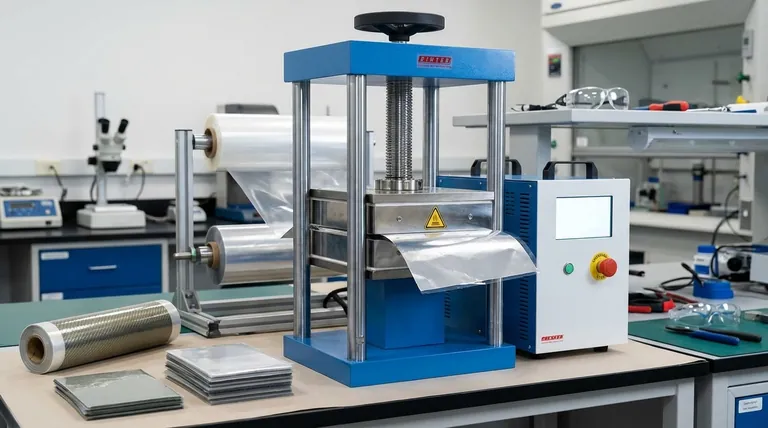
Need a Reliable Partner for Your Lamination Projects?
Creating the perfect laminated material requires precision, the right equipment, and high-quality consumables. KINTEK specializes in supplying durable lab equipment and essential consumables that support consistent, high-quality lamination processes for packaging, printing, and material science labs.
We help you achieve:
- Strong, uniform bonds with reliable application equipment.
- Efficient curing for faster production cycles.
- Reduced defects like delamination through consistent material quality.
Let's engineer the perfect material for your application. Contact KINTEK today to discuss your specific lamination needs and how our solutions can enhance your product's performance and durability.
Visual Guide