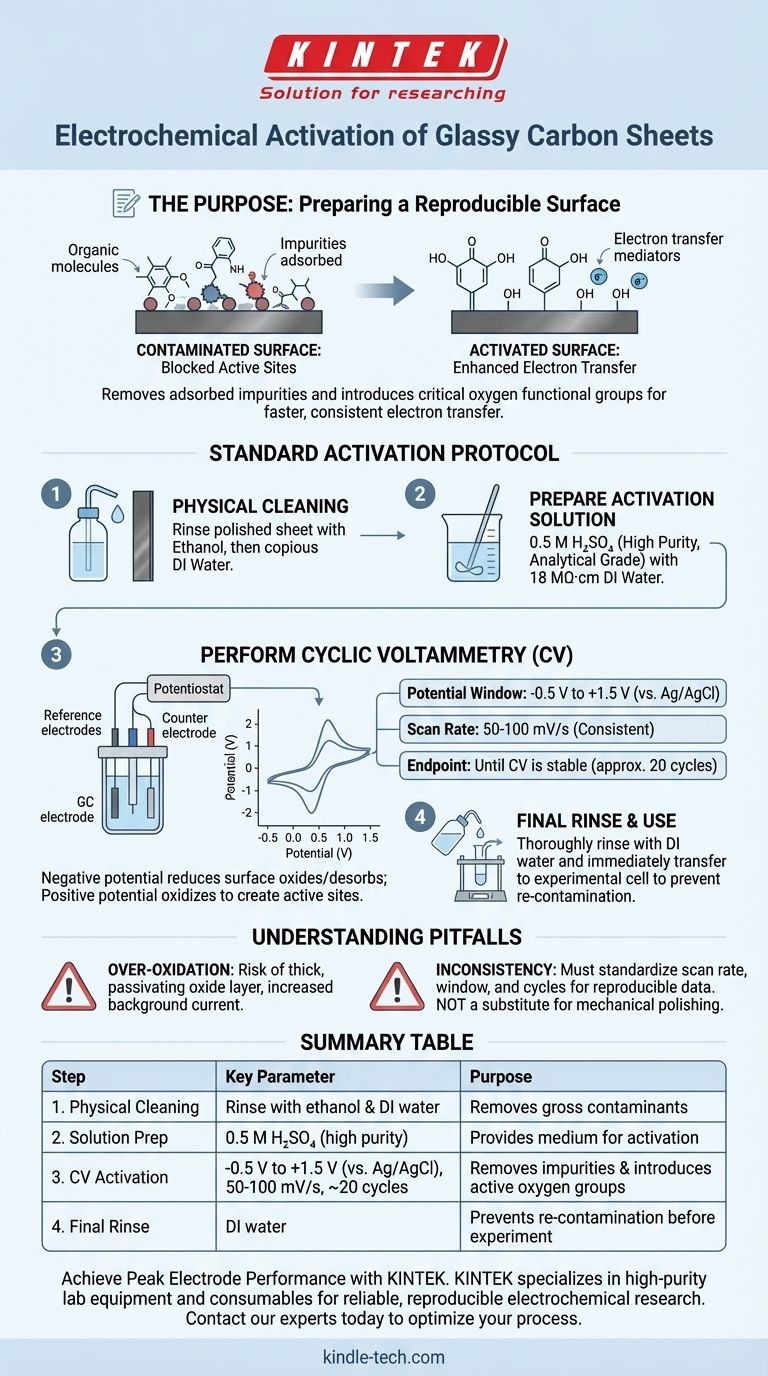
To electrochemically activate a glassy carbon sheet, the standard method involves performing cyclic voltammetry in a strong acid. A common procedure is to cycle the potential between -0.5 V and +1.5 V (vs. Ag/AgCl) in a 0.5 M H₂SO₄ solution at a scan rate of 50-100 mV/s until the cyclic voltammogram becomes stable, which typically takes around 20 cycles.
The core purpose of electrochemical activation is not just cleaning, but creating a reproducible electrode surface. This process removes adsorbed impurities and introduces oxygen-containing functional groups, which are critical for facilitating faster and more consistent electron transfer in your subsequent experiment.

The Purpose of Activation: Preparing the Surface
Before an experiment, a glassy carbon (GC) surface can be contaminated or electrochemically "passive." Activation addresses this by preparing the electrode in two fundamental ways.
Removing Contaminants
Over time, organic molecules, ions, and solvent residues from previous experiments or atmospheric exposure can adsorb onto the GC surface. These contaminants block active sites and interfere with electron transfer, leading to poor signal quality and inaccurate results. The aggressive potential cycling physically and chemically dislodges these impurities.
Introducing Functional Groups
The primary goal of activation is to introduce oxygen-containing functional groups (like quinone/hydroquinone couples) onto the carbon surface. The oxidative potentials create these groups, which act as electron transfer mediators. A surface rich in these groups will exhibit faster kinetics and higher sensitivity for many electrochemical reactions.
A Standardized Activation Protocol
For consistent results, you must follow a consistent procedure. While minor variations exist, the following steps represent a robust and widely accepted method. Note that this assumes the electrode has already been mechanically polished to a mirror finish, a critical prerequisite not covered by activation alone.
Step 1: Physical Cleaning
Before any electrochemistry, rinse the polished glassy carbon sheet thoroughly with high-purity solvent. Start with ethanol to remove organic residues, followed by copious amounts of deionized (DI) water.
Step 2: Prepare the Activation Solution
Use high-purity reagents. Prepare a 0.5 M sulfuric acid (H₂SO₄) solution using analytical-grade H₂SO₄ and 18 MΩ·cm DI water. Contaminants in your acid or water will simply adsorb onto the electrode, defeating the purpose of the procedure.
Step 3: Perform Cyclic Voltammetry (CV)
Place the GC sheet in the H₂SO₄ solution as the working electrode, along with a reference and counter electrode.
- Potential Window: Scan between -0.5 V and +1.5 V (vs. Ag/AgCl). The negative potential helps reduce surface oxides and desorb species, while the positive potential oxidizes the surface to create active sites.
- Scan Rate: A rate of 50 to 100 mV/s is effective. The key is to use the exact same rate for every activation to ensure comparability.
- Endpoint: Continue cycling until the CV curve becomes stable and reproducible. This indicates the surface has reached a steady state. This typically requires about 20 cycles.
Step 4: Optional Oxidative Hold
Some protocols include a final potentiostatic hold at a high potential, such as +1.8 V for 30 seconds. This step aims to create a more uniformly oxidized surface. However, it should be approached with caution as it can also damage the electrode if applied for too long.
Understanding the Trade-offs and Common Pitfalls
Activation is a powerful tool, but improper application can harm your electrode and your results.
The Risk of Over-Oxidation
Applying excessively positive potentials or holding them for too long can "burn" the electrode. This creates a thick, passivating oxide layer, increases background currents, and can permanently reduce the electrode's performance. The goal is controlled, not excessive, oxidation.
Inconsistency is the Enemy
The single biggest mistake is inconsistent activation. If you activate one electrode for 10 cycles and another for 30, their surfaces will be different, and you cannot validly compare the data obtained from them. Your activation protocol should be as standardized as your experimental measurements.
The Importance of Polishing
Electrochemical activation is not a substitute for mechanical polishing. Polishing with alumina or diamond slurries removes physical damage and the passivated outer layer. Activation then prepares this freshly exposed surface for optimal performance.
Making the Right Choice for Your Goal
After activation, rinse the electrode thoroughly with DI water and immediately transfer it to your experimental cell to prevent re-contamination.
- If your primary focus is maximum reproducibility: Standardize your procedure precisely. Use the same scan rate, potential window, and number of cycles every time, and record the final voltammogram as a quality control check.
- If your primary focus is high sensitivity: The final surface chemistry matters most. You may need to test whether adding a brief, final oxidative hold step improves the signal for your specific analyte.
- If you are troubleshooting poor or erratic signals: Your activation process is the first place to investigate. Confirm your electrode is properly polished and that your activation solution is pure and the procedure is being followed consistently.
Ultimately, a well-executed activation protocol is the foundation for reliable and high-quality electrochemical data.
Summary Table:
| Step | Key Parameter | Purpose |
|---|---|---|
| 1. Physical Cleaning | Rinse with ethanol & DI water | Removes gross contaminants |
| 2. Solution Prep | 0.5 M H₂SO₄ (high purity) | Provides medium for activation |
| 3. CV Activation | -0.5 V to +1.5 V (vs. Ag/AgCl), 50-100 mV/s, ~20 cycles | Removes impurities & introduces active oxygen groups |
| 4. Final Rinse | DI water | Prevents re-contamination before experiment |
Achieve Peak Electrode Performance with KINTEK
Unreliable electrode activation can compromise your entire experiment. KINTEK specializes in high-purity lab equipment and consumables for electrochemical research. We provide the reliable materials and expert support you need for consistent, reproducible results.
Let our team help you optimize your process. Contact our experts today to discuss your specific application and ensure your glassy carbon electrodes deliver the sensitivity and reproducibility your work demands.
Visual Guide
Related Products
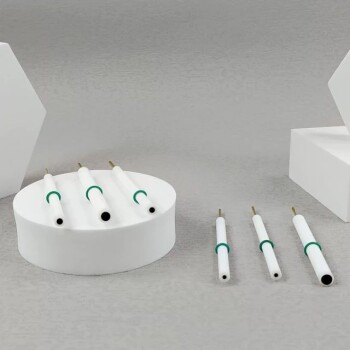
- Glassy Carbon Electrochemical Electrode
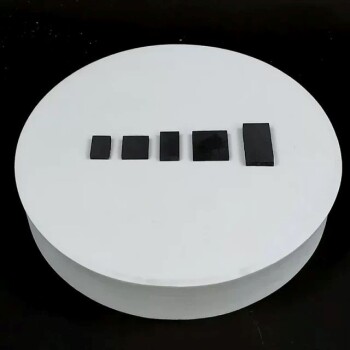
- Glassy Carbon Sheet RVC for Electrochemical Experiments
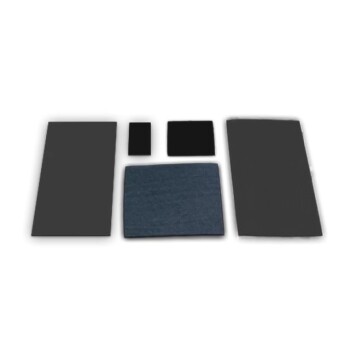
- Conductive Carbon Cloth Carbon Paper Carbon Felt for Electrodes and Batteries
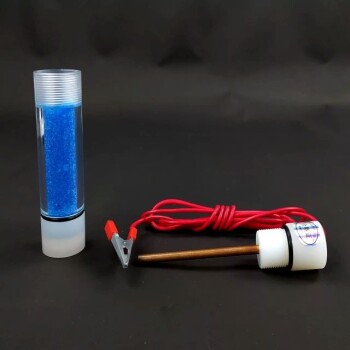
- Copper Sulfate Reference Electrode for Laboratory Use
- Graphite Disc Rod and Sheet Electrode Electrochemical Graphite Electrode
People Also Ask
- What are the functions of a glassy carbon electrode in CV testing of antioxidants? Enhance Your Redox Analysis Accuracy
- Why is a glassy carbon electrode (GCE) considered an ideal substrate for HER? Key Benefits for Catalyst Research
- Why is glassy carbon selected for mediator-assisted indirect oxidation of glycerol? The Key to Unbiased Research
- How do the glassy carbon electrode, SCE, and graphite rod work together in an enzymatic fuel cell? Optimize EFC Testing
- What characteristics make glassy carbon electrodes suitable as anodes? Ideal for Pure Molten Salt Electrolysis