Properly preparing your graphite electrode is the first step toward reliable and repeatable electrochemical data. The standard pre-treatment involves mechanically polishing the electrode surface with sandpaper to remove any existing oxide layers or contaminants, followed by a thorough rinsing with deionized water to ensure a clean, active surface ready for your experiment.
An untreated or poorly prepared electrode is a primary source of experimental error. The fundamental goal of pre-treatment is to create a clean, consistent, and electrochemically active surface, which is the foundation for accurate measurements.
The Rationale: Why Pre-Treatment is Non-Negotiable
Understanding the "why" behind the procedure ensures you perform it correctly every time. An electrode surface that seems clean to the naked eye can still harbor impurities that will compromise your results.
Removing Surface Contaminants
The surface of a graphite electrode can easily adsorb molecules from the air or retain residue from previous experiments. These contaminants can block active sites, preventing or altering the electron transfer process you intend to measure.
Eliminating Inactive Oxide Layers
Like many materials, graphite can form a thin, passivating oxide layer on its surface. This layer is often electrochemically inactive and can significantly reduce the sensitivity and accuracy of your measurements. Polishing physically removes it.
Ensuring a Reproducible Surface Area
Scratches, pits, and general wear from previous use create an inconsistent and undefined surface. Polishing with sandpaper creates a fresh, uniform surface, which is critical for experiments where current density (current per unit area) is an important parameter.
A Step-by-Step Pre-Treatment Protocol
Follow these steps before each set of experiments to ensure your graphite electrode is in optimal condition.
Step 1: Mechanical Polishing
Gently sand the tip of the graphite electrode using a fine-grit sandpaper. The goal is to remove a very thin layer from the surface, revealing a fresh, dull, and uniform finish.
Because graphite is brittle, use only moderate force. Avoid aggressive sanding, which can damage the electrode or create a rough, uneven surface.
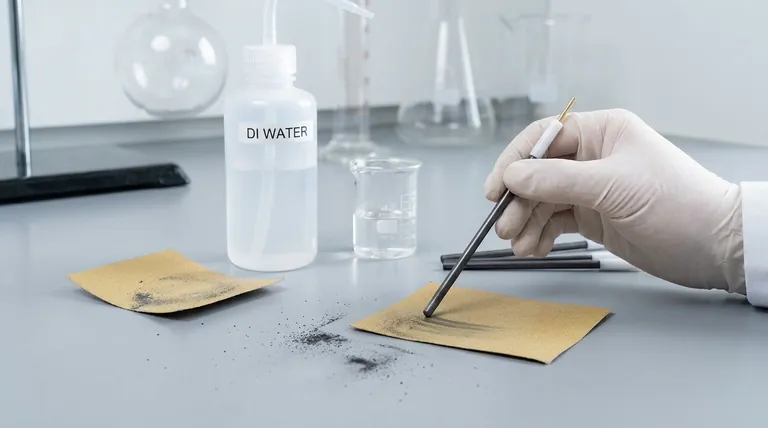
Step 2: Thorough Rinsing
After polishing, the surface will have fine graphite dust and sandpaper particles. Rinse the electrode tip thoroughly with a stream of deionized (DI) water from a wash bottle.
This step is critical to remove all physical debris from the polishing process. Any remaining particles can interfere with your measurement.
Step 3: Final Inspection and Handling
After rinsing, visually inspect the surface to ensure it looks clean and uniform. From this point forward, handle the electrode with care and avoid touching the polished surface with your hands, as oils from your skin will contaminate it.
Understanding the Trade-offs and Common Pitfalls
Proper technique is as important as the procedure itself. Awareness of common mistakes can save you from frustrating, inaccurate results.
The Problem of Inconsistent Polishing
Polishing is part science, part art. Inconsistent pressure or duration will produce a different surface for each experiment, introducing variability into your data. Strive to standardize your technique for maximum reproducibility.
Contamination from the Environment
A perfectly prepared electrode is useless if the rest of your system is dirty. Ensure your cell, holder, and solutions are clean. The electrode holder's conductive contact point must also be free of grease or impurities. If needed, rinse it with deionized water and dry it completely.
Ignoring the Potential Window
Every electrode material is stable only within a specific range of electrical potentials. Applying a potential outside this window can cause irreversible damage to the electrode surface or trigger unwanted side reactions, ruining your freshly prepared surface and your experiment.
Physical Damage from Mishandling
Graphite is brittle. Dropping the electrode, clamping it too tightly in a holder, or applying excessive force during polishing can cause it to crack or fracture. Always handle electrodes with care.
Making the Right Choice for Your Goal
The rigor of your pre-treatment should match the demands of your experiment.
- If your primary focus is quantitative analysis: Consistent pre-treatment is paramount. Any variation in surface area or activity will directly impact your current measurements and, therefore, your final calculated concentrations or kinetic parameters.
- If your primary focus is qualitative screening: The main goal is to ensure the surface is clean enough to observe the desired redox events without interference from contaminants. While still critical, slight variations in surface area are less impactful.
- If you are troubleshooting inconsistent results: Your first action should always be to re-evaluate and standardize your electrode pre-treatment protocol, as it is the most common source of error in electrochemical experiments.
A meticulously prepared electrode is not just a preliminary step; it is the foundation upon which your experimental success is built.
Summary Table:
| Pre-Treatment Step | Purpose | Key Consideration |
|---|---|---|
| Mechanical Polishing | Remove contaminants & oxide layers; create a fresh, uniform surface. | Use fine-grit sandpaper with moderate force to avoid damage. |
| Thorough Rinsing | Eliminate polishing debris (graphite/sandpaper particles). | Rinse generously with deionized (DI) water. |
| Final Inspection & Handling | Confirm a clean surface and prevent new contamination. | Do not touch the polished surface with bare hands. |
Achieve peak experimental performance with KINTEK.
Inconsistent electrode pre-treatment is a major source of error, leading to unreliable data and wasted time. KINTEK specializes in providing the high-quality lab equipment and consumables—including graphite electrodes and polishing materials—that your laboratory needs for precise, repeatable results.
Let our experts help you build a robust experimental foundation. Contact us today to discuss your specific electrochemical needs and ensure your research is built on reliable data.
Visual Guide

Related Products
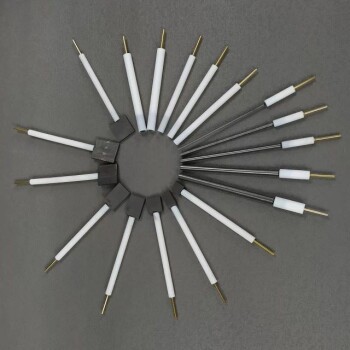
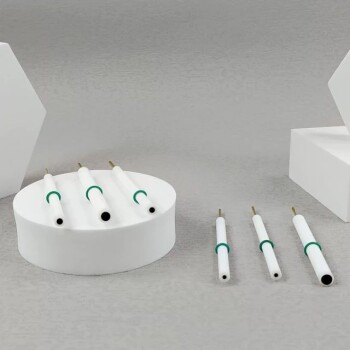
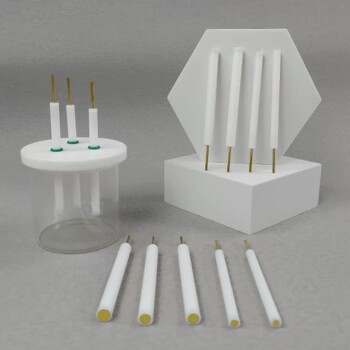
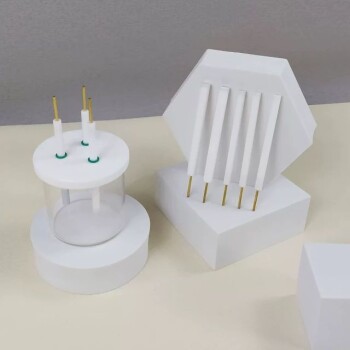
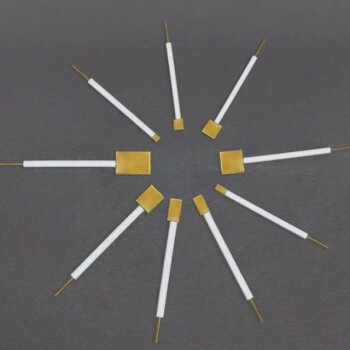
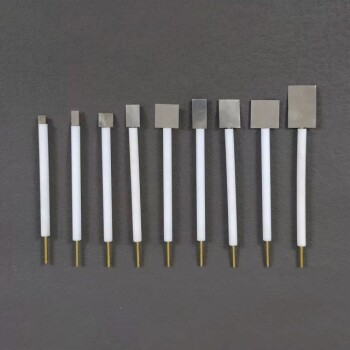
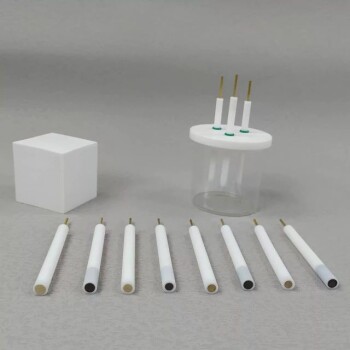
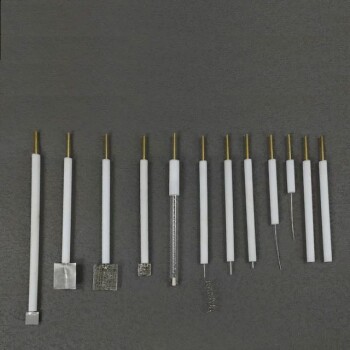
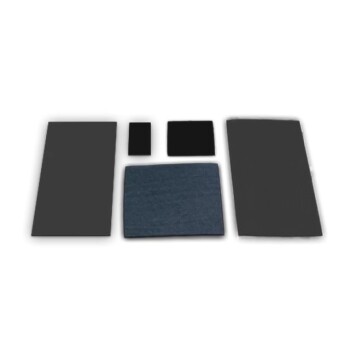
- Graphite Disc Rod and Sheet Electrode Electrochemical Graphite Electrode
- Graphite Vacuum Furnace Negative Material Graphitization Furnace
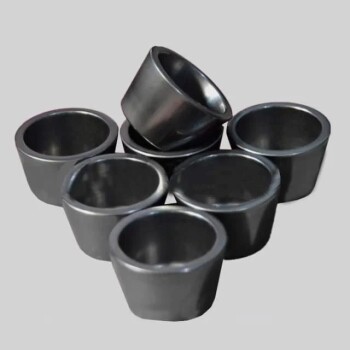
- High Purity Pure Graphite Crucible for Electron Beam Evaporation
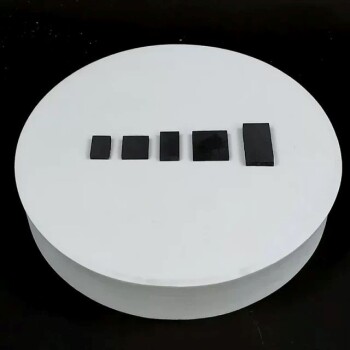
- Glassy Carbon Sheet RVC for Electrochemical Experiments
- Glassy Carbon Electrochemical Electrode
People Also Ask
- What are the key precautions for handling graphite electrodes? Ensure Safety & Maximize Performance
- Why are Dimensionally Stable Anodes (DSA) preferred for indium electrowinning? Ensure High-Purity Results.
- What are the standard maintenance procedures for graphite electrodes? A Guide to Reliable Electrochemical Data
- What is the correct procedure for installing and connecting a graphite electrode during an experiment? Ensure Accurate Electrochemical Results
- What is the typical role of a graphite electrode in an electrochemical setup? Complete Your Circuit Efficiently