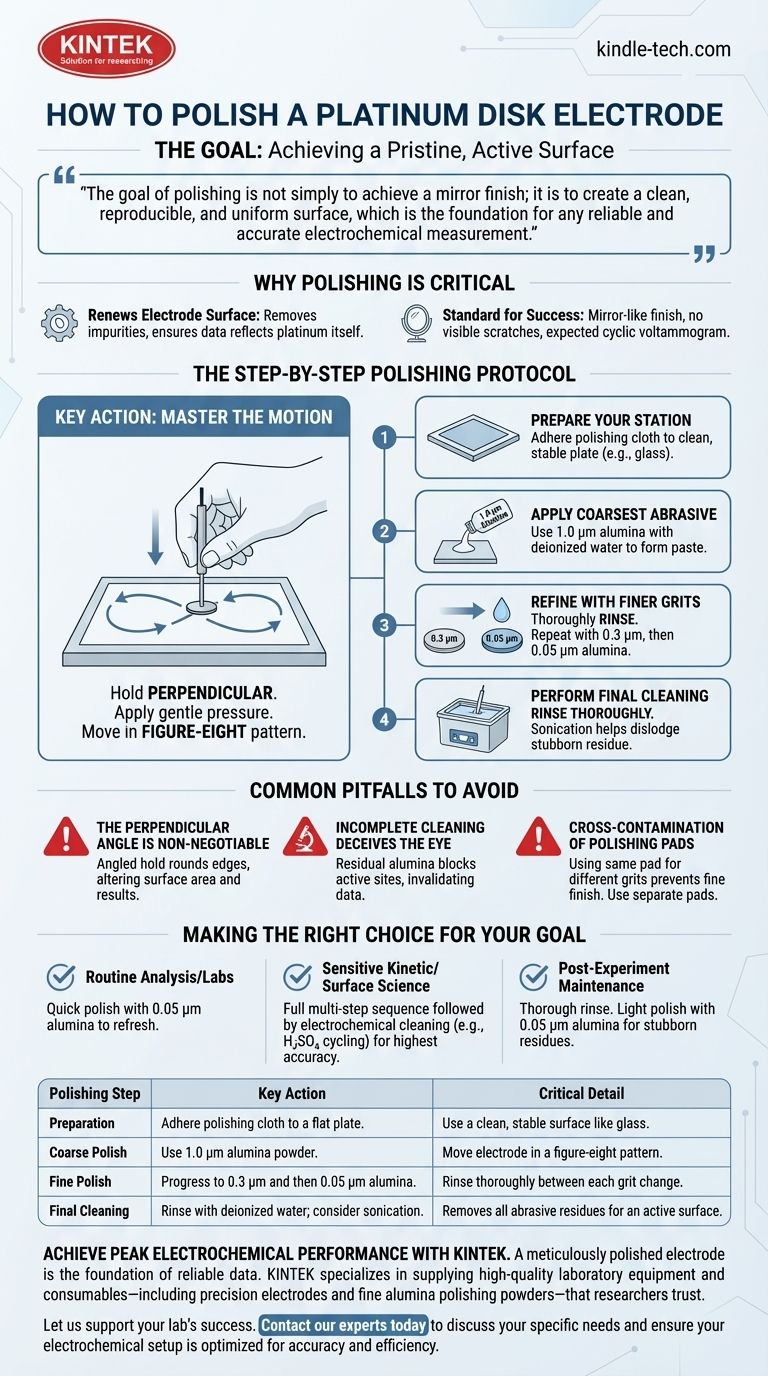
To properly polish a platinum disk electrode, you must perform a multi-step mechanical abrasion using a sequence of progressively finer polishing powders, typically alumina, on a dedicated cloth. This process involves moving the electrode in a figure-eight pattern while holding it perfectly perpendicular to the surface. The procedure is completed with a thorough cleaning to remove all abrasive residues, ensuring a pristine and electrochemically active surface.
The goal of polishing is not simply to achieve a mirror finish; it is to create a clean, reproducible, and uniform surface, which is the foundation for any reliable and accurate electrochemical measurement.
The Goal: Achieving a Pristine, Active Surface
An electrode's surface is where the electrochemical reaction occurs. Any contamination, oxide layer, or physical irregularity can drastically alter experimental results.
Why Polishing is Critical
Proper polishing removes adsorbed impurities and roughened surface layers from previous experiments. This renews the electrode surface, ensuring that the data you collect is characteristic of the platinum itself, not of contaminants.
The Standard for Success
A well-polished electrode should have a mirror-like finish with no visible scratches under magnification. Electrochemically, it should exhibit the expected cyclic voltammogram shape for platinum in a standard electrolyte like sulfuric acid.
The Step-by-Step Polishing Protocol
Follow this procedure methodically. Rushing any step will compromise the final surface quality.
Step 1: Prepare Your Polishing Station
First, adhere a suede or nylon polishing cloth to a flat, stable plate, such as a piece of glass. Ensure the surface is clean and free of debris from previous work.
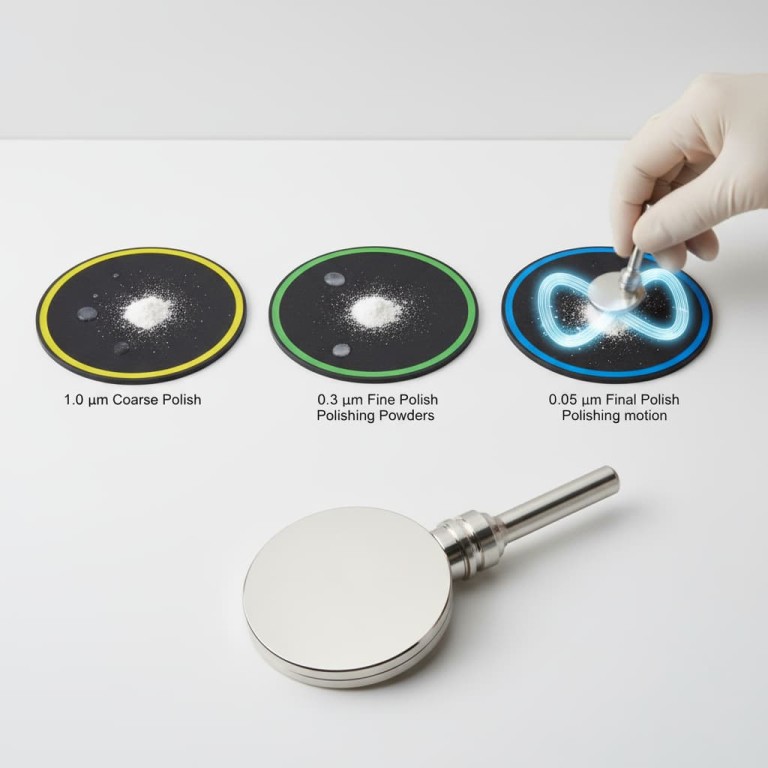
Step 2: Apply the Coarsest Abrasive
Begin with the largest grit size, typically 1.0 µm alumina powder. Place a small amount on the cloth and add a few drops of deionized water to form a thin paste.
Step 3: Refine with Progressively Finer Grits
After the initial polish, you must thoroughly rinse the electrode and the cloth to remove all coarse particles. Repeat the process with sequentially finer grits, such as 0.3 µm and finally 0.05 µm alumina. This gradual reduction in particle size removes the scratches left by the previous, larger grit.
Step 4: Master the Polishing Motion
Hold the electrode perfectly perpendicular to the polishing pad. Apply gentle pressure and move the electrode in a figure-eight pattern. This motion ensures even polishing across the entire disk surface and prevents rounding of the electrode's edges.
Step 5: Perform a Critical Final Cleaning
After the final polishing step with 0.05 µm alumina, the cleaning phase is paramount. Rinse the electrode thoroughly with deionized water. Sonication in deionized water or ethanol for a few minutes can help dislodge any stubborn, embedded alumina particles from the surface.
Common Pitfalls to Avoid
Even with the correct procedure, small mistakes can lead to poor results. Being aware of these common errors is key to mastering the technique.
The Perpendicular Angle is Non-Negotiable
Failing to keep the electrode perpendicular to the polishing pad is the most common mistake. An angled hold will round the edges of the insulating shroud, altering the electrode's effective surface area and leading to inaccurate current density calculations.
Incomplete Cleaning Deceives the Eye
An electrode can appear shiny and clean while still being contaminated with residual alumina particles. These insulating particles will block active sites on the platinum surface, dampening the electrochemical signal and invalidating your data. Always be meticulous with the final rinse.
Cross-Contamination of Polishing Pads
Never use the same polishing pad for different grit sizes. A single particle of 1.0 µm alumina on your 0.05 µm pad will prevent you from ever achieving a fine, scratch-free finish. Use separate, clearly labeled pads for each grit size.
Making the Right Choice for Your Goal
The required level of polish depends on the sensitivity of your experiment. Adjust your procedure accordingly.
- If your primary focus is routine analysis or student labs: A quick polish with the finest grit (0.05 µm alumina) to refresh the surface before each use is often sufficient.
- If your primary focus is sensitive kinetic studies or surface science: A full, multi-step polishing sequence followed by electrochemical cleaning (e.g., cycling in H₂SO₄) is essential for achieving the highest level of reproducibility and accuracy.
- If your primary focus is post-experiment maintenance: A thorough rinse with deionized water is mandatory. For stubborn residues, a light polish with 0.05 µm alumina before storage will prepare it for the next use.
Ultimately, a meticulously prepared electrode surface is the bedrock of credible and reproducible electrochemical data.
Summary Table:
| Polishing Step | Key Action | Critical Detail |
|---|---|---|
| Preparation | Adhere polishing cloth to a flat plate. | Use a clean, stable surface like glass. |
| Coarse Polish | Use 1.0 µm alumina powder. | Move electrode in a figure-eight pattern. |
| Fine Polish | Progress to 0.3 µm and then 0.05 µm alumina. | Rinse thoroughly between each grit change. |
| Final Cleaning | Rinse with deionized water; consider sonication. | Removes all abrasive residues for an active surface. |
Achieve peak electrochemical performance with KINTEK.
A meticulously polished electrode is the foundation of reliable data. KINTEK specializes in supplying the high-quality laboratory equipment and consumables—including precision electrodes and fine alumina polishing powders—that researchers trust for reproducible results in sensitive kinetic studies and routine analysis.
Let us support your lab's success. Contact our experts today to discuss your specific needs and ensure your electrochemical setup is optimized for accuracy and efficiency.
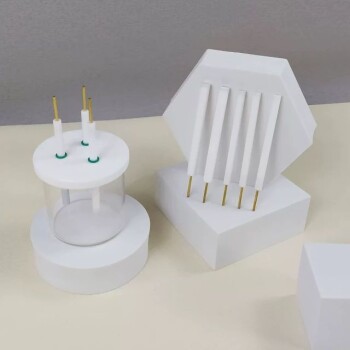
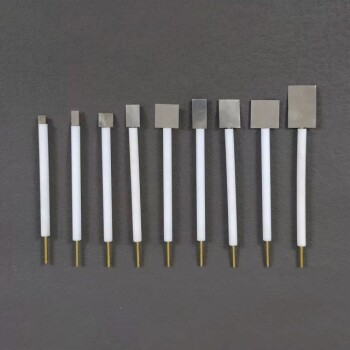
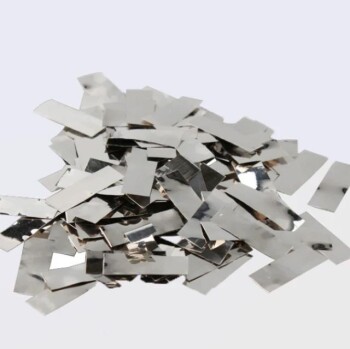
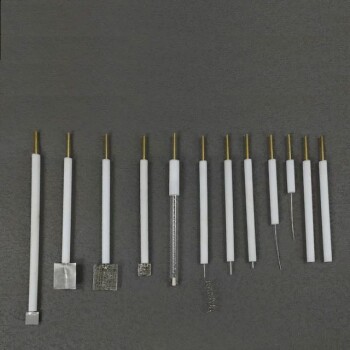
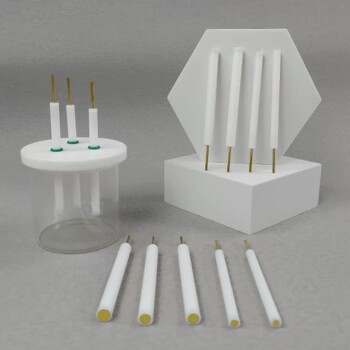
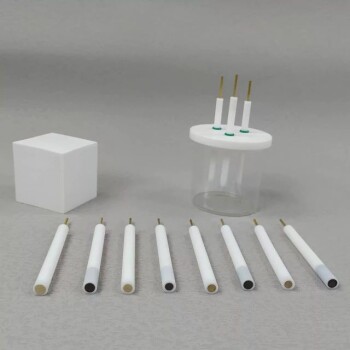
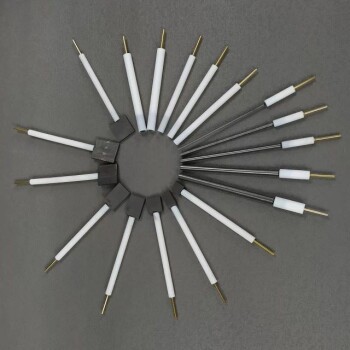
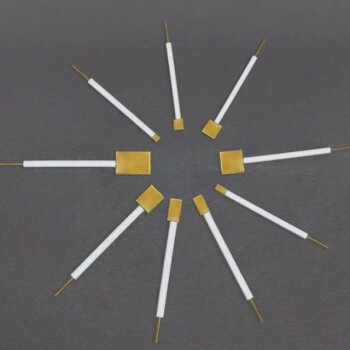
Visual Guide
Related Products
- Rotating Platinum Disk Electrode for Electrochemical Applications
- RRDE rotating disk (ring disk) electrode / compatible with PINE, Japanese ALS, Swiss Metrohm glassy carbon platinum
- Platinum Sheet Electrode for Laboratory and Industrial Applications
- Platinum Sheet Electrode for Battery Lab Applications
- Platinum Auxiliary Electrode for Laboratory Use
People Also Ask
- How should a platinum disk electrode be used during an experiment? A Guide to Accurate Electrochemical Measurements
- What regular maintenance is required for a platinum disk electrode? Ensure Accurate Electrochemical Data Every Time
- What is the common role of a platinum disk electrode? A Guide to Its Primary Use as a Working Electrode
- What can cause poisoning of a platinum disk electrode and how can it be prevented? Ensure Reliable Electrochemical Data
- What should be done if a platinum disk electrode is severely damaged? Repair or Replace for Reliable Data