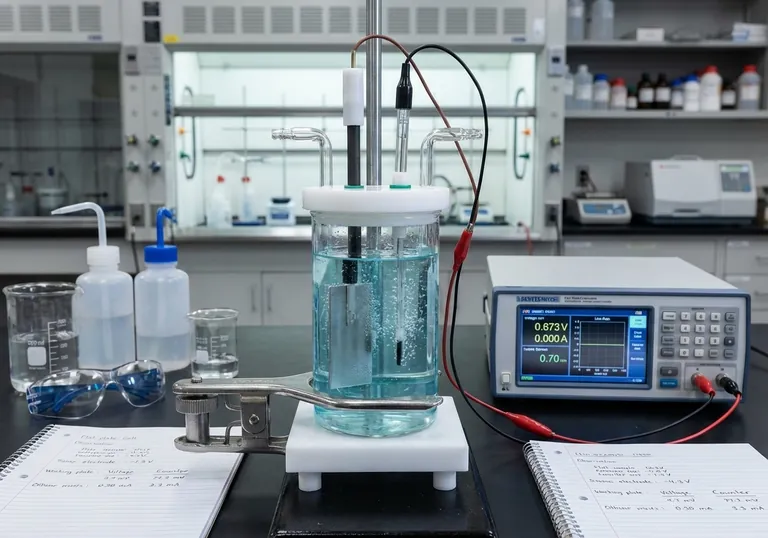
During a flat plate corrosion experiment, your core responsibilities are to correctly connect the cell to a power source, meticulously observe visual changes on the electrode surfaces, and continuously record the resulting voltage and current data. These steps ensure you are capturing the essential electrochemical reactions as they happen.
The success of a corrosion study hinges not just on the actions taken during the experiment, but on a rigorous, systematic workflow that begins with preparation and ends with cleaning. Overlooking any phase compromises the integrity and reproducibility of your results.
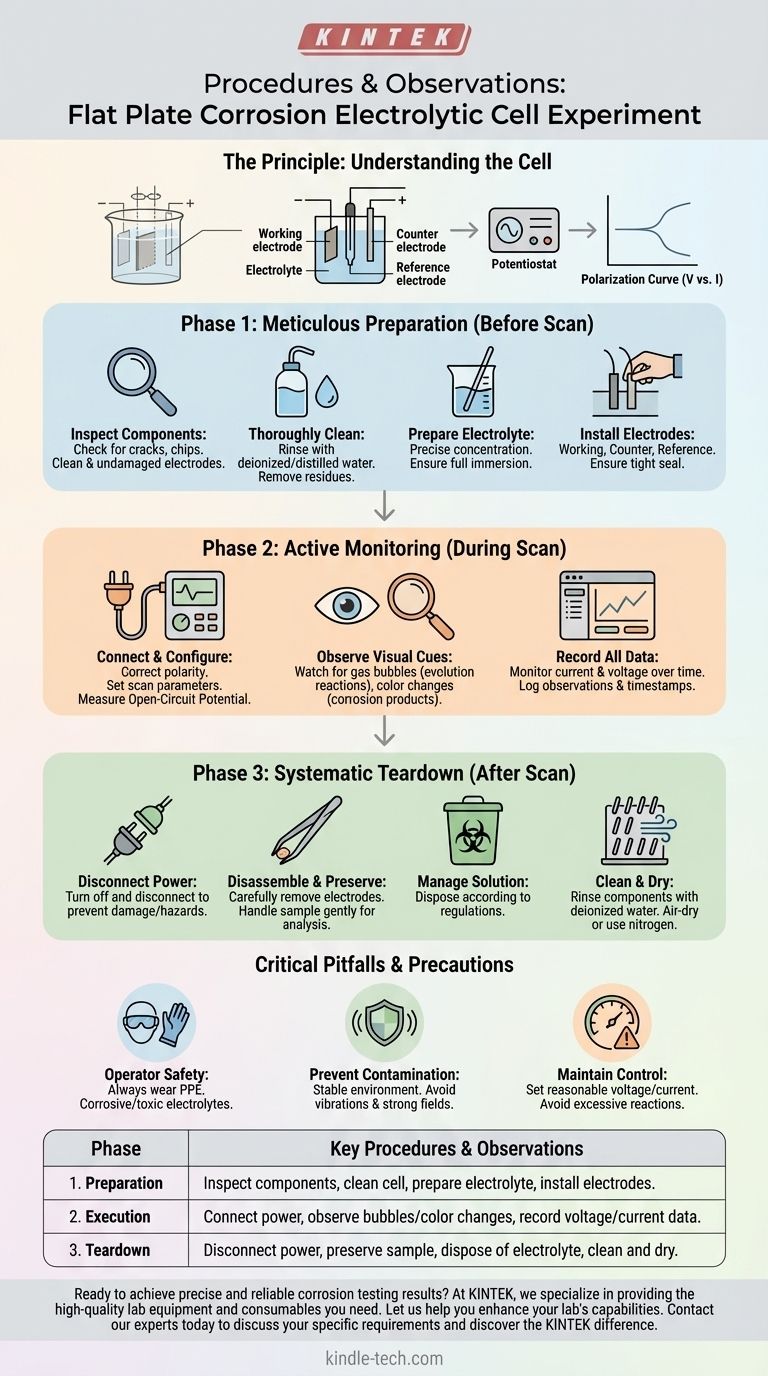
The Principle of the Flat Plate Cell
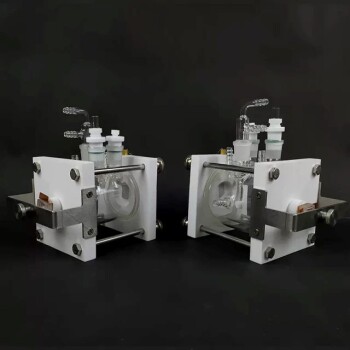
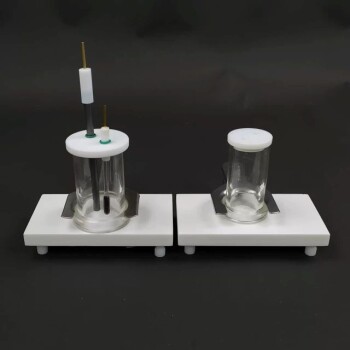
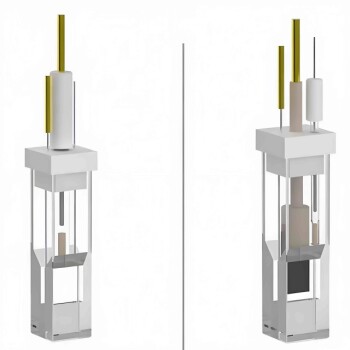
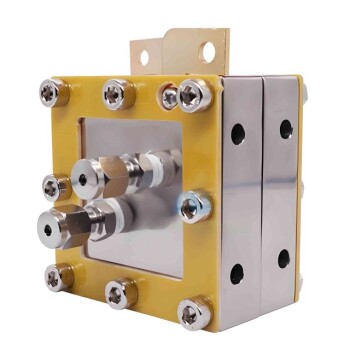
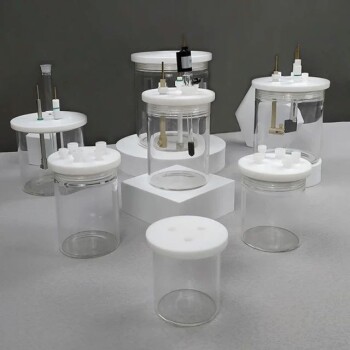
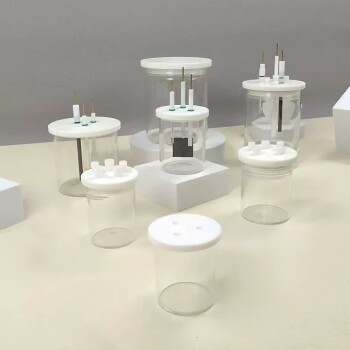
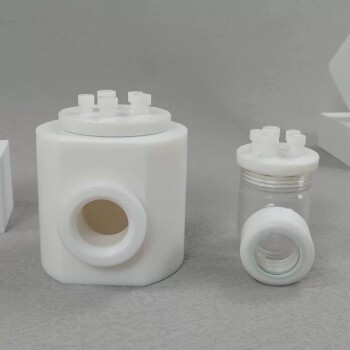
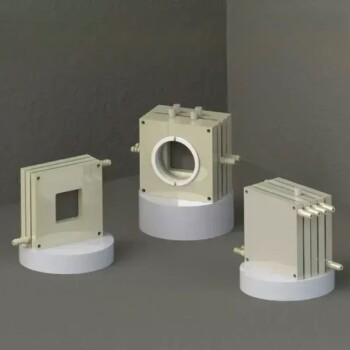
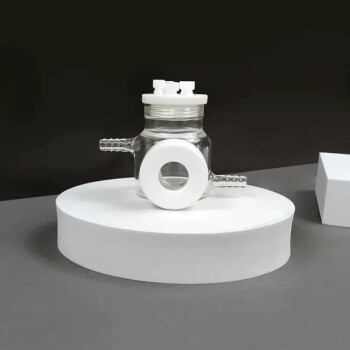
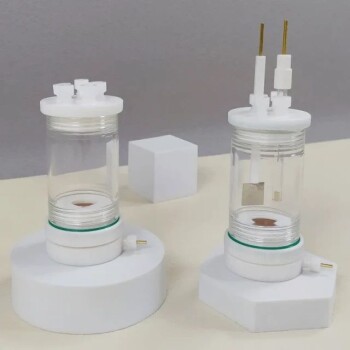
Before detailing the procedure, it's crucial to understand what this device is designed to do. A flat plate electrolytic cell is a specialized tool for studying the corrosion behavior of a flat material sample in a controlled liquid environment (the electrolyte).
The Core Components at Work
An external power source, typically a potentiostat, applies a controlled electrical potential or current to the system. The flat plate sample serves as the working electrode, where the corrosion or reaction of interest occurs. A counter electrode completes the circuit, while a reference electrode provides a stable potential against which the working electrode's potential is measured.
How Corrosion is Measured
By systematically varying the potential applied to the sample (a potential scan) and measuring the resulting current, you can generate a polarization curve. This curve reveals critical information about the material's corrosion rate, its tendency to passivate (form a protective layer), and its susceptibility to localized corrosion.
A Three-Phase Approach to a Successful Experiment
A reliable experiment is not a single event but a process. It is best understood in three distinct phases: preparation, execution, and teardown.
Phase 1: Meticulous Preparation (Before the Scan)
This phase lays the foundation for accurate data. Rushing here is a common source of error.
Inspect All Components First, check the glass cell body for any cracks or chips that could cause leaks. Inspect your electrodes to ensure they are clean and undamaged. Any pre-existing oxidation or residue on your sample will skew the results.
Thoroughly Clean the Cell Rinse the cell components, first with tap water and then multiple times with deionized or distilled water. A new cell may require an initial wash with a mild acid or alkali solution to remove manufacturing residues.
Prepare and Fill the Electrolyte Prepare the electrolyte solution to the precise concentration required by your experimental protocol. Pour the solution into the cell, ensuring it is deep enough to fully immerse the electrodes without risk of overflowing.
Install the Electrodes Carefully place the working (your sample), counter, and reference electrodes into their designated positions. Ensure a tight seal with the cell body to prevent any electrolyte leakage.
Phase 2: Active Monitoring (During the Scan)
This is the active experimental phase where you collect your data.
Connect and Configure Connect the electrode leads to the potentiostat, ensuring the polarity is correct for each electrode. Set your experimental parameters, such as the potential scan rate and range, based on your material and objectives. A typical experiment starts by measuring the stable open-circuit potential before beginning the scan.
Observe Visual Cues Your eyes are a critical instrument. Watch for gas bubbles forming on an electrode, which indicates a gas evolution reaction (e.g., hydrogen evolution). Note any color changes in the solution or on the sample surface, as these often signal the formation of specific corrosion products.
Record All Data Your potentiostat will automate most of this, but you must monitor it. The primary data is the change in current and voltage over time. Also, log any temperature fluctuations or visual observations with timestamps to correlate them with your electrochemical data later.
Phase 3: Systematic Teardown (After the Scan)
Proper cleanup ensures the longevity of your equipment and the integrity of your next experiment.
Disconnect the Power Your first step is always to turn off and disconnect the power source to prevent electrical hazards or damage to the instrument.
Disassemble and Preserve Carefully remove the electrodes. If you need to analyze the corrosion products on the sample surface (e.g., with microscopy), handle it gently to keep this layer intact.
Manage the Solution Dispose of or store the electrolyte according to safety and environmental regulations. Hazardous solutions require specialized treatment.
Clean and Dry Rinse the cell body and all components thoroughly with deionized water. A soft brush can remove stubborn residue. Finally, allow all parts to air-dry completely or use a gentle stream of nitrogen before storage.
Understanding Critical Pitfalls and Precautions
Objectivity requires acknowledging potential issues. Awareness of these risks is key to generating trustworthy data.
Ensuring Operator Safety
Always wear appropriate personal protective equipment (PPE), including safety goggles and gloves. You are working with electricity and potentially corrosive or toxic electrolytes.
Preventing Data Contamination
The experiment must be conducted in a stable environment. Keep the cell free from vibrations or strong electromagnetic fields, which can introduce noise into your sensitive electrical measurements. A proper seal is non-negotiable to prevent leaks that can alter the electrolyte concentration and compromise data.
Maintaining Experimental Control
Set your voltage and current parameters reasonably. Applying an overly aggressive potential can cause excessive reactions that damage the electrode, alter the surface beyond recognition, or generate so much current that you lose experimental control. This leads to invalid, unrepeatable results.
Making the Right Choice for Your Goal
The emphasis of your procedure should align with your specific research objective.
- If your primary focus is material screening: Consistency is paramount. Ensure your sample preparation, electrolyte concentration, and instrument settings are identical for every test to allow for valid comparisons.
- If your primary focus is a mechanism study: Your most important task is careful in-situ observation and gentle post-experiment handling to preserve corrosion products for further analysis.
- If your primary focus is coating performance: Meticulous sample setup is key. You must ensure the cell is perfectly sealed so that the only part of the sample exposed to the electrolyte is the intended surface area.
By embracing this rigorous and comprehensive approach, you elevate a simple procedure into a powerful and reliable scientific investigation.
Summary Table:
| Phase | Key Procedures & Observations |
|---|---|
| 1. Preparation | Inspect components, clean cell, prepare electrolyte, install electrodes. |
| 2. Execution | Connect power, observe bubbles/color changes, record voltage/current data. |
| 3. Teardown | Disconnect power, preserve sample, dispose of electrolyte, clean and dry. |
Ready to achieve precise and reliable corrosion testing results?
At KINTEK, we specialize in providing the high-quality lab equipment and consumables you need for your electrochemical studies. Our expertise ensures you have the right tools—from reliable electrodes to stable potentiostats—to conduct your experiments with confidence and accuracy.
Let us help you enhance your lab's capabilities. Contact our experts today to discuss your specific corrosion testing requirements and discover the KINTEK difference.
Visual Guide
Related Products
- Flat Corrosion Electrolytic Electrochemical Cell
- PTFE Electrolytic Cell Electrochemical Cell Corrosion-Resistant Sealed and Non-Sealed
- Electrolytic Electrochemical Cell for Coating Evaluation
- Thin-Layer Spectral Electrolysis Electrochemical Cell
- Customizable PEM Electrolysis Cells for Diverse Research Applications
People Also Ask
- What is the difference between electrolytic corrosion cell and electrochemical corrosion cell? Understand the Driving Force Behind Corrosion
- How does the design of an electrochemical electrolytic cell influence the coating uniformity? Optimize Your Catalysts
- What are the critical safety and operational precautions for using a flat plate corrosion electrolytic cell? Ensure Safe and Accurate Electrochemical Testing
- What are the complete post-experiment procedures for a flat plate corrosion electrolytic cell? A Step-by-Step Guide to Reliable Results
- What are the design advantages of using a flat electrochemical cell? Enhance Corrosion Testing Precision