In material science, there is a tendency to conflate power with precision.
When selecting a tube furnace, the immediate instinct is to look at the maximum temperature rating. Can it hit 1600°C? Can it push to 1800°C? It is a binary question with a simple answer.
But thermal processing is rarely simple.
The more complex reality is that heat behaves like a fluid. It flows. It dissipates. It seeks equilibrium with the cooler air outside the tube.
Therefore, the critical variable in your laboratory isn't just the intensity of the heat. It is the geometry of the heat. This is where the configuration of heating zones—one, two, or three—becomes the defining characteristic of your success.
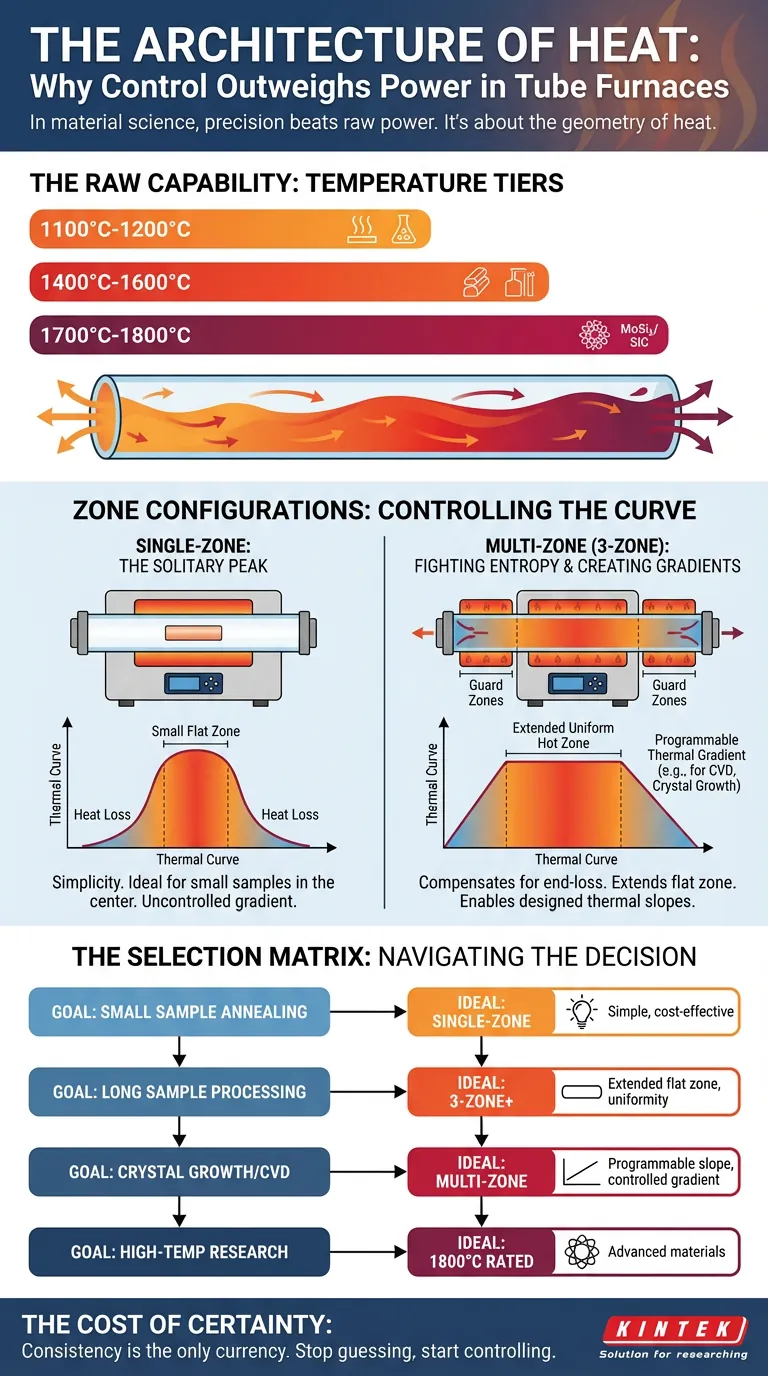
The Raw Capability: Temperature Tiers
Before we discuss control, we must address capacity.
The maximum temperature of a furnace is dictated by the physics of its heating elements. It is the "horsepower" of the engine.
- 1100°C - 1200°C: The workhorses for annealing and general synthesis.
- 1400°C - 1600°C: The territory of metals and standard ceramics.
- 1700°C - 1800°C: The upper echelon for advanced technical ceramics, utilizing Molybdenum Disilicide (MoSi2) or Silicon Carbide (SiC) elements.
However, having the power to reach 1800°C is useless if that temperature only exists at a pinpoint in the absolute center of the tube.
The Single-Zone: The Solitary Peak
A single-zone furnace is an exercise in simplicity. It features one control loop and one heating element (or set of elements) acting in unison.
When you turn it on, it creates a thermal curve that looks like a bell jar.
The center of the tube gets hot. The ends, which are exposed to the ambient lab environment, lose heat rapidly. This creates a natural thermal gradient.
The Psychology of the Single-Zone:
- The Pro: It is cost-effective and robust. Fewer controllers mean fewer things to break.
- The Con: The "flat zone"—the area where the temperature is stable—is small.
- The Use Case: Ideally suited for small samples that can sit comfortably in the precise center of the thermal peak.
The Multi-Zone: Fighting Entropy
If you need to process a longer sample, or multiple samples simultaneously, the single-zone furnace fails. The physics of heat loss at the tube ends ensures that a sample near the edge will be processed differently than a sample in the center.
This is a reproducibility nightmare.
To solve this, engineers divide the furnace into independent zones—typically two or three, though sometimes up to five.
Flattening the Curve
In a three-zone furnace, the center zone does the heavy lifting. The two end zones act as "guards." By setting these end zones to slightly higher power outputs, the furnace actively fights the heat loss at the edges.
The result is not a peak, but a plateau. You effectively extend the length of the uniform hot zone, ensuring that the chemistry happening at one end of the tube is identical to the chemistry at the other.
The Art of the Gradient
There is a second, more sophisticated reason to choose multiple zones. Sometimes, you don't want uniformity. You want a slope.
Processes like Chemical Vapor Deposition (CVD) or crystal growth often require a specific temperature drop across the length of the tube to facilitate material transport.
A single-zone furnace creates a gradient, but it is an uncontrolled gradient dictated by nature. A multi-zone furnace allows you to design the gradient. You are no longer subject to the environment; you are the architect of the environment.
The Selection Matrix
Choosing a furnace is a trade-off between the complexity you can manage and the precision you require.
Here is how to navigate the decision:
| If your goal is... | The Ideal Configuration | Why? |
|---|---|---|
| Small sample annealing | Single-Zone | Simplicity and cost-efficiency. The natural center hotspot is sufficient. |
| Long sample processing | 3-Zone (or more) | You need to extend the "flat zone" by compensating for end-loss. |
| Crystal Growth | Multi-Zone | You need to create a specific, programmable thermal slope. |
| High-Temp Research | 1800°C Rated | Material constraints dictate the max temp first, then zones dictate the quality. |
The Cost of Certainty
We often hesitate to invest in multi-zone systems because they introduce complexity and higher initial costs.
But consider the cost of a failed experiment. Consider the cost of a sample that has different physical properties at one end than the other.
In the lab, consistency is the only currency that matters.
At KINTEK, we understand that you aren't just buying a box that gets hot. You are buying a controlled environment. Whether you need the rugged simplicity of a single-zone unit or the symphonic control of a multi-zone system, we provide the precision engineering required to make your data repeatable.
Are you ready to stop guessing and start controlling? Contact our experts today to discuss which configuration fits your specific material science application.
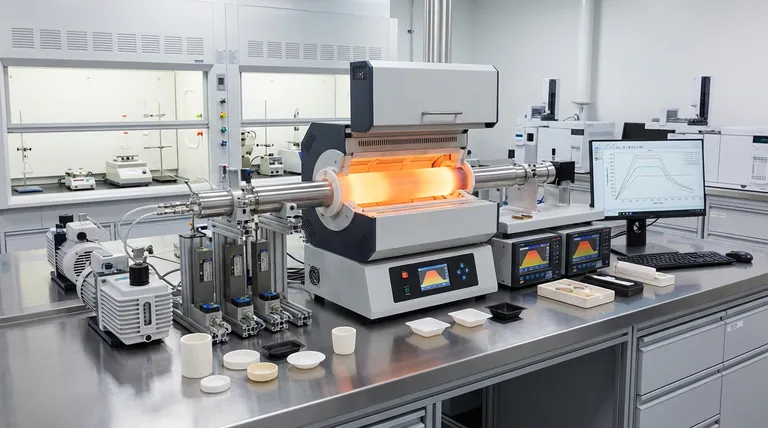
Visual Guide
Related Products
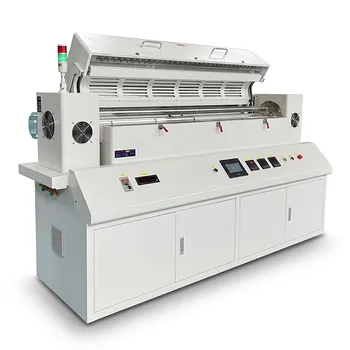
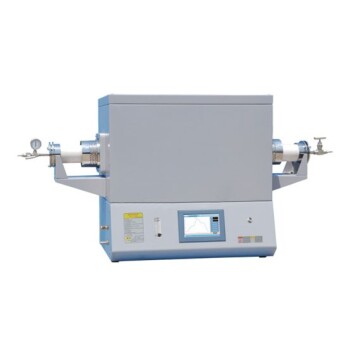
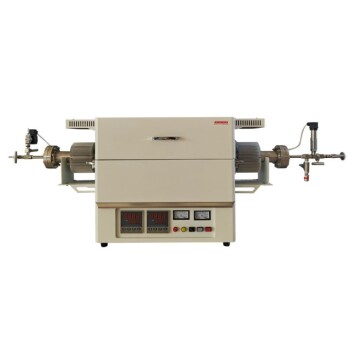
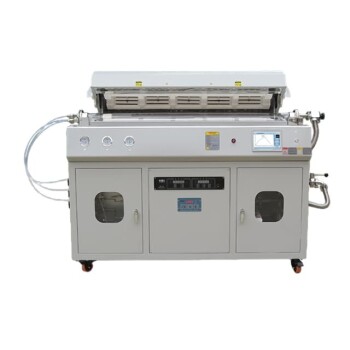
- Rotary Tube Furnace Split Multi Heating Zone Rotating Tube Furnace
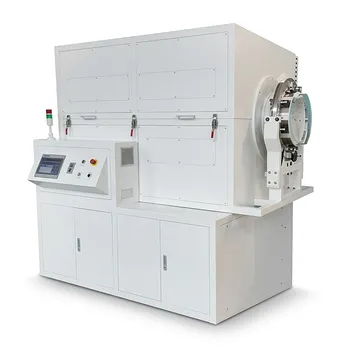
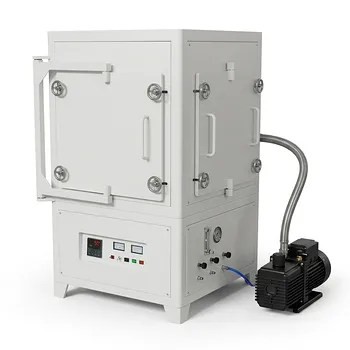
- Laboratory Vacuum Tilt Rotary Tube Furnace Rotating Tube Furnace
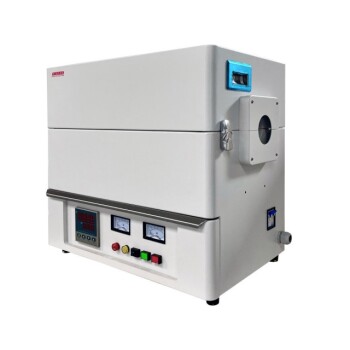
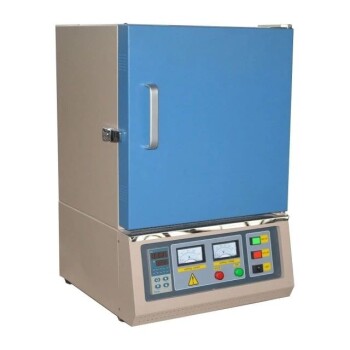
- 1200℃ Split Tube Furnace with Quartz Tube Laboratory Tubular Furnace
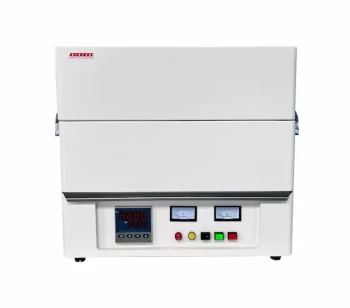
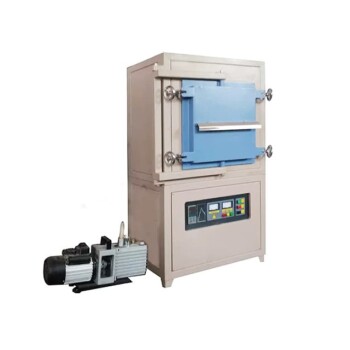
- 1400℃ Laboratory High Temperature Tube Furnace with Alumina Tube
- 1700℃ Laboratory High Temperature Tube Furnace with Alumina Tube
Related Articles
- Unlocking Efficiency: Exploring the Advantages and Applications of Rotary Tube Furnaces
- Unlocking Efficiency: The Ultimate Guide to Rotary Tube Furnaces
- The Geometry of Heat: Engineering the Perfect Thermal Environment
- Exploring the Advantages of Rotary Tube Furnaces in Industrial and Laboratory Applications
- Exploring the Benefits and Applications of Rotary Furnaces: A Comprehensive Guide