To calibrate a porcelain furnace using a visual indicator, you must fire a sample of your porcelain system's clearest powder and evaluate its physical state. The goal is to achieve maximum clarity and sharply defined edges on the fired sample, which indicates the porcelain has reached ideal maturity. Based on this visual feedback, you then adjust the furnace's temperature settings until this ideal result is consistently achieved.
This method uses the porcelain material itself as a pyrometric indicator, bypassing the furnace's digital display to gauge the true heatwork being applied. While effective, its accuracy is fundamentally tied to the skill and experience of the ceramist performing the evaluation.
Why Visual Calibration is Necessary
The Disconnect Between Displayed and Actual Temperature
A porcelain furnace's thermocouple measures the temperature at a single point within the muffle. However, factors like aging heating elements, drafts, or electrical fluctuations can cause the actual temperature affecting the porcelain to differ from the temperature displayed on the screen.
Ensuring Material Integrity
Porcelain must be fired within a very specific temperature range to achieve proper vitrification (sintering). Firing too hot can cause pyroplastic flow, leading to rounded margins and a weak, brittle structure. Firing too cool results in an under-fused, opaque, and porous restoration that is also weak.
The Visual Calibration Process
Step 1: Prepare the Test Sample
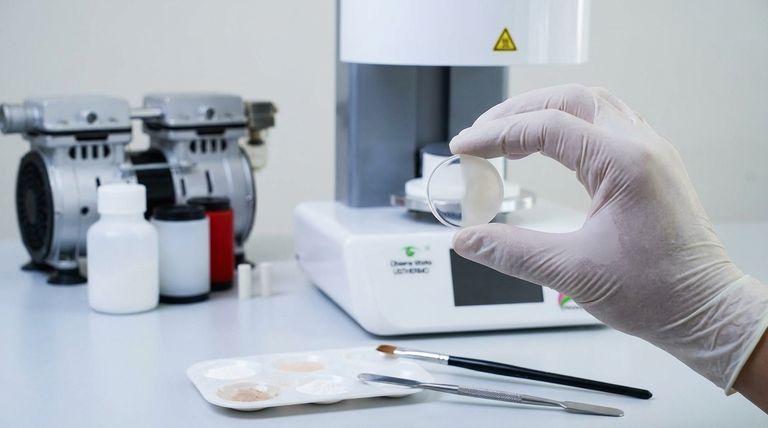
To create an inexpensive and consistent test piece, use a standard metal washer as a mold. Apply a thin layer of lubricant to the washer before condensing your porcelain system’s clearest or most translucent powder into it.
Creating a flat, disc-shaped sample provides a clear view of both the material's internal clarity and the sharpness of its edges after firing.
Step 2: Perform the Initial Firing
Place the test sample in the furnace and run it on the standard firing cycle recommended by the porcelain manufacturer. This initial firing serves as your baseline.
Step 3: Evaluate the Fired Sample
This is the most critical step and relies entirely on careful observation. Remove the cooled sample and examine it closely for two key indicators.
- Edge Definition: Look at the edges of the disc. Ideally, they should be sharply defined and retain the crisp shape of the mold.
- Clarity: Hold the sample up to a light source. It should have maximum clarity and translucency for that specific porcelain system.
Step 4: Interpret the Results and Adjust
The visual cues tell you precisely how to adjust the furnace temperature.
- If edges are rounded and the surface is overly glossy, the porcelain was over-fired. The furnace is running too hot.
- If the sample appears opaque, chalky, or cloudy, it was under-fired. The furnace is running too cool.
Based on these results, adjust the final temperature in your firing program by 5-10 degrees Celsius (or 10-20 Fahrenheit) and repeat the test with a new sample until the ideal state is achieved.
Understanding the Trade-offs
The Benefit: Material-Specific Accuracy
The primary advantage of this method is that it calibrates the furnace to the exact material you are using. It measures the actual effect of the heat on the porcelain, accounting for all variables in your specific lab environment.
The Drawback: Operator Subjectivity
This technique's greatest strength is also its weakness. It is not an objective measurement. The definition of "maximum clarity" or "sharp edges" can vary slightly between operators. It relies heavily on the ceramist's experience to make an accurate judgment call.
Making the Right Choice for Your Goal
After firing your test sample, your next step is clear.
- If you see rounded edges: Your furnace is firing too hot. Decrease the final temperature in the firing program and run a new test.
- If the sample is cloudy and lacks translucency: Your furnace is firing too cool. Increase the final temperature and run a new test.
- If you achieve sharp edges and excellent clarity: Your furnace is correctly calibrated. Record this temperature as the verified setting for this porcelain.
Mastering this visual calibration technique gives you direct control over your material, ensuring predictable and high-quality results for every restoration.
Summary Table:
| Visual Cue | Indicates | Required Adjustment |
|---|---|---|
| Rounded edges, overly glossy surface | Over-fired (too hot) | Decrease final temperature by 5-10°C |
| Opaque, chalky, or cloudy appearance | Under-fired (too cool) | Increase final temperature by 5-10°C |
| Sharp edges, maximum clarity | Correctly calibrated | No adjustment needed; record the setting |
Achieve Unmatched Precision in Your Dental Lab
Consistent, high-quality porcelain restorations depend on a perfectly calibrated furnace. While the visual method is effective, it requires significant expertise. KINTEK specializes in precision lab equipment and consumables, serving the exacting needs of dental laboratories.
Our experts can help you select and maintain the ideal furnace for your workflow, ensuring reliable results batch after batch. Let us provide the tools and support to elevate your craft.
Contact KINTEK today for a consultation and ensure your next restoration is a masterpiece.
Visual Guide

Related Products
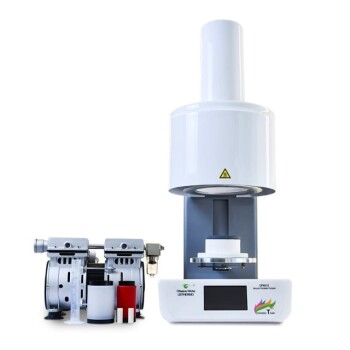
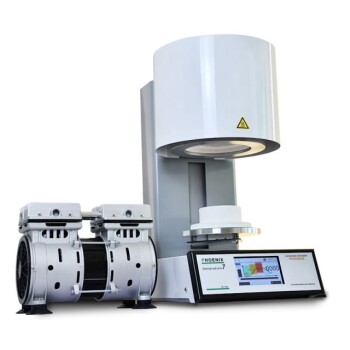
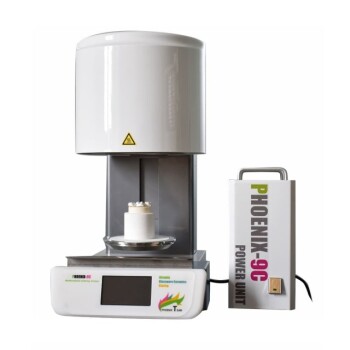
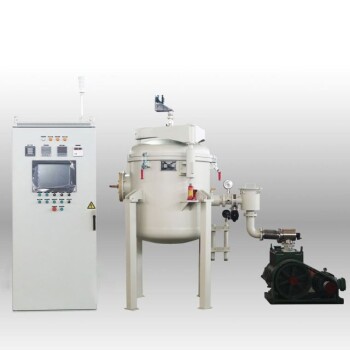
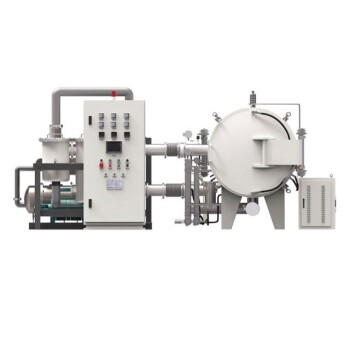
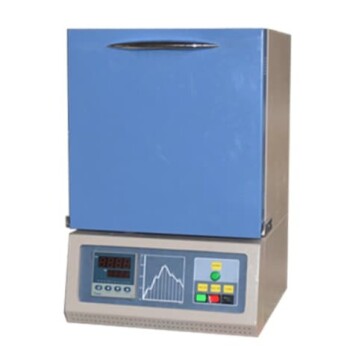
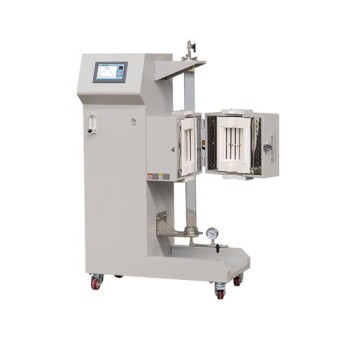
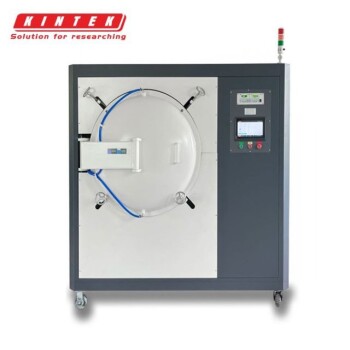
- Dental Porcelain Zirconia Sintering Ceramic Vacuum Press Furnace
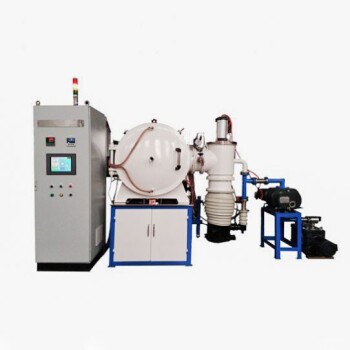
- Vacuum Dental Porcelain Sintering Furnace
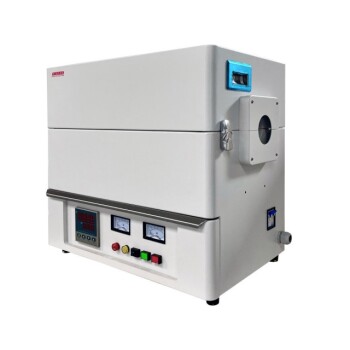
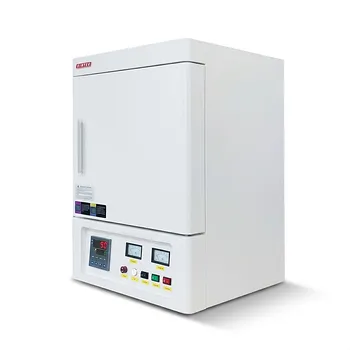
- Dental Porcelain Zirconia Sintering Ceramic Furnace Chairside with Transformer
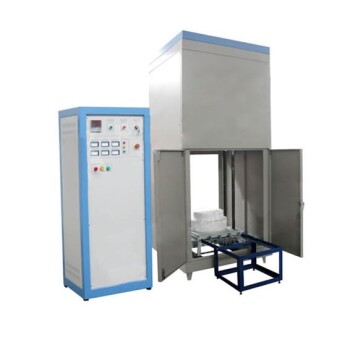
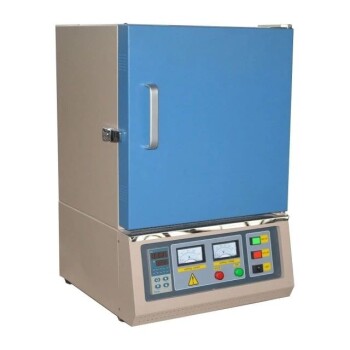
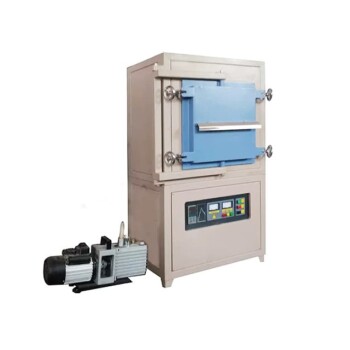
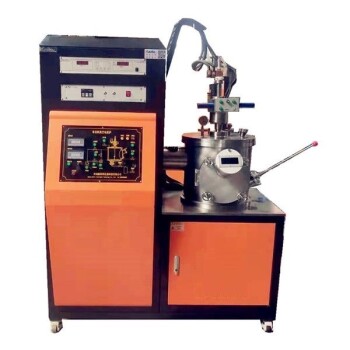
- High Temperature Muffle Oven Furnace for Laboratory Debinding and Pre Sintering
- Vertical High Temperature Graphite Vacuum Graphitization Furnace
People Also Ask
- What is the primary function of a dental sintering furnace? Transform Zirconia into Durable Crowns & Bridges
- What is sintering dentistry? The Key to Strong, Aesthetic Dental Restorations
- What is the sintering temperature of zirconia ceramic? Mastering the 1400°C-1600°C Thermal Profile
- What is sintering process in dentistry? Transform Milled 'Chalk' into Durable Dental Restorations
- What factors are important to consider when choosing a dental sintering furnace? Match Your Workflow for Optimal Results