Proper post-experiment procedure is a four-step process: safely disconnect the holder, carefully remove the sample, thoroughly clean and dry the components, and store the holder in a controlled environment. This disciplined routine is not just about maintenance; it is a critical step in ensuring the integrity of your equipment and the validity of your future experimental results.
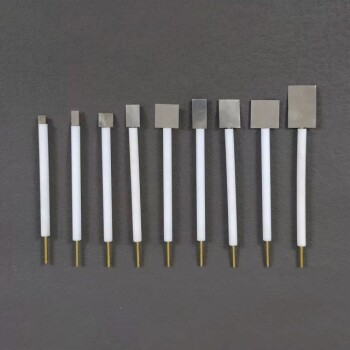
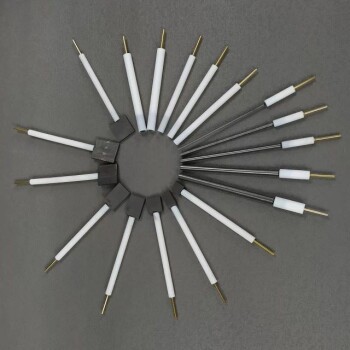
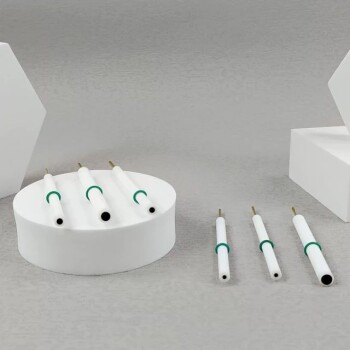
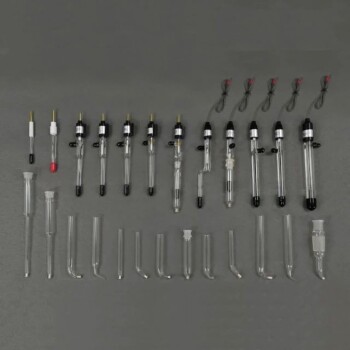
The core principle of electrode holder care is to treat it as a precision instrument, not a simple clamp. Protecting its sensitive components, particularly the non-immersible clip head and its solder joints, is paramount to preventing corrosion, cross-contamination, and premature failure.

The Step-by-Step Post-Experiment Protocol
Following a consistent procedure after every experiment is the best way to preserve your electrode holder's function and extend its lifespan. Each step is designed to mitigate a specific risk.
Step 1: Safe Disconnection and Electrolyte Handling
Before handling the holder, always disconnect all connecting wires from your instrumentation. This prevents any risk of electrical shorts or damage to your equipment.
The used electrolyte must then be handled according to its chemical properties. Address neutralization, recycling, or proper waste disposal immediately to maintain a safe lab environment.
Step 2: Careful Sample Removal
Gently loosen the fastening components, such as screws, and carefully remove your test sample from the clip.
Avoid using excessive force, which can damage the delicate clips of the holder or scratch the surface of your sample, compromising it for any further analysis.
Step 3: Thorough and Targeted Cleaning
Clean the electrode holder and the sample separately. The holder's contact points (the conductive clips) are the primary focus.
Rinse these contact areas with deionized (DI) water to remove residual electrolyte. This is the safest first step for most holders.
For stubborn contaminants, a mild solvent like ethanol or acetone can be used sparingly, applied with a swab rather than through immersion.
Crucially, never submerge the clip head or the upper body of the electrode holder. These sections contain solder points sealed with adhesive, which can be destroyed by solvents or prolonged immersion, leading to internal corrosion and solution contamination.
Step 4: Complete Drying
After cleaning, thoroughly dry all components. You can allow them to air-dry in a clean space.
To speed up the process and ensure no moisture remains, gently pat the components with clean, lint-free filter paper or use a stream of clean, compressed air.
Step 5: Protective Storage
Store the completely dry electrode holder in a dry, well-ventilated, and dust-free environment, such as a desiccator or a dedicated storage box.
Proper storage prevents slow-acting corrosion from ambient humidity and protects the delicate mechanical parts from physical damage between uses.
Understanding the Critical Failure Points
Mistakes in post-experiment handling are a primary cause of equipment failure and unreliable data. Understanding these pitfalls is key to avoiding them.
The Danger of Immersion
The single most common mistake is submerging the entire head of the electrode holder in cleaning fluid or the electrolyte itself.
The clip mechanism is not designed to be waterproof. Immersion allows liquid to seep into the internal wiring and solder joints, causing hidden corrosion and eventual signal failure. It also dissolves the protective adhesive, which can contaminate your electrolyte in future experiments.
The Risk of Corrosion and Contamination
Any residual electrolyte left on the holder's clips, screws, or body will slowly corrode the metal. This not only damages the holder but also introduces metallic ions that can contaminate your next experiment.
Likewise, failing to completely remove residue from the previous test sample creates a source of cross-contamination, invalidating your next set of results.
The Impact of Mechanical Stress
The clips and screws on an electrode holder are precision parts. Over-tightening screws can strip the threads or damage the clip, leading to a poor electrical connection or an inability to hold a sample securely.
Always handle the holder gently and inspect its mechanical parts for wear and tear as part of your pre-use and post-use cleaning routine.
Applying This to Your Work
Your specific focus will determine which aspect of this procedure is most critical for you.
- If your primary focus is experimental accuracy and reproducibility: Your priority is meticulous cleaning to eliminate any chance of cross-contamination between experiments.
- If your primary focus is equipment longevity: Your priority is preventing corrosion by ensuring the holder is always cleaned, dried, and stored correctly, paying special attention to never immersing the clip head.
- If your primary focus is lab safety: Your priority begins with the safe handling and proper disposal of the used electrolyte before proceeding with equipment cleaning.
Disciplined post-experiment habits are the foundation of trustworthy and repeatable scientific research.
Summary Table:
| Step | Key Action | Primary Purpose |
|---|---|---|
| 1 | Safe Disconnection & Electrolyte Handling | Prevent electrical hazards and ensure lab safety |
| 2 | Careful Sample Removal | Avoid damaging delicate clips and sample surfaces |
| 3 | Thorough Cleaning (DI Water/Solvent) | Remove electrolyte residue to prevent corrosion and cross-contamination |
| 4 | Complete Drying (Air/Filter Paper) | Eliminate moisture that causes internal corrosion |
| 5 | Protective Storage (Dry, Dust-Free) | Preserve mechanical and electrical integrity between uses |
Protect your research investment and ensure data integrity with precision equipment from KINTEK.
Proper electrode holder maintenance is essential for reliable results and long equipment life. KINTEK specializes in high-quality lab equipment and consumables designed for durability and performance. Our experts can help you select the right tools and establish best practices for your laboratory's specific needs.
Contact our team today to discuss how KINTEK's solutions can enhance your experimental accuracy and extend the lifespan of your critical laboratory equipment.
Visual Guide

Related Products
- Electrode Fixture for Electrochemical Experiments
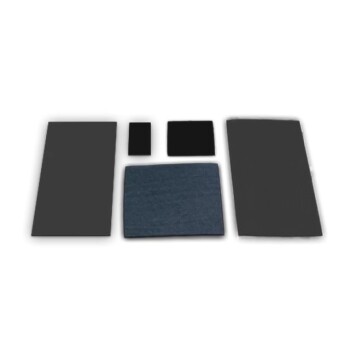
- Sample Support Body for Electrochemical Tests
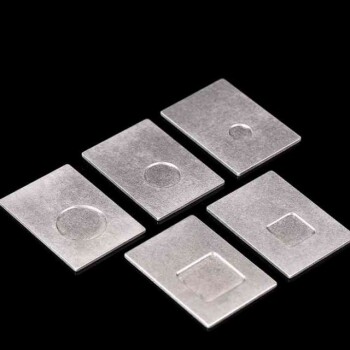
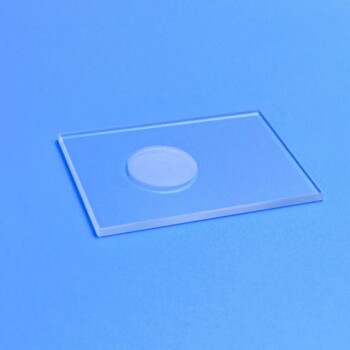
- Customizable XRD Sample Holders for Diverse Research Applications
- XRD Sample Holder X-ray Diffractometer Powder Slide
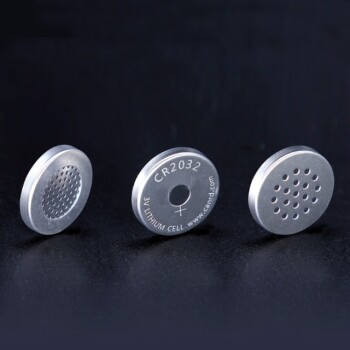
- Li-Air Battery Case for Battery Lab Applications
People Also Ask
- What is the basic structure of an electrode holder and the function of each part? Master the Key to Reliable Electrochemical Testing
- What regular checks should be performed on an electrode holder? A 3-Step Guide to Reliable Measurements
- What is the common role of an electrode holder in an electrochemical setup? It's the Active Working Electrode
- What types of substances should be avoided to prevent contamination or damage to an electrode holder? Protect Your Lab Equipment
- What is a critical precaution regarding electrolyte contact when using an electrode holder? Ensure Accurate and Safe Electrochemical Measurements