To achieve optimal brazing results, no single factor stands alone; instead, success depends on the precise execution of several interdependent conditions. The most critical of these are ensuring the joint surfaces are perfectly clean, maintaining a precisely controlled gap between the parts, and using the correct filler metal and temperature to facilitate proper flow.
The core principle of successful brazing is creating the ideal environment for capillary action. This natural force is what pulls the molten filler metal into the joint, and it only works when cleanliness, gap control, and temperature are managed in unison.
The Four Pillars of a Perfect Brazed Joint
A strong, reliable brazed joint is not the result of a single variable but the outcome of a system where four key pillars work together. Neglecting any one of these will compromise the integrity of the final bond.
Pillar 1: Absolute Cleanliness
The surfaces of the metals being joined must be completely free of contaminants. This includes processing oils, grease, dirt, and oxides.
Contaminants act as a barrier, preventing the molten filler metal from making intimate contact with the base metals. This phenomenon is known as poor "wettability."
Without proper wetting, the filler alloy cannot spread evenly or form a strong metallurgical bond, resulting in voids and a weak joint.
Pillar 2: Precise Gap Control
The space between the two components being joined—the joint gap—is a critical design parameter.
This gap must be small enough to encourage capillary action, the force that draws the molten filler metal into the joint cavity. Think of it like a fountain pen nib drawing ink.
If the gap is too wide, capillary action will be too weak to fill the joint completely. If it's too narrow, there may not be enough space for the filler metal to flow in.
Pillar 3: Correct Filler Metal Selection
The brazing alloy, or filler metal, must be chemically and mechanically compatible with the base metals.
Its melting temperature must be significantly lower than that of the metals being joined to avoid melting or distorting the parent components.
At the same time, the alloy must possess the required mechanical characteristics, such as strength and ductility, to meet the demands of the final application.
Pillar 4: Uniform Temperature Management
Brazing must occur at a specific temperature where the filler metal becomes fully liquid and can flow freely.
The heat must be applied uniformly to the entire joint area. If one part is hotter than the other, the filler metal will be drawn preferentially to the hotter side, leading to an incomplete bond.
The goal is to bring both base metals to the correct temperature so the filler metal melts and flows precisely when and where it is needed.
Common Pitfalls to Avoid
Understanding how these pillars fail is key to troubleshooting and preventing errors. The failure of one pillar almost always guarantees the failure of the entire process.
The Cost of Contamination
This is the most common source of brazing failure. Even a fingerprint can leave enough oil to ruin a joint's wettability, leading to gaps, poor adhesion, and eventual failure under stress.
The Problem with an Improper Gap
An incorrect gap dimension, resulting from poor mechanical processing, directly defeats capillary action. The result is often a joint that is only partially filled, creating a significant weak point that is invisible from the outside.
The Danger of Incorrect Temperatures
Applying too little heat means the filler metal won't melt and flow properly, resulting in a thick, lumpy application and no bond. Too much heat can damage the base metals or degrade the properties of the filler alloy itself.
A Practical Checklist for Optimal Brazing
Use this guide to align your process with your primary goal.
- If your primary focus is maximum joint strength: Prioritize immaculate surface cleanliness and precise, consistent gap dimensions above all else.
- If your primary focus is process repeatability: Standardize your temperature controls, heating methods, and filler alloy to eliminate process variation.
- If you are troubleshooting a failed joint: Always begin your investigation with cleanliness, as it is the most frequent and often overlooked point of failure.
Ultimately, successful brazing is a disciplined process of control, not a single trick.
Summary Table:
| Pillar | Key Function | Common Pitfall |
|---|---|---|
| Cleanliness | Enables filler metal to wet and bond to base metals | Contaminants (oils, oxides) cause poor adhesion and voids |
| Gap Control | Allows capillary action to draw filler metal into the joint | Improper gap size prevents complete filling or flow |
| Filler Metal | Provides the material for the bond and required properties | Incompatible alloy leads to weak or brittle joints |
| Temperature | Ensures proper flow and bonding without damaging materials | Uneven or incorrect heat causes distortion or poor flow |
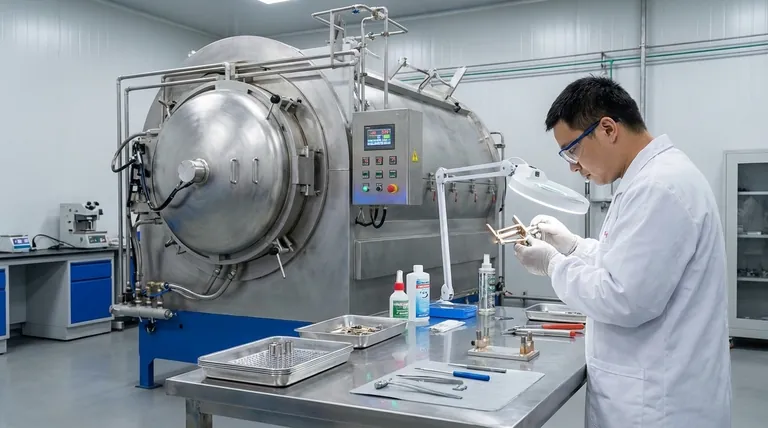
Achieve flawless brazing results in your lab. The right equipment is fundamental to controlling the critical pillars of brazing. KINTEK specializes in precision lab equipment and consumables, providing the reliable ovens, temperature controllers, and high-quality materials your laboratory needs for repeatable, high-strength joints.
Contact our experts today to discuss how our solutions can enhance your brazing process and ensure optimal results.
Visual Guide
