At its core, a brazing procedure is a sequence of six fundamental steps: surface preparation, assembly, heating, filler metal flow, cooling, and post-braze finishing. While the steps are universal, success is determined by the precise control of variables like temperature, time, and atmosphere to create a strong, metallurgical bond between components.
The key to successful brazing is not merely following a checklist, but understanding that each step is an opportunity to control the final quality of the joint. The process is less about assembly and more about materials science in action.
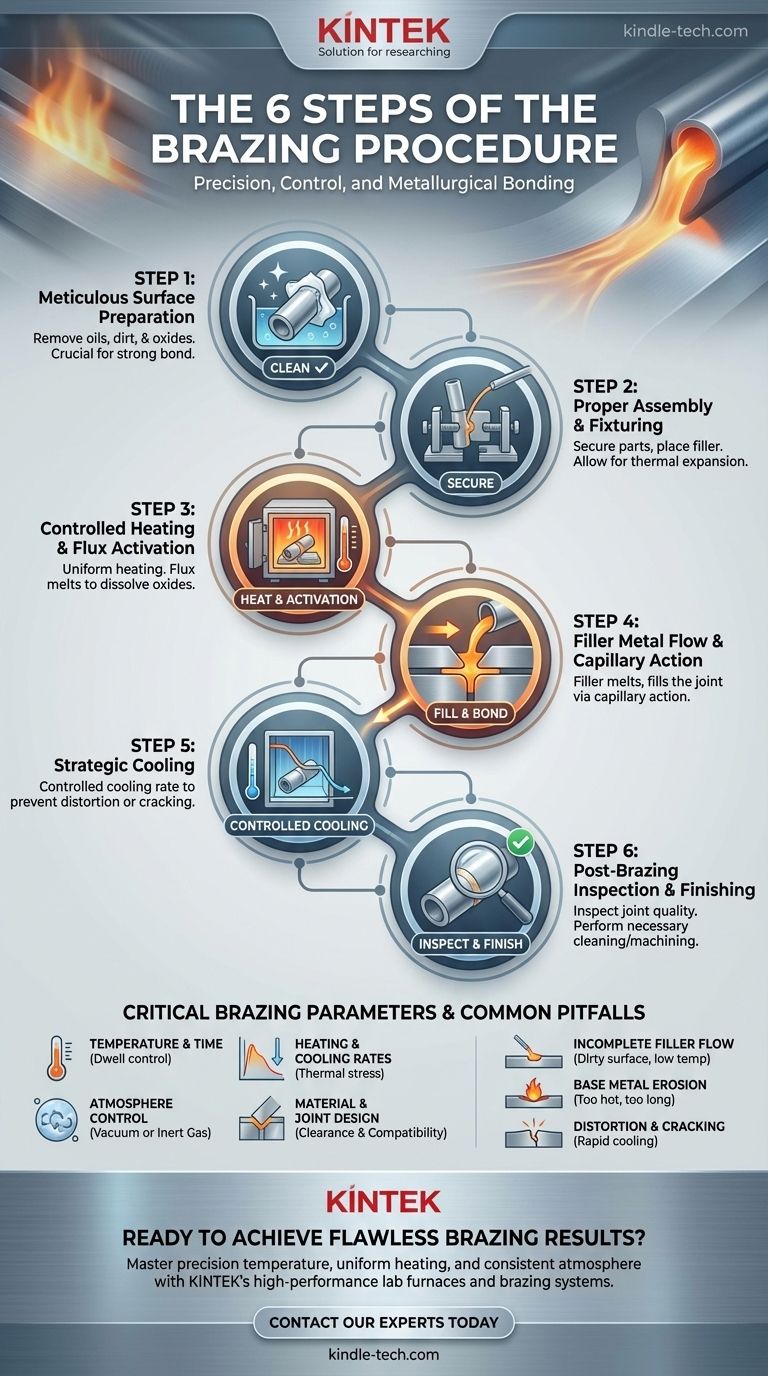
The Six Essential Steps of a Brazing Procedure
A successful brazed joint is the result of a disciplined and well-controlled process. Each step builds upon the last, and a failure in an early stage will compromise the entire outcome.
Step 1: Meticulous Surface Preparation
Before any heating occurs, the surfaces of the components to be joined (the base metals) must be perfectly clean. This is the most critical step for ensuring a strong bond.
This involves removing any oils, greases, dirt, and—most importantly—oxides. Oxides are non-metallic layers that prevent the filler metal from wetting and bonding with the base metal. Cleaning may involve chemical methods, such as using an alkali solution, or mechanical methods like abrasive blasting.
Step 2: Proper Assembly and Fixturing
The cleaned parts are then assembled into their final configuration. The brazing filler metal, in the form of a wire, paste, or pre-formed shape, is placed at or near the joint.
Components must be held securely in place throughout the heating and cooling cycle. Fixtures should be designed to allow for thermal expansion and to minimize stress on the parts.
Step 3: Controlled Heating and Flux Activation
The entire assembly is heated uniformly. As the temperature rises, any applied flux will activate.
For example, in aluminum brazing, the flux melts between 565-572°C (1049-1062°F). This molten flux breaks down and dissolves any remaining or newly formed surface oxides, preparing the metal for the filler.
Step 4: Filler Metal Flow and Capillary Action
As the assembly reaches the brazing temperature, the filler metal melts and is drawn into the gap between the components through a phenomenon called capillary action.
This temperature must be above the melting point of the filler metal but below the melting point of the base metals. In aluminum brazing, this typically occurs between 577-600°C (1071-1112°F). The goal is for the filler to completely fill the joint.
Step 5: Strategic Cooling
Once the filler metal has filled the joint, the assembly must be cooled back to room temperature. The cooling rate is a critical parameter.
Cooling too quickly can induce thermal stress, leading to distortion or cracking. A slow, controlled cooling cycle is generally preferred to ensure the dimensional stability and integrity of the final part.
Step 6: Post-Brazing Inspection and Finishing
After cooling, the parts are removed from the furnace. They are inspected for joint quality, ensuring the filler metal has properly flowed and created a continuous bond.
Depending on the application, post-brazing operations may be required. These can include flux removal, heat treatment to restore material properties, machining, or surface finishing.
Understanding the Critical Brazing Parameters
Simply executing the six steps is not enough. True quality comes from mastering the parameters that influence the outcome.
Temperature and Time
The two most essential parameters are dwell temperature and dwell time—how hot the assembly gets and how long it stays at that temperature. Too little time or temperature and the filler won't flow; too much and you risk damaging the base metals.
Heating and Cooling Rates
The speed at which you heat and cool the assembly directly impacts thermal stress. For complex shapes or dissimilar materials, slow and uniform rates are crucial to prevent distortion.
Atmosphere Control
Brazing must occur in a controlled atmosphere to prevent rapid oxidation of the hot metal surfaces. This is achieved either with a chemical flux (which covers the joint) or by performing the process in a vacuum furnace or an atmosphere of inert gas.
Material and Joint Design
The choice of base metals, filler metal, and flux must be compatible. Furthermore, the gap or clearance of the joint is designed to promote capillary action. Too wide, and the filler won't bridge the gap; too tight, and it can't flow in.
Common Pitfalls and Why They Occur
Understanding what can go wrong provides insight into how to make it go right. Most brazing failures can be traced back to a lack of control over a key parameter.
Incomplete Filler Flow
This is the most common defect and is almost always caused by inadequate cleaning or improper temperature. If oxides are present, the filler metal cannot wet the surface. If the temperature is too low, the filler will be sluggish and won't be drawn into the joint.
Base Metal Erosion
If the dwell temperature is too high or the dwell time is too long, the filler metal can begin to alloy with and erode the base metal. This weakens the components and can ruin the part.
Distortion and Cracking
These failures are typically caused by improper thermal management. Rapid or non-uniform cooling induces internal stresses that warp or crack the assembly, especially at the brazed joint.
Optimizing Your Brazing Process
Your specific goals will dictate which parameters require the most focus. You should always determine your optimal process through experimental testing.
- If your primary focus is maximum joint strength: Prioritize meticulous surface preparation and ensure the entire joint reaches the correct, uniform brazing temperature.
- If your primary focus is dimensional stability: Control your heating and cooling rates with extreme care and use well-designed fixtures that allow for thermal expansion.
- If your primary focus is high-volume repeatability: Document and standardize every single parameter, from cleaning solution concentration to furnace temperature profiles and cooling rates.
By moving from simply following steps to actively controlling the underlying parameters, you gain mastery over the brazing process and ensure a high-quality outcome every time.
Summary Table:
| Step | Key Action | Purpose |
|---|---|---|
| 1. Surface Preparation | Clean base metals of oils, dirt, and oxides | Ensure filler metal can wet and bond to the surface |
| 2. Assembly & Fixturing | Position parts and filler metal; secure with fixtures | Hold components in place during thermal cycles |
| 3. Heating & Flux Activation | Heat assembly uniformly; activate flux | Melt flux to dissolve oxides; reach brazing temperature |
| 4. Filler Metal Flow | Filler metal melts and flows via capillary action | Fill the joint gap completely to form a continuous bond |
| 5. Cooling | Control the cooling rate back to room temperature | Minimize thermal stress, distortion, and cracking |
| 6. Post-Braze Finishing | Inspect joint and perform any necessary cleaning/machining | Ensure joint quality and final part integrity |
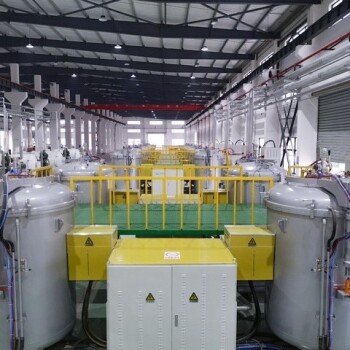
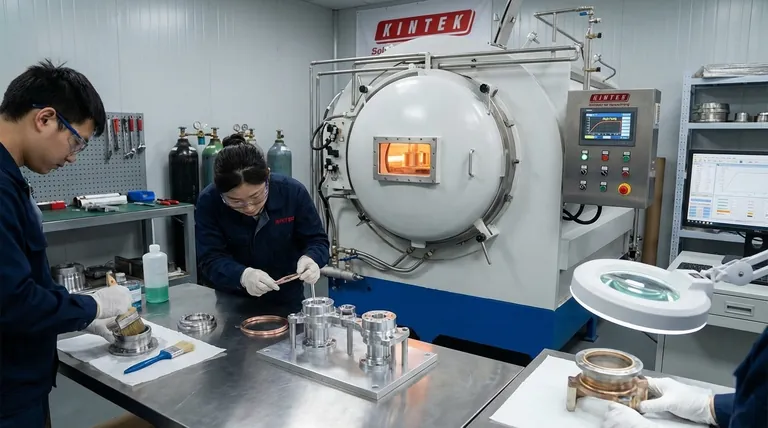
Ready to achieve flawless brazing results? The right equipment is critical for precise temperature control, uniform heating, and consistent atmosphere management.
KINTEK specializes in high-performance lab furnaces and brazing systems designed for reliability and repeatability. Whether you're working in R&D or high-volume production, our solutions help you master parameters like dwell time, heating/cooling rates, and atmosphere control.
Let's optimize your brazing process together. Contact our experts today to discuss your specific application needs.
Visual Guide
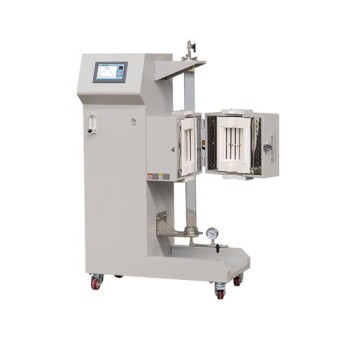
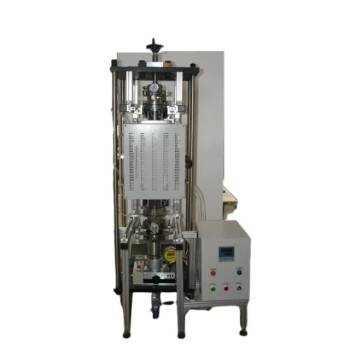
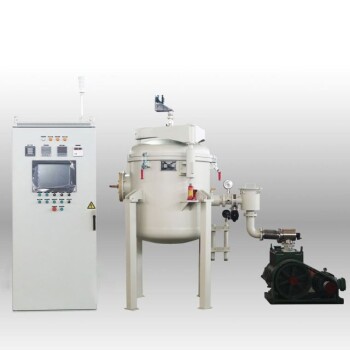
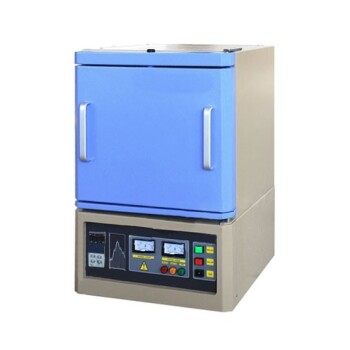
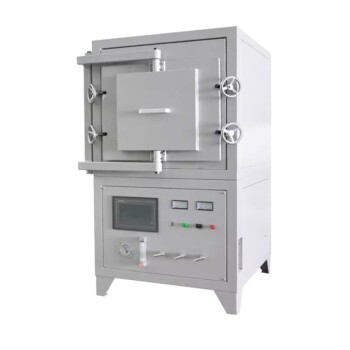
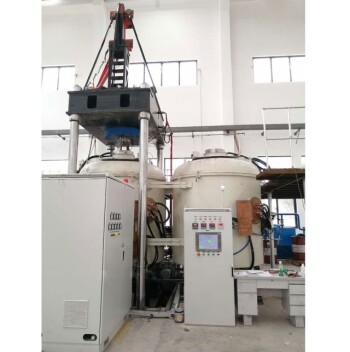
Related Products
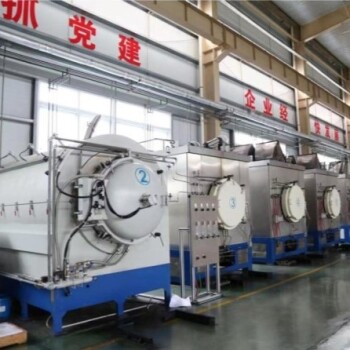
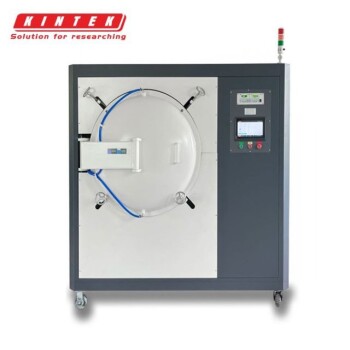
- Vacuum Heat Treat Sintering Brazing Furnace
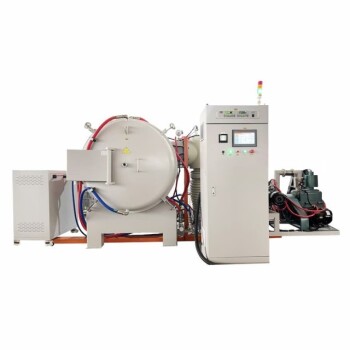
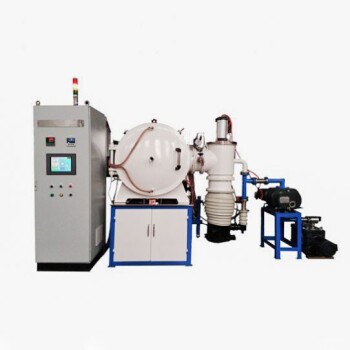
- Molybdenum Vacuum Heat Treat Furnace
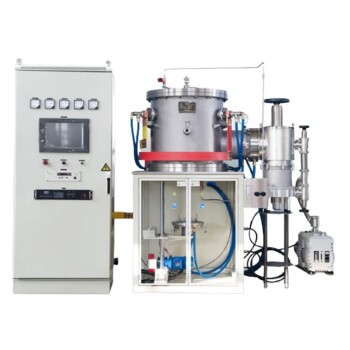
- 2200 ℃ Tungsten Vacuum Heat Treat and Sintering Furnace
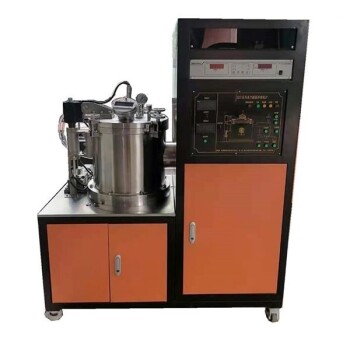
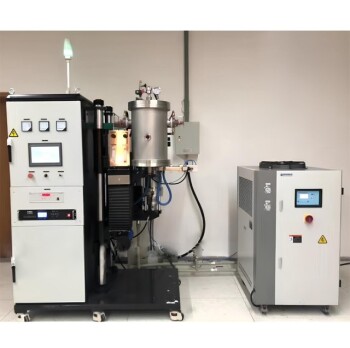
- Vacuum Heat Treat Furnace and Levitation Induction Melting Furnace
- Graphite Vacuum Furnace High Thermal Conductivity Film Graphitization Furnace
People Also Ask
- What is brazing in heat treatment? Achieve Superior Joint Quality and Efficiency
- What is the cost of a vacuum brazing furnace? A guide to key factors and investment strategy
- What is the process of a vacuum furnace? Achieve Purity and Precision in High-Temp Processing
- What is vacuum brazing? The Ultimate Guide to High-Purity, Flux-Free Metal Joining
- What is a vacuum furnace used for? Unlock Purity in High-Temperature Processing