Creating a high-quality KBr pellet for FTIR analysis is a precise technique that involves more than just mechanical compression. The process requires finely grinding your sample, thoroughly mixing a very small amount of it with dry potassium bromide (KBr) powder, and then pressing the mixture in a die set under high pressure to form a transparent, glass-like disc.
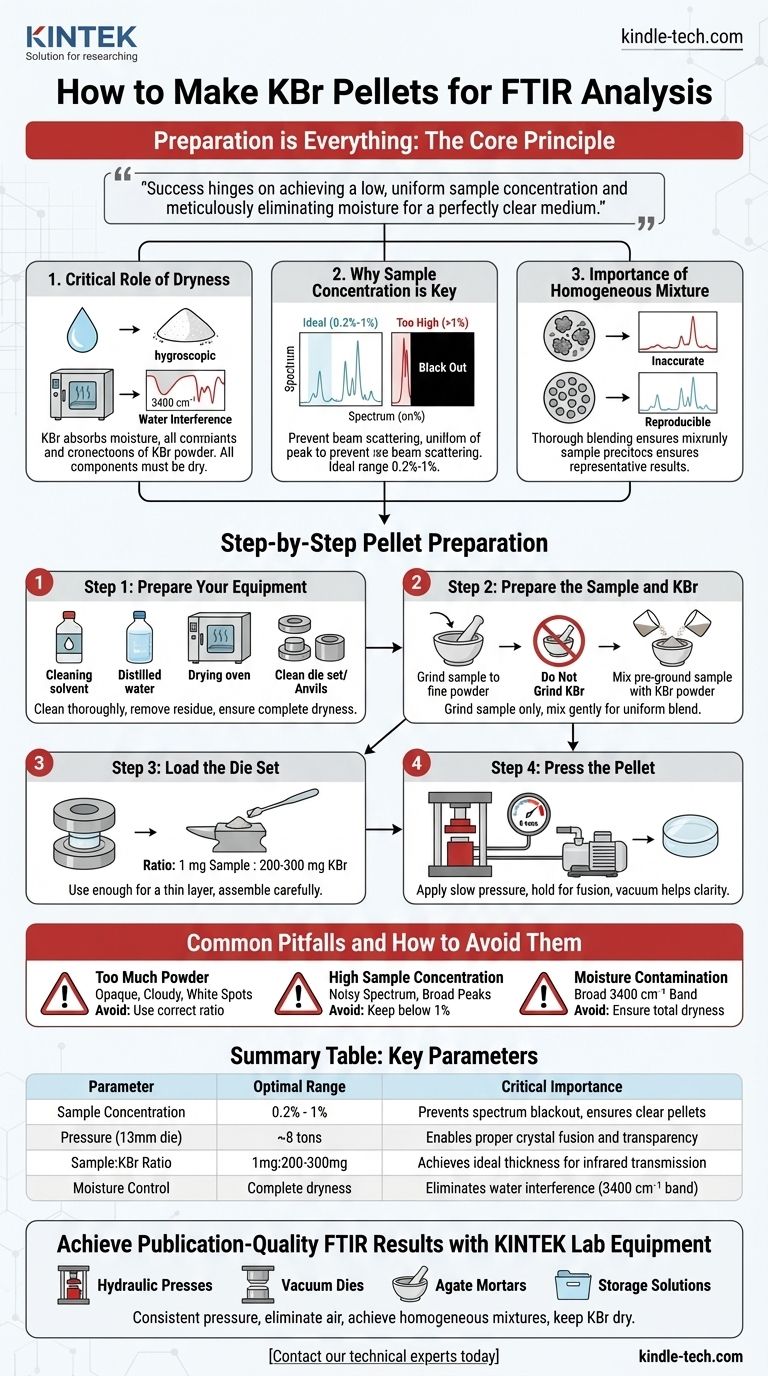
The core principle of making a KBr pellet is not about force, but about preparation. Your success hinges on two factors: achieving a low, uniform sample concentration and meticulously eliminating moisture to create a perfectly clear medium for accurate infrared analysis.
The Foundation: Why Preparation is Everything
Before touching any equipment, understanding the principles behind the KBr pellet method is essential. The KBr acts as an optically transparent matrix, or a window, through which the infrared beam passes. Your sample is suspended within this window.
The Critical Role of Dryness
Potassium bromide is hygroscopic, meaning it readily absorbs moisture from the atmosphere. Water has very strong infrared absorption bands (primarily a broad peak around 3400 cm⁻¹) which can easily obscure the signals from your actual sample.
Therefore, all components—the KBr powder, the die set, the anvils, and even the sample if possible—must be completely dry. Heating the die set before use is a common and effective practice.
Why Sample Concentration is Key
The pellet is significantly thicker than a typical liquid sample film. To prevent the complete absorption or scattering of the infrared beam, a very low sample concentration is required.
The ideal concentration of sample in KBr should be between 0.2% and 1%. Too little sample gives a weak signal, but too much will "black out" the spectrum, making the data useless and often preventing the formation of a clear pellet.
The Importance of a Homogeneous Mixture
The infrared beam samples only a small area of the pellet. To ensure the resulting spectrum is truly representative of your bulk sample, the mixture must be perfectly uniform.
Thoroughly blending the ground sample into the KBr powder is non-negotiable. This ensures that every part of the pellet has the same sample concentration, leading to accurate and reproducible spectra.
Step-by-Step Pellet Preparation
Follow these steps methodically to produce a high-quality pellet. The goal is a final product that is thin, translucent, or ideally, perfectly transparent.
Step 1: Prepare Your Equipment
Cleanliness is paramount to avoid contamination. Thoroughly clean the die set, anvils, pestle, and mortar before you begin.
Use a solvent like acetone or chloroform to remove any organic residue, followed by distilled water if necessary. Ensure every component is completely dry before use, often by placing them in a drying oven.
Step 2: Prepare the Sample and KBr
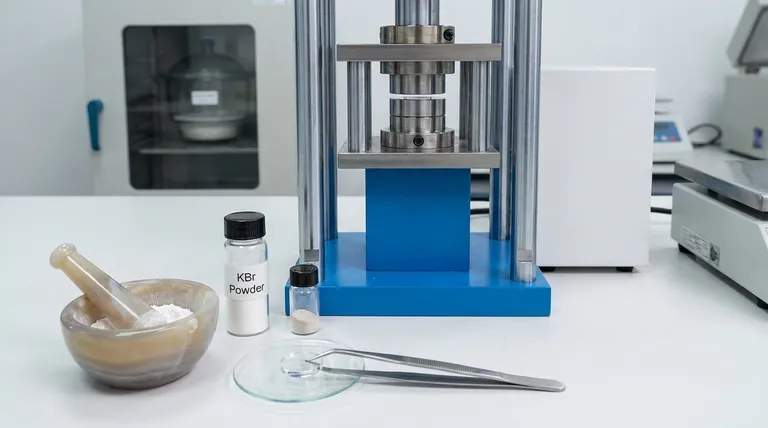
This is the most critical stage. Grind your solid sample into an exceptionally fine powder using an agate pestle and mortar.
Do not grind the KBr powder. Grinding opens new crystal facets that rapidly absorb atmospheric moisture. Simply add the pre-ground sample to the KBr and mix gently but thoroughly to create a uniform blend.
Step 3: Load the Die Set
A common mistake is using too much powder. You only need enough of the mixture to create a thin, even layer on the face of the anvil.
For a standard 13mm die, a common ratio is 1 mg of sample to approximately 200-300 mg of KBr. Assemble the die set carefully according to its design.
Step 4: Press the Pellet
Place the assembled die into a hydraulic press. If you are using a vacuum die, connect the vacuum now to remove trapped air, which helps create a clearer pellet.
Apply pressure slowly and steadily. A typical load for a 13mm die is around 8 tons. Hold the pressure for a minute or two to allow the KBr crystals to fuse, then carefully release it and disassemble the die to retrieve your finished pellet.
Common Pitfalls and How to Avoid Them
Mastering the KBr technique is about understanding what can go wrong and why. Avoiding these common errors will dramatically improve the quality of your results.
The Mistake of Using Too Much Powder
Overloading the die is the most frequent error. It requires excessive force, increases the risk of wedging the pellet in the die, and often results in an opaque or cloudy disc with white spots.
The Problem with High Sample Concentration
If your pellet looks cloudy or your spectrum is noisy with broad, undefined peaks, your sample concentration is likely too high. This causes the IR beam to be scattered or completely absorbed rather than transmitted.
The Hidden Threat of Moisture
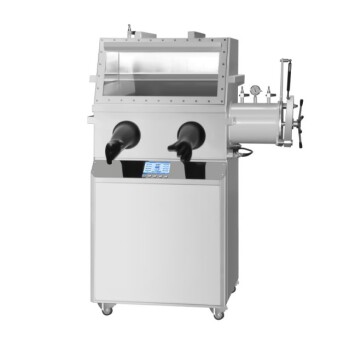
If you see a very broad absorption band around 3400 cm⁻¹, your pellet is contaminated with water. Re-evaluate your entire workflow for sources of moisture, from the KBr storage to the ambient humidity of your lab. A glovebox can be invaluable in humid environments.
Making the Right Choice for Your Analysis
Your specific analytical goal should guide your preparation technique.
- If your primary focus is quantitative analysis: Achieving a perfectly homogeneous mixture and accurately weighing your sample and KBr are the most critical factors for reproducible results.
- If your primary focus is identifying an unknown compound: Your top priority is preventing contamination. Ensure all equipment is impeccably clean to avoid confusing spectral artifacts.
- If you are struggling with opaque or brittle pellets: Reduce the total amount of powder used and verify your sample concentration is below 1%. Applying a vacuum during pressing can also significantly improve clarity.
Master these fundamentals of preparation, and you will consistently produce KBr pellets that yield clean, reliable, and publication-quality spectra.
Summary Table:
| Key Parameter | Optimal Range | Critical Importance |
|---|---|---|
| Sample Concentration | 0.2% - 1% | Prevents spectrum blackout and ensures clear pellets |
| Pressure (13mm die) | ~8 tons | Enables proper crystal fusion and transparency |
| Sample:KBr Ratio | 1mg:200-300mg | Achieves ideal thickness for infrared transmission |
| Moisture Control | Complete dryness | Eliminates water interference in spectrum (3400 cm⁻¹ band) |
Achieve Publication-Quality FTIR Results with KINTEK Lab Equipment
Struggling with cloudy pellets or inconsistent spectra? The quality of your KBr pellets directly impacts your analytical results. At KINTEK, we specialize in providing the precise equipment and consumables that laboratory professionals need for reliable FTIR analysis.
We help you overcome common challenges:
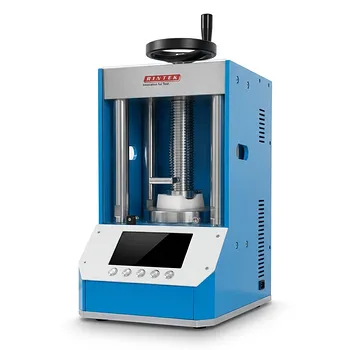
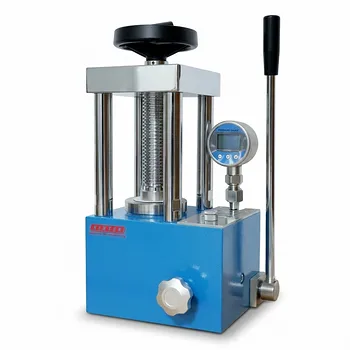
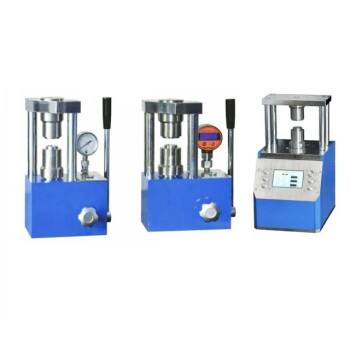
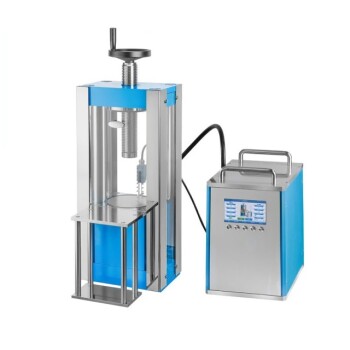
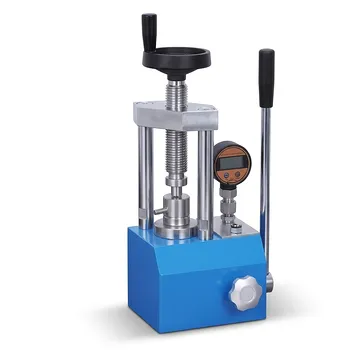
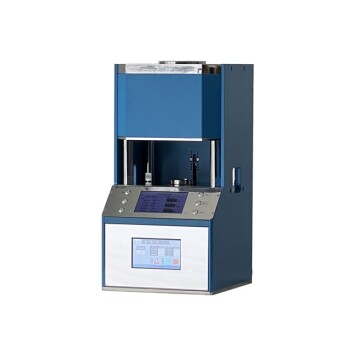
- Hydraulic Presses that deliver consistent, high pressure for perfect pellet formation
- Vacuum Dies to eliminate trapped air and create crystal-clear discs
- Agate Mortars and Pestles for achieving the fine, homogeneous mixtures essential for accurate spectra
- Proper Storage Solutions to keep your KBr powder dry and contamination-free
Whether you're performing quantitative analysis or identifying unknown compounds, having the right tools makes all the difference. Our equipment is designed specifically for the meticulous demands of sample preparation.
Ready to transform your FTIR analysis? Contact our technical experts today to discuss your specific application needs. Let KINTEK be your partner in achieving reliable, reproducible results that advance your research.
Visual Guide
Related Products
- kbr pellet press 2t
- Laboratory Hydraulic Pellet Press for XRF KBR FTIR Lab Applications
- Automatic Laboratory Hydraulic Press for XRF & KBR Pellet Press
- XRF & KBR steel ring lab Powder Pellet Pressing Mold for FTIR
- XRF & KBR plastic ring lab Powder Pellet Pressing Mold for FTIR
People Also Ask
- What is the detailed procedure for preparing a KBr pellet for analysis? Master the Art of Clear Spectroscopic Pellets
- Why we use KBr pellets in IR? Unlock Clear Sample Analysis with Infrared-Transparent Matrix
- How do you prepare samples for IR spectroscopy? A Step-by-Step Guide for Solids, Liquids, and Gases
- What is the use of KBr pellets? Achieve Clear FTIR Analysis of Solid Samples
- What measurement methods are commonly used for powder samples in infrared spectroscopy? Optimize Your FTIR Analysis