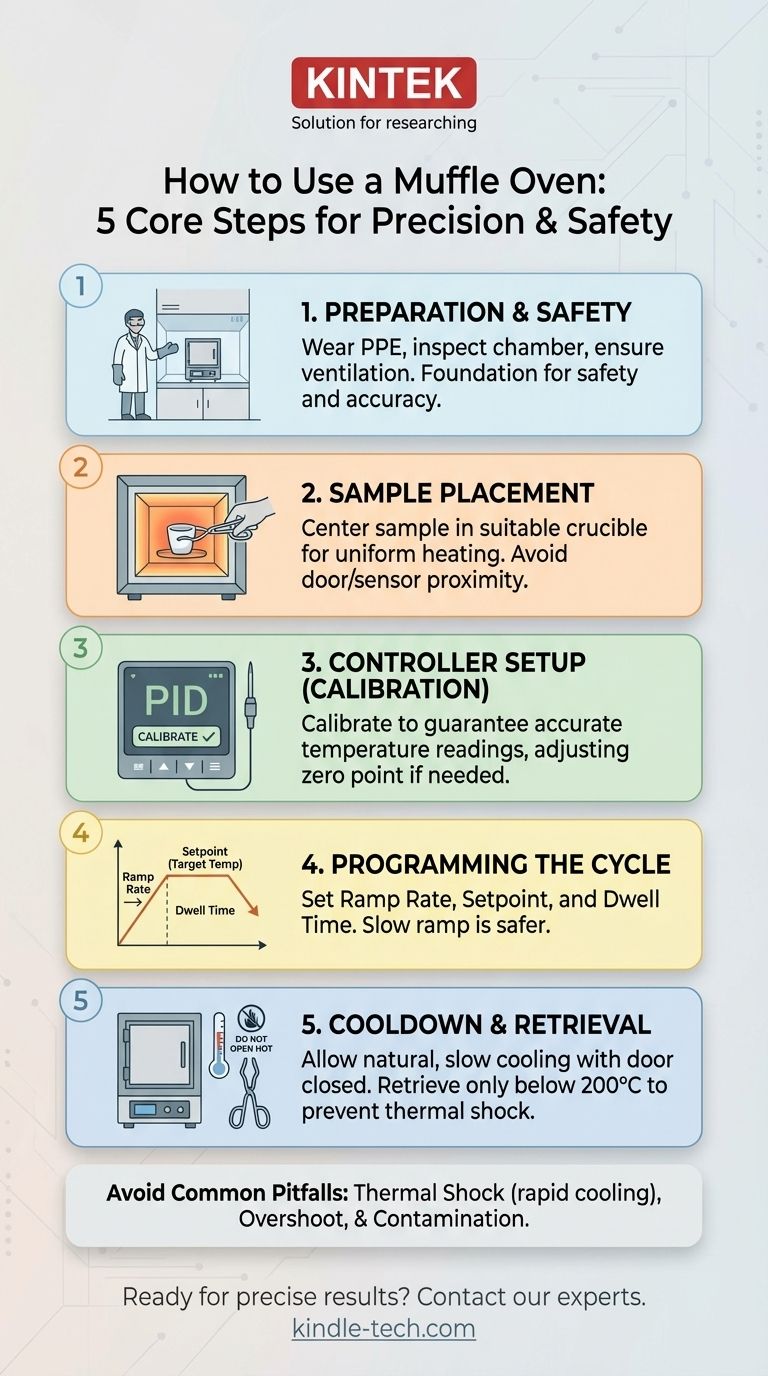
At its core, using a muffle oven is a process of precise, high-temperature heating within an insulated chamber. The fundamental steps involve preparing the oven and your sample, carefully programming the temperature controller for your desired heating cycle, running the program, and allowing a safe, controlled cooldown before retrieving your material.
A muffle oven is not a simple kitchen appliance; it is a precision instrument. Mastering its use requires a disciplined approach focused on three things: personal safety, instrument integrity, and temperature accuracy for repeatable results.
Foundational Principles: Safety and Preparation
Before you ever turn the power on, you must ensure a safe working environment. These furnaces operate at extreme temperatures, and overlooking preparation is the most common source of error and accidents.
Personal Protective Equipment (PPE)
Always wear appropriate PPE. This includes heat-resistant gloves, safety glasses or a full-face shield, and a lab coat. The radiant heat from an open door can cause severe burns instantly.
Oven Location and Ventilation
Ensure the oven is on a stable, heat-resistant surface with adequate clearance on all sides. Many processes, like ashing, release fumes, so the oven should be located in a well-ventilated area or under a fume hood.
Inspecting the Chamber
Before use, give the internal chamber a quick visual inspection. Look for large cracks in the refractory material or debris from previous runs. A clean, intact chamber ensures even heating and prevents contamination of your sample.
The Core Operational Steps
Once your safety checks are complete, you can proceed with the operation itself. The sequence is logical and designed to protect both the sample and the equipment.
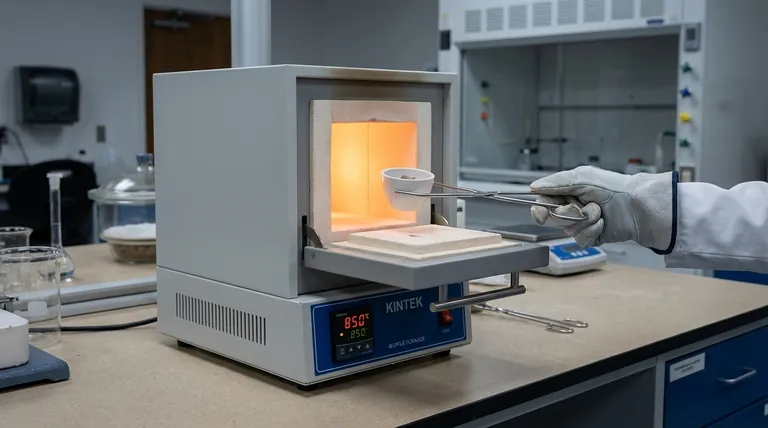
1. Sample Placement
Place your sample in a suitable crucible (e.g., ceramic or porcelain). Position the crucible in the center of the furnace floor to ensure the most uniform heating. Avoid placing it too close to the door or the thermocouple sensor.
2. Calibrating the Temperature Controller
This is a critical step for accuracy, as noted in advanced manuals. Your goal is to ensure the controller's reading accurately reflects the real temperature inside.
Modern digital controllers often handle this automatically, but for analog or manually adjusted systems, you must "zero" the thermostat.
- With a Compensation Wire: If your setup uses a compensation wire, you adjust the controller’s mechanical zero point to match the reference temperature of the cold junction compensator. This ensures the system correctly accounts for the ambient temperature at the point where the thermocouple wires connect to the controller.
- Without a Compensation Wire: You adjust the mechanical zero point to the zero scale mark. You must then manually or mentally note the temperature difference between the controller's environment and the actual measuring point to correct for any offset.
3. Programming the Heating Cycle
Most modern furnaces use a digital PID (Proportional-Integral-Derivative) controller. You will typically set three key parameters:
- Ramp Rate: How quickly the temperature increases, measured in degrees per minute or hour.
- Setpoint (Target Temperature): The final temperature you want to reach.
- Dwell Time: How long the furnace holds at the setpoint temperature.
A slow ramp rate is generally safer for both the furnace lining and your sample.
4. Executing the Program and Cooldown
Close the door securely and start the program. Do not open the door to "check on" the sample while the furnace is at high temperature.
Once the heating cycle is complete, the most important phase begins: the cooldown. Allow the furnace to cool naturally and slowly, with the door closed, ideally overnight. Opening the door while the furnace is hot will cause thermal shock, potentially cracking the heating elements, the insulation, and your crucible.
5. Sample Retrieval
Only open the door once the furnace temperature is below 200°C, and preferably closer to room temperature. Use long, sturdy tongs to safely remove your crucible.
Common Pitfalls to Avoid
Understanding what can go wrong is as important as knowing the right steps.
Thermal Shock
This is the number one cause of damage to muffle furnaces. Rapid heating is bad, but rapid cooling is worse. Never open the door to cool the furnace faster. This can lead to costly repairs and ruined experiments.
Temperature Overshoot
If your ramp rate is too aggressive, the temperature may "overshoot" your setpoint before settling down. For temperature-sensitive materials, this can ruin the sample. A slower ramp rate minimizes this risk.
Sample Contamination or Reaction
A standard muffle oven heats in an air atmosphere. If your material is sensitive to oxygen at high temperatures (i.e., it oxidizes), you may get an unintended chemical reaction. In such cases, a tube furnace with a controlled inert gas atmosphere may be required instead.
Applying This to Your Goal
Your specific settings will depend entirely on your objective.
- If your primary focus is ashing a sample: Use a slow ramp rate to prevent the sample from being blown out of the crucible by rapid combustion, and ensure there is a small vent for gases to escape.
- If your primary focus is heat-treating a metal: Precision is key. Use a calibrated controller and follow an established "recipe" for ramp rate, dwell time, and cooling method to achieve the desired material properties.
- If your primary focus is general chemical synthesis: Document every parameter of your heating program meticulously so you can reproduce your results reliably.
By treating the muffle oven with the respect due to a precision instrument, you will ensure safety, accuracy, and consistent outcomes in your work.
Summary Table:
| Step | Key Action | Purpose |
|---|---|---|
| 1. Preparation | Wear PPE, inspect chamber, ensure ventilation | Ensure safety and prevent contamination |
| 2. Sample Placement | Center sample in suitable crucible | Achieve uniform heating |
| 3. Controller Setup | Calibrate temperature controller | Guarantee accurate temperature readings |
| 4. Programming | Set ramp rate, setpoint, and dwell time | Control the heating cycle precisely |
| 5. Cooldown | Allow natural, slow cooling with door closed | Prevent thermal shock and damage |
Ready to achieve precise, repeatable results in your lab? KINTEK specializes in high-quality lab equipment, including reliable muffle furnaces designed for safety and accuracy. Whether you are ashing samples, heat-treating materials, or performing synthesis, our expertise ensures you have the right tools for your laboratory needs. Contact our experts today to find the perfect solution for your application!
Visual Guide
Related Products
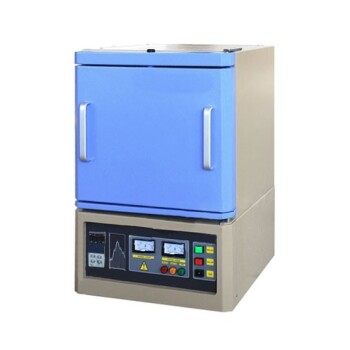
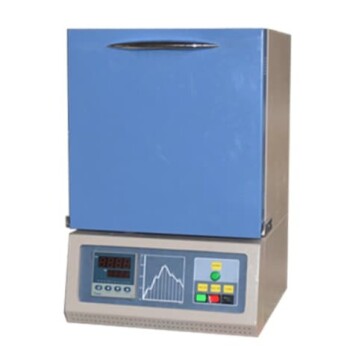
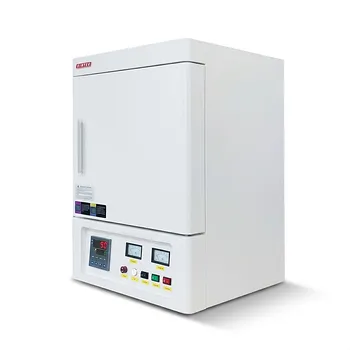
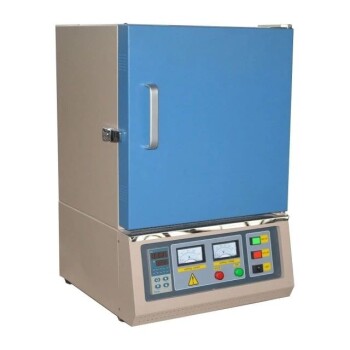
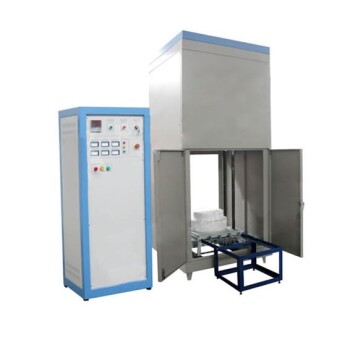
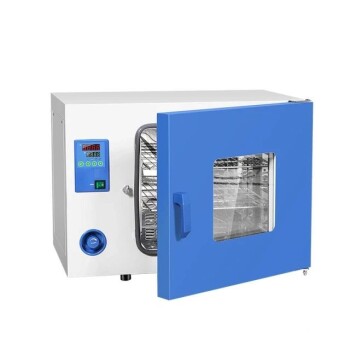
- 1800℃ Muffle Oven Furnace for Laboratory
- 1200℃ Muffle Furnace Oven for Laboratory
- 1700℃ Muffle Oven Furnace for Laboratory
- 1400℃ Muffle Oven Furnace for Laboratory
- High Temperature Muffle Oven Furnace for Laboratory Debinding and Pre Sintering
People Also Ask
- What role do High-Temperature Muffle Furnaces play in metal oxide precursor pre-treatment? Ensure Structural Integrity
- What critical experimental conditions does a high-temperature muffle furnace provide? Ensure 950 °C Oxidation Precision
- What role does a high-temperature muffle furnace play in BZCY72 densification? Master Precision Sintering at 1500°C
- Why is calcination in a Muffle Furnace necessary for niobate synthesis? Achieve Perfect Phase-Pure Solid Solutions
- Why is a high-temperature muffle furnace essential for Salix biomass? Measure Volatile Solids for Biogas Efficiency