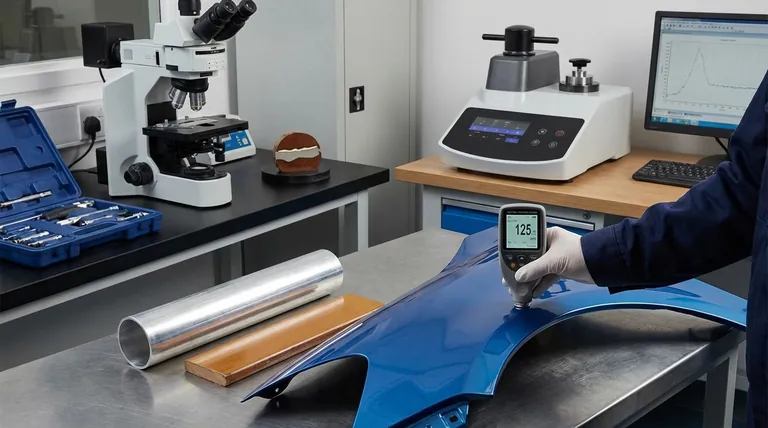
To measure coating thickness, you must use a gauge that is compatible with both the coating and the underlying material, known as the substrate. The most common non-destructive methods involve handheld electronic gauges that use either magnetic induction for coatings on steel and iron or eddy currents for coatings on other metals like aluminum. The choice of method is entirely dependent on the material properties of the substrate.
The key to accurately measuring coating thickness is not finding a single universal tool, but rather matching the measurement principle to the specific combination of your coating and substrate materials. The substrate—what lies beneath the coating—determines which technology will work.

The Core Principle: Substrate and Coating Interaction
What Gauges Actually Measure
Electronic thickness gauges do not measure coating thickness directly. They work by measuring a change in a physical property caused by the distance between the gauge's probe and the base substrate.
This distance is the coating thickness. The gauge then translates this measurement into a thickness reading in microns (μm) or mils.
The Deciding Factor: Material Type
The technology inside the gauge is designed for a specific type of substrate material. This is why a gauge designed for steel will not work on aluminum, and vice versa. Understanding your substrate is the first and most critical step.
Non-Destructive Measurement Methods
Non-destructive testing (NDT) is the standard for quality control, as it allows you to measure finished parts without causing any damage.
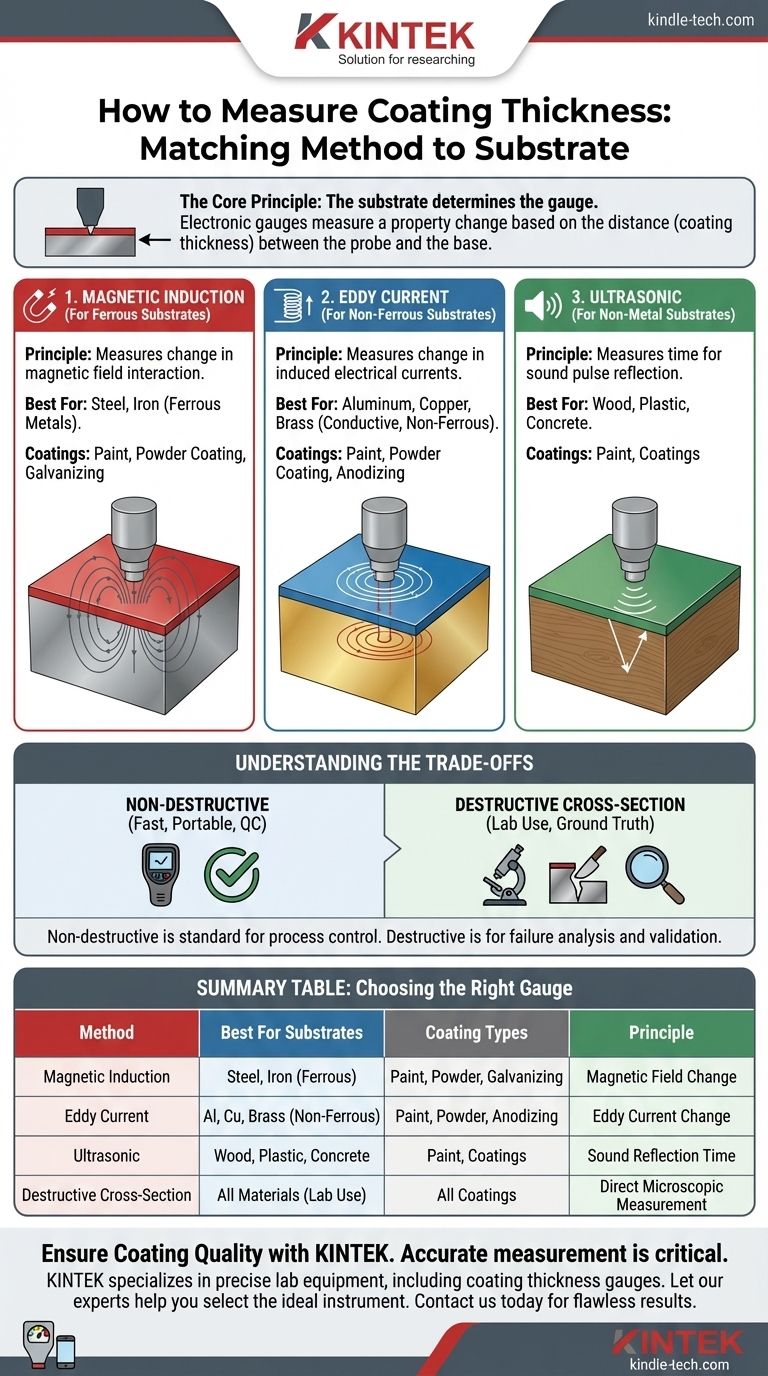
Magnetic Induction (For Ferrous Substrates)
This is the most common method for measuring non-magnetic coatings on ferrous metals like steel and iron.
The gauge's probe generates a magnetic field. The presence of the steel substrate affects this field, and the gauge measures the intensity of that interaction. A thicker coating weakens the interaction, which the gauge interprets as a higher thickness reading.
This method is ideal for paint, powder coating, galvanizing, and plastic coatings on any magnetic steel base.
Eddy Current (For Non-Ferrous Substrates)
This method is used for measuring non-conductive coatings on non-ferrous, conductive metals like aluminum, copper, brass, or stainless steel.
The probe generates an alternating magnetic field, which induces small, circular electrical currents (eddy currents) in the conductive substrate. The coating's thickness alters the characteristics of these currents, which the gauge measures and converts to a thickness value.
This is the standard for measuring paint or powder coating on aluminum and anodizing thickness.
Ultrasonic Measurement (For Non-Metal Substrates)
When the substrate is not a metal—such as wood, plastic, or concrete—magnetic and eddy current methods are ineffective.
In these cases, an ultrasonic gauge is used. It sends a pulse of high-frequency sound through the coating. The pulse reflects off the substrate and returns to the probe. The gauge measures the time this round trip takes and calculates the thickness based on the speed of sound in that specific coating material.
Understanding the Trade-offs
Choosing a measurement method involves understanding the balance between accuracy, speed, cost, and whether or not the part can be destroyed.
Destructive vs. Non-Destructive
Non-destructive gauges are fast, portable, and essential for 100% inspection and process control. They provide immediate feedback on the production line.
Destructive methods, like cutting a part and measuring its cross-section under a microscope, are considered the "ground truth." They are extremely accurate but slow, require specialized lab equipment, and destroy the sample. This is typically reserved for failure analysis, research, or to initially certify a new process.
Accuracy and Calibration
No electronic gauge is accurate without proper calibration. For reliable results, a gauge must be calibrated to the specific application.
This involves a "zeroing" procedure on an uncoated sample of the exact part you are measuring. You then verify its accuracy using certified thickness standards or shims placed on that same uncoated part. This accounts for the substrate's specific material, geometry, and surface roughness.
Influence of Part Geometry
Measurements can be skewed by the shape of the part. Readings taken on sharp edges, tight inside corners, or on highly curved surfaces may be inaccurate. Professional gauges often have special probes or modes to help compensate for these factors.
Selecting the Right Gauge for Your Application
Your choice must be driven by the materials you are working with and your quality objective.
- If your primary focus is quality control on steel or iron parts: A magnetic induction gauge is your most reliable and efficient tool.
- If your primary focus is inspecting coatings on aluminum, brass, or copper: An eddy current gauge is the correct non-destructive choice.
- If your primary focus is measuring paint on wood, concrete, or plastic: An ultrasonic gauge is necessary as magnetic or eddy current methods will not work.
- If your primary focus is failure analysis or validating a new process: Destructive cross-sectioning provides the most definitive ground-truth measurement.
By matching your measurement method to your specific materials, you ensure accuracy and maintain control over your product quality.
Summary Table:
| Method | Best For Substrates | Coating Types | Principle |
|---|---|---|---|
| Magnetic Induction | Steel, Iron (Ferrous) | Paint, Powder Coating, Galvanizing | Measures change in magnetic field |
| Eddy Current | Aluminum, Copper, Brass (Non-Ferrous) | Paint, Powder Coating, Anodizing | Measures change in induced electrical currents |
| Ultrasonic | Wood, Plastic, Concrete | Paint, Coatings | Measures time for sound wave to reflect |
| Destructive Cross-Section | All Materials (Lab Use) | All Coatings | Direct microscopic measurement (ground truth) |
Ensure your coating quality with the right measurement tool.
Accurate thickness measurement is critical for product performance and durability. KINTEK specializes in providing precise lab equipment, including coating thickness gauges, to meet your specific material testing needs. Our experts can help you select the ideal instrument for your substrate and application, ensuring reliable quality control.
Contact us today to discuss your requirements and let KINTEK provide the solution you need for flawless results. Get in touch now!
Visual Guide
