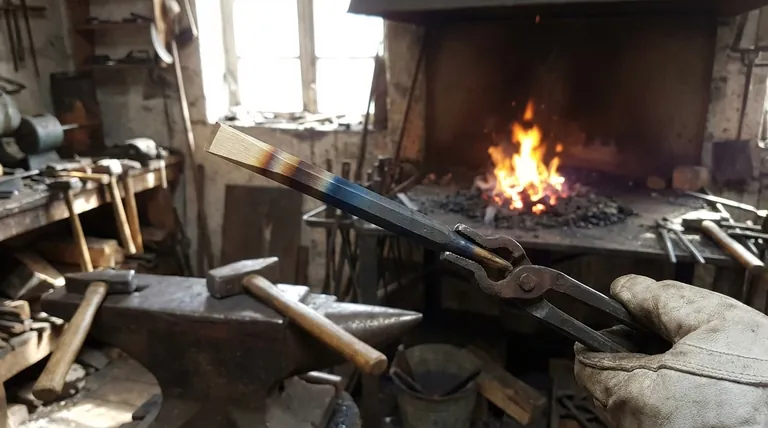
A classic example of tempering is the process a blacksmith uses to finish a steel tool, such as a chisel or axe head. After heating the steel to red-hot and quenching it in water or oil to make it extremely hard, the tool is unusable because it's as brittle as glass. The blacksmith then carefully reheats the hardened steel to a much lower, specific temperature, which strategically sacrifices some of that hardness to gain the essential toughness needed to prevent the tool from chipping or shattering during use.
Tempering is not about making steel harder; it is a critical post-hardening treatment designed to reduce brittleness. It allows you to precisely dial in the final properties of the steel, creating a functional balance between hardness for wear resistance and toughness for impact resistance.
The Purpose of Tempering: From Brittle to Resilient
To understand the tempering process, you must first understand the problem it solves. The initial hardening step creates a material that is often too brittle for any practical application.
The Problem with Hardened Steel
When steel is heated to a critical temperature and then rapidly cooled (a process called quenching), its internal crystal structure transforms into a state called martensite.
Martensite is exceptionally hard and wear-resistant. However, this structure is also under immense internal stress, making it extremely brittle and prone to fracture with even a small impact.
How Tempering Solves the Problem
Tempering is a form of heat treatment that involves reheating the hardened steel to a temperature well below its critical point (typically between 200°C and 650°C or 400°F and 1200°F).
This gentle reheating provides just enough energy to relieve the internal stresses within the martensite structure. It allows the carbon atoms to rearrange slightly, which significantly increases the steel's toughness (its ability to absorb energy and deform without fracturing).
A Step-by-Step Example: Tempering a Steel Chisel
The visual cues in a traditional tempering process make it an excellent practical example.
Step 1: Hardening and Quenching
The unhardened steel chisel is heated in a forge until it glows a uniform cherry red. It is then immediately plunged into oil or water. The result is a chisel that is glass-hard and will shatter if struck.
Step 2: Cleaning the Surface
To prepare for tempering, the blacksmith polishes a section of the hardened steel with an abrasive. This clean, shiny surface is essential for the next step, as it allows for the observation of subtle color changes.
Step 3: Reheating and Observing Temper Colors
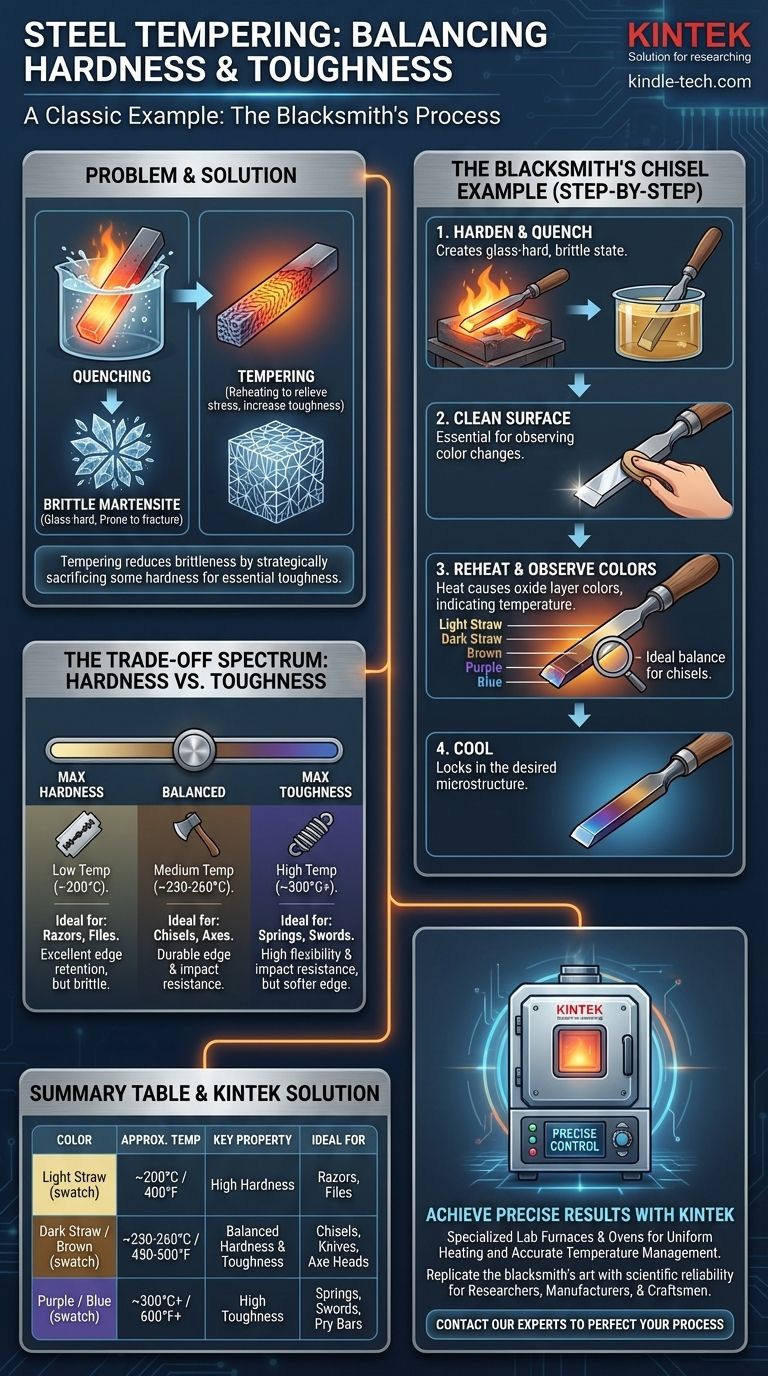
The chisel is gently and evenly reheated. As the temperature of the steel rises, a thin layer of iron oxide forms on the polished surface. The thickness of this layer corresponds directly to the temperature, creating a predictable spectrum of colors.
The colors appear in sequence: from a faint light straw, to brown, then purple, and finally to a deep blue. A blacksmith making a chisel will typically watch for a dark straw or light brown color at the cutting edge, which indicates the ideal balance of hardness and toughness for that tool.
Step 4: Cooling
Once the desired color appears, the heat source is removed, and the chisel is allowed to cool in the air. This locks in the "tempered" microstructure, resulting in a tool that is hard enough to hold an edge but tough enough to withstand hammer blows.
Understanding the Trade-offs: Hardness vs. Toughness
The core principle of tempering is the inverse relationship between hardness and toughness. You cannot maximize both; you must choose a balance appropriate for the task.
The Tempering Spectrum
Think of tempering as a slider control for steel's properties.
- Low Tempering Temperatures (200°C / 400°F): Indicated by light straw colors. Results in minimal loss of hardness but only a small gain in toughness.
- High Tempering Temperatures (315°C / 600°F and above): Indicated by purple and blue colors. Results in a significant loss of hardness but a very large gain in toughness and flexibility.
Matching the Temper to the Task
Different tools require different points on this spectrum.
- Razors and Files: Need maximum hardness for edge retention. They are tempered at very low temperatures (light straw).
- Chisels and Axe Heads: Need a durable edge plus impact resistance. They are tempered to a medium temperature (dark straw to brown).
- Springs and Pry Bars: Need maximum toughness and flexibility. They are tempered at high temperatures (blue).
Making the Right Choice for Your Goal
The ideal tempering temperature is dictated entirely by the tool's intended use and the specific balance of properties required.
- If your primary focus is edge retention and wear resistance (e.g., razors, scalpels): A low-temperature temper is required to retain maximum hardness, accepting that the tool will be more brittle.
- If your primary focus is impact resistance and flexibility (e.g., springs, swords): A high-temperature temper is necessary to maximize toughness, even though the tool will be softer and won't hold a sharp edge as long.
- If your primary focus is a balance of hardness and toughness (e.g., chisels, knives, axe heads): A mid-range temperature provides a durable cutting edge that can also withstand moderate impact without failing.
Ultimately, tempering is the critical process that transforms a hard but useless piece of steel into a precisely engineered and reliable tool.
Summary Table:
| Tempering Color | Approx. Temperature | Key Property | Ideal For |
|---|---|---|---|
| Light Straw | ~200°C / 400°F | High Hardness | Razors, Files |
| Dark Straw / Brown | ~230-260°C / 450-500°F | Balanced Hardness & Toughness | Chisels, Knives, Axe Heads |
| Purple / Blue | ~300°C+ / 600°F+ | High Toughness | Springs, Swords, Pry Bars |
Achieve the Perfect Balance in Your Metalwork
Tempering is a precise science that requires exact temperature control to achieve the desired material properties. Whether you're developing tools, components, or specialized alloys, the right heat treatment equipment is essential.
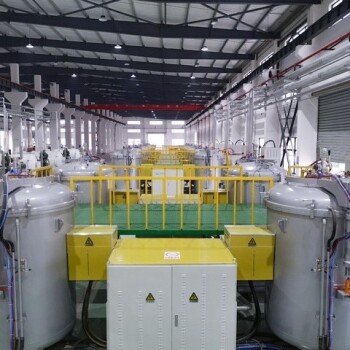
KINTEK specializes in high-quality lab furnaces and ovens designed for precise tempering processes. Our equipment ensures uniform heating and accurate temperature management, helping you replicate the blacksmith's art with scientific reliability.
Let us help you transform your materials:
- For Researchers & Developers: Achieve repeatable results with our digitally controlled tempering ovens.
- For Manufacturing & Quality Control: Ensure every batch meets your exact specifications for hardness and toughness.
- For Hobbyists & Craftsmen: Bring professional-grade tempering capabilities to your workshop.
Ready to perfect your tempering process? Contact our experts today to find the ideal furnace for your specific steel treatment needs and unlock the full potential of your materials.
Visual Guide
Related Products
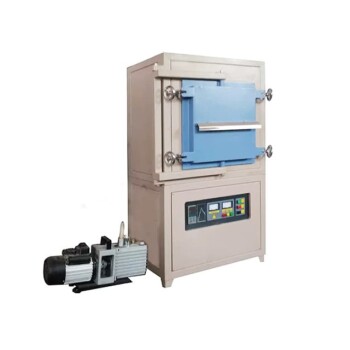
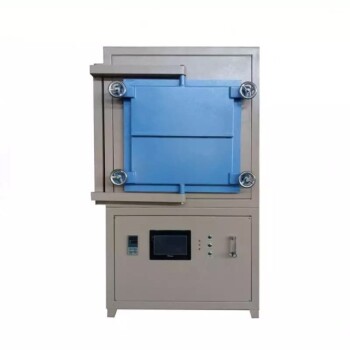
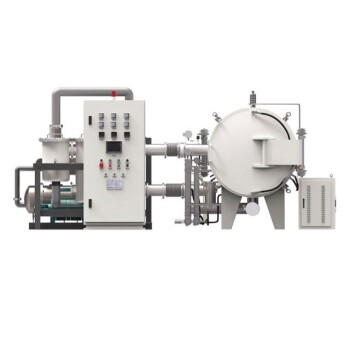
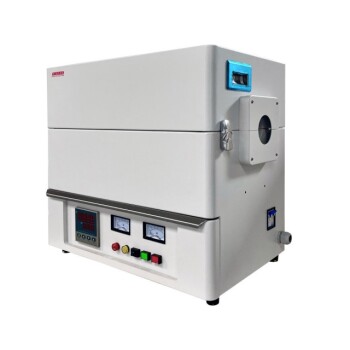
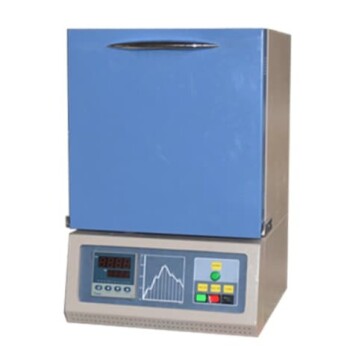
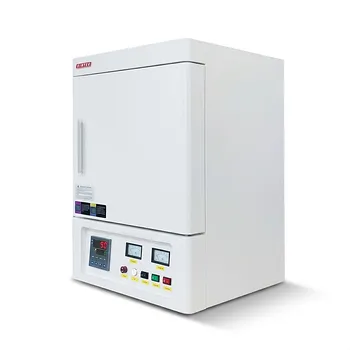
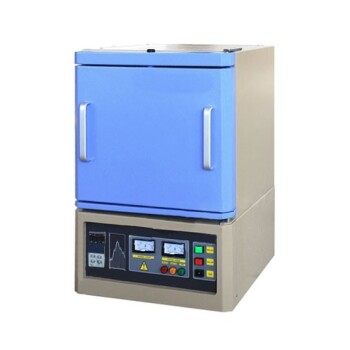
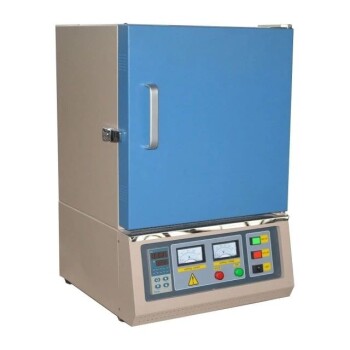
- High Temperature Muffle Oven Furnace for Laboratory Debinding and Pre Sintering
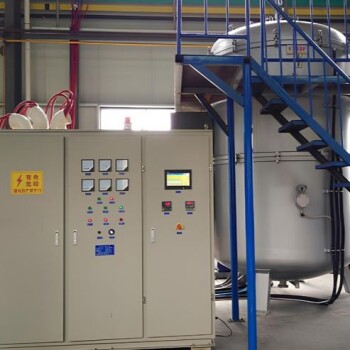
- Vacuum Heat Treat Furnace with Ceramic Fiber Liner
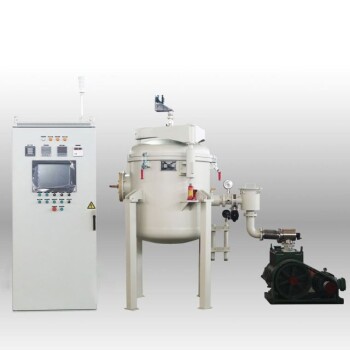
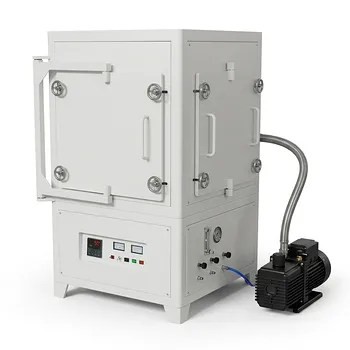
- 1700℃ Controlled Atmosphere Furnace Nitrogen Inert Atmosphere Furnace
- Ultra-High Temperature Graphite Vacuum Graphitization Furnace
- 1400℃ Controlled Atmosphere Furnace with Nitrogen and Inert Atmosphere
People Also Ask
- What is the primary function of high-temperature muffle or tube furnaces for ceramic coatings? Ensure Peak Durability
- Why is a high-temp muffle furnace essential for ZnO-WO3 & ZnO-BiOI? Optimize Heterojunction Catalyst Performance
- What is the role of a high-temperature muffle furnace in preparing Cs-aluminosilicate waste? Key Simulation Insights
- What conditions does a muffle furnace provide for molten salt energy storage? Expert Simulation for CSP Environments
- What role does a calcination furnace play in preparing hollow core-shell particles? Achieve Perfect Nano-Structures